Replicator 2 Ceramic Tape replacement template
thingiverse
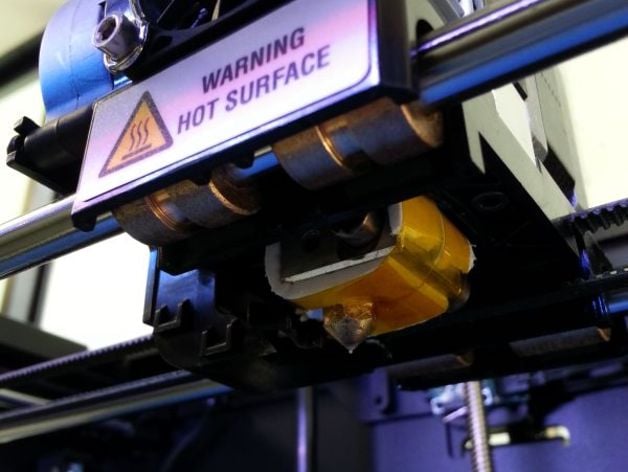
I recently had a horrendous jam and had to replace the ceramic tape on my replicator 2. What I couldn't find was a template for the dimensions and holes that are required for the replacement tape. After several iterations, I came up with this template which worked great. Here it is if you need it :) I've popped it into an A4 PDF with instructions, that way you can be absolutely sure that if you print it out as an A4 sheet it's exactly the right size. Don't use the EPS. It wouldn't let me submit without one but it's not scaled to the right size. Works for the replicator 2 extruder, though I assume the hotend assembly is similar for other types of replicator? Note: You will notice on my printer the tape is not quite long enough. I've updated the file to fix that, this template should be perfect. Instructions You will need: A strip of ceramic fibre tape (this is the bit that insulates, you can’t substitue for anything else) A strip of kapton tape (this is for sticking down the ceramic tape)The ceramic tape is hard to find in my neck of the woods and not cheap to buy a whole roll. There’s two things you can do to get some inexpensively. Firstly, you can try contacting Makerbot. They will sometimes send you a pre-cut and assembled piece for your hotend, or you can contact your local makerbot reseller, sometimes they’ll be kind enough to give you a small piece of offcuts.Instructions Step 1: Cut along the solid black lines on the above template. I’ve attached 2 just in case the first one doesn’t get cut quite right, so you don’t have to re-print. Step 2: Use the template as a stencil to cut your ceramic tape to size (the long bit not including the grey area), and the kapton tape to size (the whole thing, including the grey area. The small tab after the dotted line is for kapton tape only, NOT ceramic tape. This is so the end can stick to the rest of the tape, which sticks to itself far better than it sticks to the ceramic tape. Step 3: Carefully stick down the kapton onto the ceramic tape. Leave the backing attached to the kapton only tab at the end (if you leave the sticky end exposed, it won’t stick down as well. Step 4: Carefully aligning and holding the above template against the combined piece of kapton/ceramic tape, cut out the holes. The hexagonal hole is best cut out with a craft knife, the circular hole is much easier with a hole punch. The hole punch will likely give you a bigger hole than necessary, but that’s OK. Step 5: If you look up underneath your extruder, there are two hex screws on either side of the hotend. If you undo these two screws and carefully remove the plastic exhaust on the left side of the extruder (attached to the fan), you can pull out the entire assembly without having to take the hotend apart or dissassemble it. Step 6: Slide the split end of the tape (without the extra kapton) around the top of the hotend (there is a small pipe going up into the motor), and the hex hole over the extruder (the end will sit on the right hand side), and tape the ends firmly together. Step 7: Reassemble and you’re good to go. If you are still confused, the people over at whiteclouds have made this great video:http://www.youtube.com/watch?v=Uo9qYKina9Q Why replace the tape? Although your printer may run fine for a time without it, the ceramic tape does two important things. Firstly, the insulation will allow your extruder to retain heat better. That means less chance of getting temperature errors because your extruder cools down too much before the heater can re-heat. Secondly, the black plastic slot which the extruder sits in is an injection-moulded piece of ABS. Used long enough (a few months or so), the hot-end will leak heat onto this part and warp it. This will make it almost impossible to level the 3D printer, which can cause all sorts of issues. Contact: taunise@gmail.com
With this file you will be able to print Replicator 2 Ceramic Tape replacement template with your 3D printer. Click on the button and save the file on your computer to work, edit or customize your design. You can also find more 3D designs for printers on Replicator 2 Ceramic Tape replacement template.