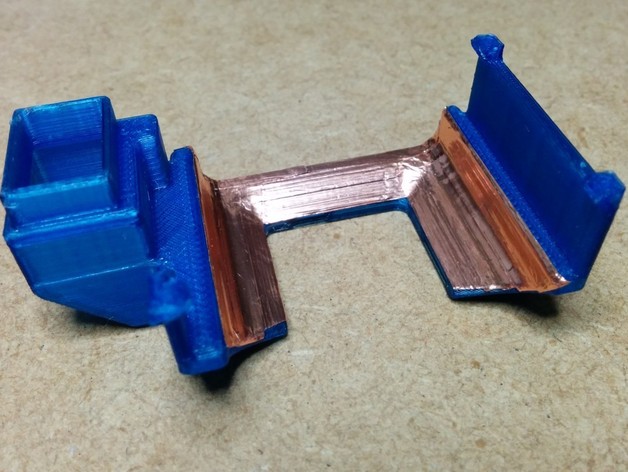
Replicator 2 Fan Duct revisited
thingiverse
This user has recently been printing with NinjaFlex and encountered an issue where the Replicator 2 output cooling fan would push the filament to the right, causing it to miss the layer below on angled thin walled prints. To remedy this, they designed a fan duct that would enable air flow from both sides. Their previous version of the fan duct suffered from being too low and hanging down on one side, so they decided to support the duct by clipping it on both sides of the carriage. They started with something that clipped on, then attached it to the fan and added the air ducts. However, their first attempt enclosed the heating element too much and was too low, causing the PLA version to soften in the middle after printing for three hours. They reprinted it in T-Glass and applied copper tape to dissipate heat, resulting in a design that has printed continuously for 10 hours at 250 degrees without melting. Although marked as work-in-progress, the user is open to suggestions or air flow analysis. They have since updated the design with wider holes for better air flow control and an aluminum upgrade version. Instructions on how to replace the old fan duct with their new design are provided, along with Makerware settings used in the printing process.
With this file you will be able to print Replicator 2 Fan Duct revisited with your 3D printer. Click on the button and save the file on your computer to work, edit or customize your design. You can also find more 3D designs for printers on Replicator 2 Fan Duct revisited.
