Replicator Dual Head Fan Duct
thingiverse
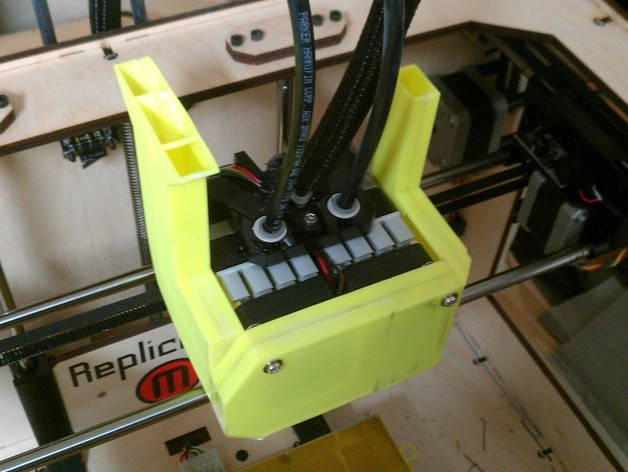
Add a fan duct to your Replicator to stop air from blowing on the printed job. It reduces de-lamination, warping, and bending of large parts during printing. This "as is where is" design aims to improve print quality for large structural parts. However, beware that with V6.2 firmware update, the duct may collide with the top rim and front panel of the machine. To fix this issue, you can modify your Replicator by sawing the affected areas. The duct has one inlet tube splitting into two in front of the fans and two outlet tubes on each side of the head. It's designed to fit inside the machine without collisions but may need adjustments post V6.2 update. Assemble and attach the duct with M3 bolts, spacers, and acetone glue. Be careful while sawing during installation and ensure proper airflow by sealing gaps. Note that this design offers no guarantee for improved results and is used at your own risk.
With this file you will be able to print Replicator Dual Head Fan Duct with your 3D printer. Click on the button and save the file on your computer to work, edit or customize your design. You can also find more 3D designs for printers on Replicator Dual Head Fan Duct.