RepRap Ormerod extruder modyfication
thingiverse
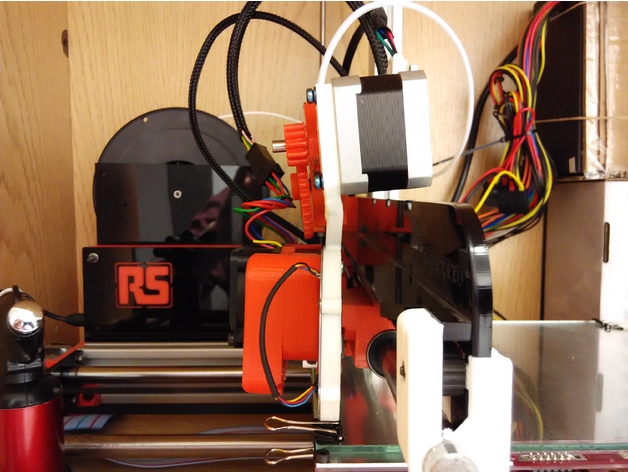
If you want to move your extrude motor next to hot-end this one is for you. I used a part of original bracket as I had limited options to print new high quality parts. I needed to bend my bracket a bit, because it was to close to Acrylic X-axis element. You will need to: Cut and drill extruder body. Drill and thread radiator, to fix the bracket (difficult part). Drill a hole in X-axis acrylic to fix your bracket. Trim plastic pipes to proper length. 2, 2.5 and 3mm drill bits will be needed. Additional: rise X-axis current to 1000mA (oryginal 800mA) in config file on SD card or use lower speed mount extrude motor with connector pointed up What you get: Much higher objects quality (limited stringing) Faster/easier filament load (75mm instead of 420mm) Model is made in "Creo Parametric" 3D software.
With this file you will be able to print RepRap Ormerod extruder modyfication with your 3D printer. Click on the button and save the file on your computer to work, edit or customize your design. You can also find more 3D designs for printers on RepRap Ormerod extruder modyfication.