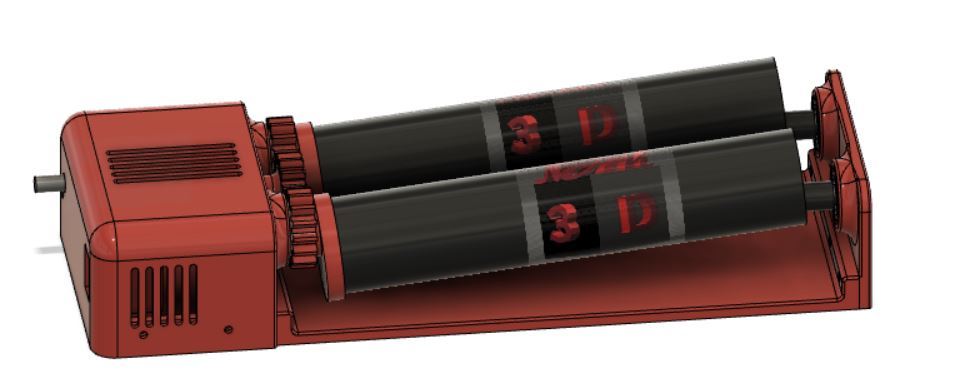
Resin Agitator
thingiverse
This is a resin agitator I designed with parts I had on hand. I created an Amazon shopping list for all the parts you'll need but many may be sourceable cheaper or already on hand. Amazon shopping List: https://a.co/9fslXAx Parts needed. 1x - 12v 100 RPM Motor part #ZGB37RG 47.5i # 170703A6587 1x - RioRand Motor speed controller 1203BB 2x - 8mm x 240mm linear rod (found in many older 3D Printers) 8x - M3 x 8mm Button head screws (4 hold Motor to Near End plate, 4 secure the cover to the Motor Bottom Mount) 4x - M3 x 16mm Button head screws (these secure the Motor Bottom Mount to the Base through the Near End plate) 4x - M3 x 10mm Button head screws (these secure the Far End plate to the Bottom) 2x - M3 x 35mm Button head screws (these secure Motor Mount Top to the Motor Bottom Mount) 4x - #4 x 3/8" Thread cutting screws. Attach the Motor to the Near End plate, then press the Motor Gear on the motor, secure the motor to the Motor Bottom Mount with the Motor Top Mount, then secure the Motor Bottom mount to the Bottom thru the near End plate. Assemble Rollers Insert rod thru Roller and Roller Gear, roller gear should slide snuggly over end of roller, Place spacer between Roller Gear and bearing. Once roller is assembled glue Roller gear to roller. Install bearings in both plates Insert assembled rollers with gears oriented in the same position, then install the Far End plate. Install Motor controller in cover with #4 thread cutting screws and wire to motor and power supply. the small notch in cover is to feed power wire out. You may need to install a few rubber bands on one roller to help with rotation traction.
With this file you will be able to print Resin Agitator with your 3D printer. Click on the button and save the file on your computer to work, edit or customize your design. You can also find more 3D designs for printers on Resin Agitator.
