Resin Curing Box
thingiverse
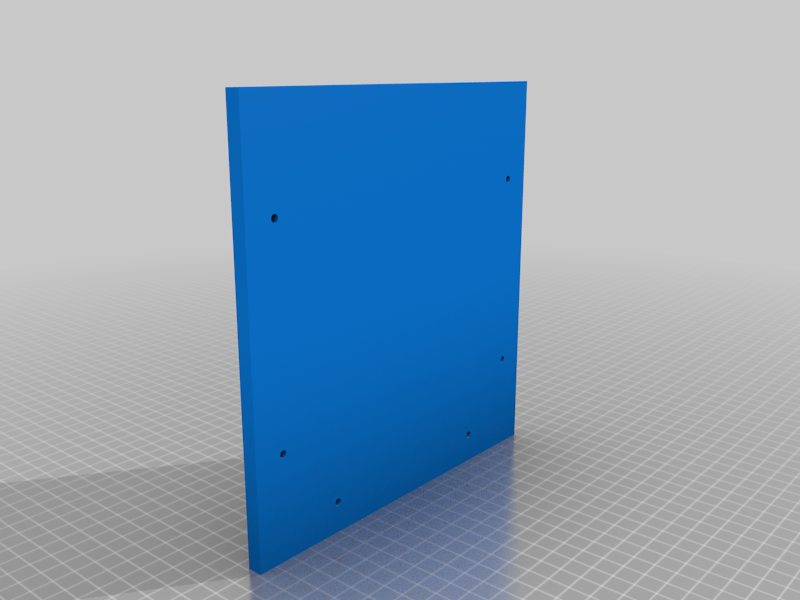
For those of you who want a DIY solution to a curing enclosure, here it is. I purchased this UV lamp (https://www.amazon.com/gp/product/B0892FX4TJ/ref=ppx_yo_dt_b_asin_title_o08_s00?ie=UTF8&psc=1) before I knew that there were some other solutions for around the same price point that included an enclosure and turn-table (like this SUNLU option: https://www.amazon.com/Curing-Printer-Turntable%E3%80%81Time-Control-Enclosure/dp/B08H7Y1HQY/ref=sr_1_6?crid=3649O66ONQEXX&keywords=resin%2Bcuring%2Bstation&qid=1642726535&sprefix=resin%2Bcuring%2Bstatio%2Caps%2C147&sr=8-6&th=1) If you don't want the SUNLU option, or already have that lamp like I do and want a better way to 'enclose' the UV light as well as reduce curing time, you can print this box and line it with this material (https://www.amazon.com/gp/product/B07RXCLY67/ref=ppx_yo_dt_b_asin_title_o06_s00?ie=UTF8&psc=1) (2 layers at least) like I did. The reflective material helps scatter the UV rays around the inside, leading to a more even cure around the part without the need for rotation. Since I already had this lamp and didn't want it to go to waste as well as spend more money on the SUNLU option, I created this box to make it work. Sizing is roughly the same internal volume as the SUNLU box, but slightly smaller with the UV lamp in place. If you were so inclined/had a larger printer, you can make a larger version of it using the attached files (.igs). I printed everything with spare PLA on my Ender 3 pro. Took about 2-3 days to print all the parts needed. Assembly was relatively painless and lining the inside of the box with reflective material took about 15 minutes and some tape. You may want to get fancier than me with this part and bother to actually measure out / tape down the part from one end and lay it 'through' the box and tape on the other end. I just put tape loops in the corners and then pushed the reflective material into the cavity and into the corners and kept things fairly 'tight' and then trimmed away a lot of the excess and pulled/taped the edges down outside the box to keep it tight. Did the same for the second layer and then added a double-layered 'flap' that I put up when I'm loading/unloading parts and the lamp and put it down over the back of the lamp when I am curing things. I originally designed this with 'feet' to go under each corner, but those don't directly attach and they don't really add much so I didn't end up using them in the final assembly. However, the curing lamp wants to fall 'out' because of the weight and how it is suspended when you put it in the box, so I have one of the 'feet' laid down sideways supporting underneath the curing lamp to hold it up and keep it from wanting to fall back. This is perfect and it's easy to slide it in/out when I want to support the lamp for curing or remove the lamp for taking parts out. I used M4x16 screws for the assembly and they stuck through a bit into the inside of the enclosure. You could use M4x12 and those would probably be flush with the inside walls, I just had spare 16mm length lying around and used those. 12 bolts are required for the full set of brackets, but you could probably get away with using only 2-3 brackets per side if you really wanted/were light on PLA/screws.
With this file you will be able to print Resin Curing Box with your 3D printer. Click on the button and save the file on your computer to work, edit or customize your design. You can also find more 3D designs for printers on Resin Curing Box.