Resin XP2 Validation setup as Photon S R_E_R_F
thingiverse
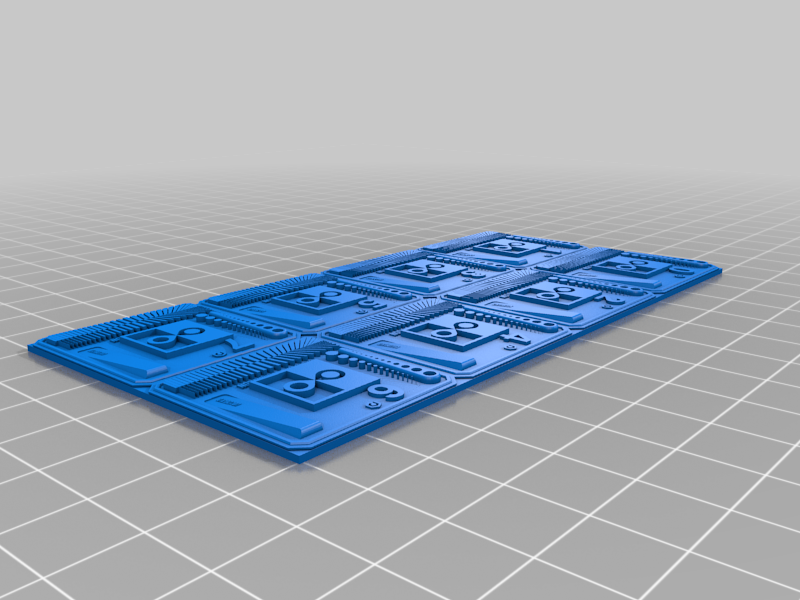
The Anycubic Photon S has a resin exposure range finder. You can simultaneously print a part in 8 different areas of the screen each with a different layer exposure time. On the Photon S the difference is +1 sec between each cell. The first cell uses the layer exposure time used by the slicer each succeeding cell has +1 second added to the exposure time. To make the math easier I numbered the cells starting from 0. The new resin exposure test from Photonsters can be found here: https://github.com/Photonsters/Resin-exposure-finder-v2/releases/tag/BETA_2.1 I shrunk it to 30mm on a side and put one in each of the eight cells with a number from 0-7. This was to make the math a little simpler when trying to figure out what the correct exposure time should be. The attached sliced .pws files are ready to print. Copy the desired test to just **`R_E_R_F.pws`** on the USB for the Photon S to run it properly. ATTENTION: I'm beginning to think it's too thick. Let me know in the comments section if you want a thinner version.
With this file you will be able to print Resin XP2 Validation setup as Photon S R_E_R_F with your 3D printer. Click on the button and save the file on your computer to work, edit or customize your design. You can also find more 3D designs for printers on Resin XP2 Validation setup as Photon S R_E_R_F.