Retro Arcade Spinner Controller
thingiverse
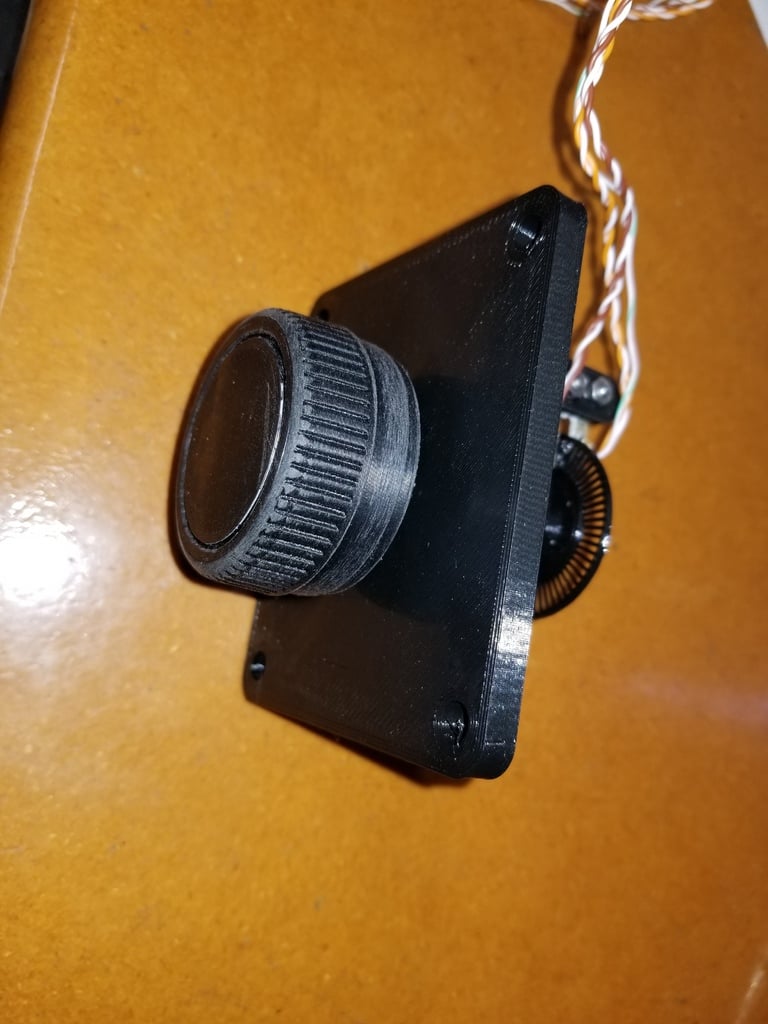
An upgraded version of this project is available here: https://www.thingiverse.com/thing:4386075. Meet YARMAUS (yet another recycled mouse arcade USB spinner... not affiliated with Yar). If you're reading this, chances are you already know what it's about. For the rest, a simple Google search for "DIY arcade spinner" will yield plenty of well-written guides on building your own spinning design using an old ball-type USB mouse. There are even some that use optical mice as well. If you've seen them, you know they're a bit rough around the edges, and there's definitely room for improvement. This project is my attempt to take the precision, durability, and ease of assembly to the next level for budget retro gamers. It fits into a standard Happ joystick drill pattern, but to complete it, you'll need a controller box/cabinet to mount it to, as well as some hardware: 1x old ball-style USB mouse, hacked with remote sensor PCBs (or another USB rotary encoder of some sort) 2x 608 skateboard bearings (clean them up with paint thinner or gas if they're greased) 1x 1/4" x 4" coarse thread bolt or all-thread 1x 1/4" coarse thread nut 1x 1/4" coarse thread nylock nut (2x if using all-thread instead of a bolt) 4x M3-10 bolts 2x M3 nuts 4x 3mm washers (optional) 24x pennies for weights (optional) You'll also need the following prints: 1x base 1x wheel (must be opaque color, or painted black) 1x bracket 2x bushings 1x flywheel (optional) Assembly is relatively straightforward if you take a look at the pictures. The bushings adapt the 1/4" thread to fit snug in the 608 bearings; they go on the outsides of the bearings (flanges towards the nuts). Use the regular nut to secure the rotor on the end of the shaft, and the nylock to set the bearing play. One thing to note is that I noticed on my Dell mouse that the slots on the stock wheel were placed very close to the sensor (farther from the emitter). I tried to match this configuration when I went to mount my sensor. And don't forget the knob! You can either buy one of those MAME-labeled aluminum knobs or design your own. The knob shown in the photo works okay and came from an Atari paddle design: https://www.thingiverse.com/thing:3824311. Just drill out the hole since it's meant for a D-shaft. Flywheel penny-weights: I included an STL file for an optional flywheel, which fits on top of the encoder. The 8 holes are sized to fit US pennies; add as many pennies as required to get the feel you're after. Note that Tempest has a fairly large flywheel... fill it completely with pennies if this is what you're after. The pennies may fit snug depending on your printer tolerances. If not, you can glue them in permanently once you've got the right amount of weights figured out. Encoder spoke counts: The wheel STL file I uploaded has 64 spokes, which matches the wheels from the Dell mouse I used. I designed this in Freecad and parameterized the spoke count (and tons of other details). If you need a spoke count other than 64, please post a comment so I can upload an STL that suits your needs. Keep in mind the limitations of your printer's abilities to print thin lines close together (ie, I can upload a wheel with 300 slots, but few 3D printers exist that could actually produce one clean enough to work). The 64 spoke count works great with my setup... smooth as glass, snappy, and never strobes out during actual gameplay.
With this file you will be able to print Retro Arcade Spinner Controller with your 3D printer. Click on the button and save the file on your computer to work, edit or customize your design. You can also find more 3D designs for printers on Retro Arcade Spinner Controller.