Retro Raspberry Pi 3 Case (Printable)
thingiverse
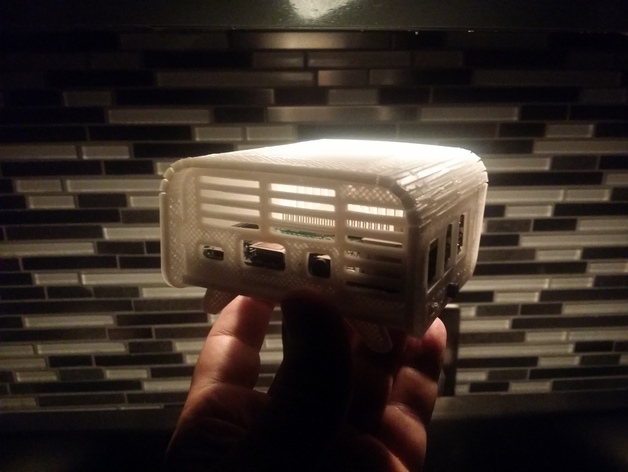
In Cura, I disabled top and bottom layer fill, then set infill to 26%. This resulted in a very airy case. I created a second, modified hood with wider gaps between the slits because my original ones were coming out bonded. I used M2.5 screws everywhere, along with extra washers, three on each screw, as spacers. No drilling was required for any holes. Raspberry Pi 3 case in a cute retro look package. This stylish design by McNugget is intended to be laser-cut, but I adapted it for 3D printing. Your results may vary. FROM McNugget's instructions: Please insert the back plate first and then use 1/4" nylon spacers for mounting the raspberry pi 3 to the base plate. Use two nylon nuts in the base plate and 12mm nylon screws to close the case. Be aware that the Raspberry Pi 3 does not have 3mm holes for mounting. The person who came up with this needs a long time to calm down! I drilled mine (yes, that means drilling out the holes in the pi board) to 1/8" to make my four nylon screws fit. Print Settings Printer: My 3D Printer Rafts: No Supports: No Resolution: 0.3mm Infill: 30%
With this file you will be able to print Retro Raspberry Pi 3 Case (Printable) with your 3D printer. Click on the button and save the file on your computer to work, edit or customize your design. You can also find more 3D designs for printers on Retro Raspberry Pi 3 Case (Printable).