Retrocade - Display Screen Panel in two easy print parts
thingiverse
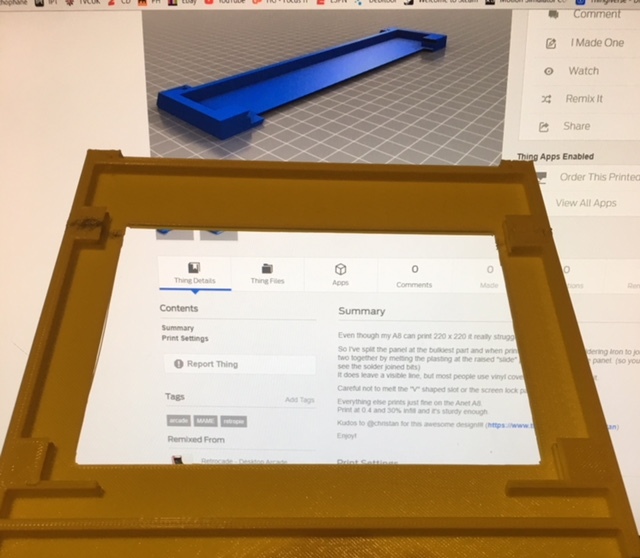
Even though my A8 can print 220 x 220, the real challenge lies in dealing with this panel. So I've taken a smart approach by splitting the panel at its bulkiest part. When it's printed, I simply use a soldering iron to join the two pieces together by melting the PLA at the raised "slide" part that is discreetly hidden behind the panel. This clever technique leaves no visible signs of the joint, making it nearly invisible to the naked eye. However, it does leave a faint line in its wake, but most people opt for vinyl covering or paint anyway. To avoid any mishaps, it's essential to be careful not to melt the "V" shaped slot, as this would prevent the screen lock panel from sliding in smoothly. As you can see in the photos, I made a minor mistake on the left side by allowing my iron to get too hot, but I've since adjusted the temperature for the right one. Everything else prints with ease on my trusty Anet A8, except for the back door - that's a story for another time! To achieve optimal results, print at 0.4 and 30% infill, and you'll be rewarded with a sturdy and reliable creation. I'd like to extend a huge thank you to @christan for this incredible design (https://www.thingiverse.com/christan), which has been a game-changer in my printing journey. Enjoy!
With this file you will be able to print Retrocade - Display Screen Panel in two easy print parts with your 3D printer. Click on the button and save the file on your computer to work, edit or customize your design. You can also find more 3D designs for printers on Retrocade - Display Screen Panel in two easy print parts.