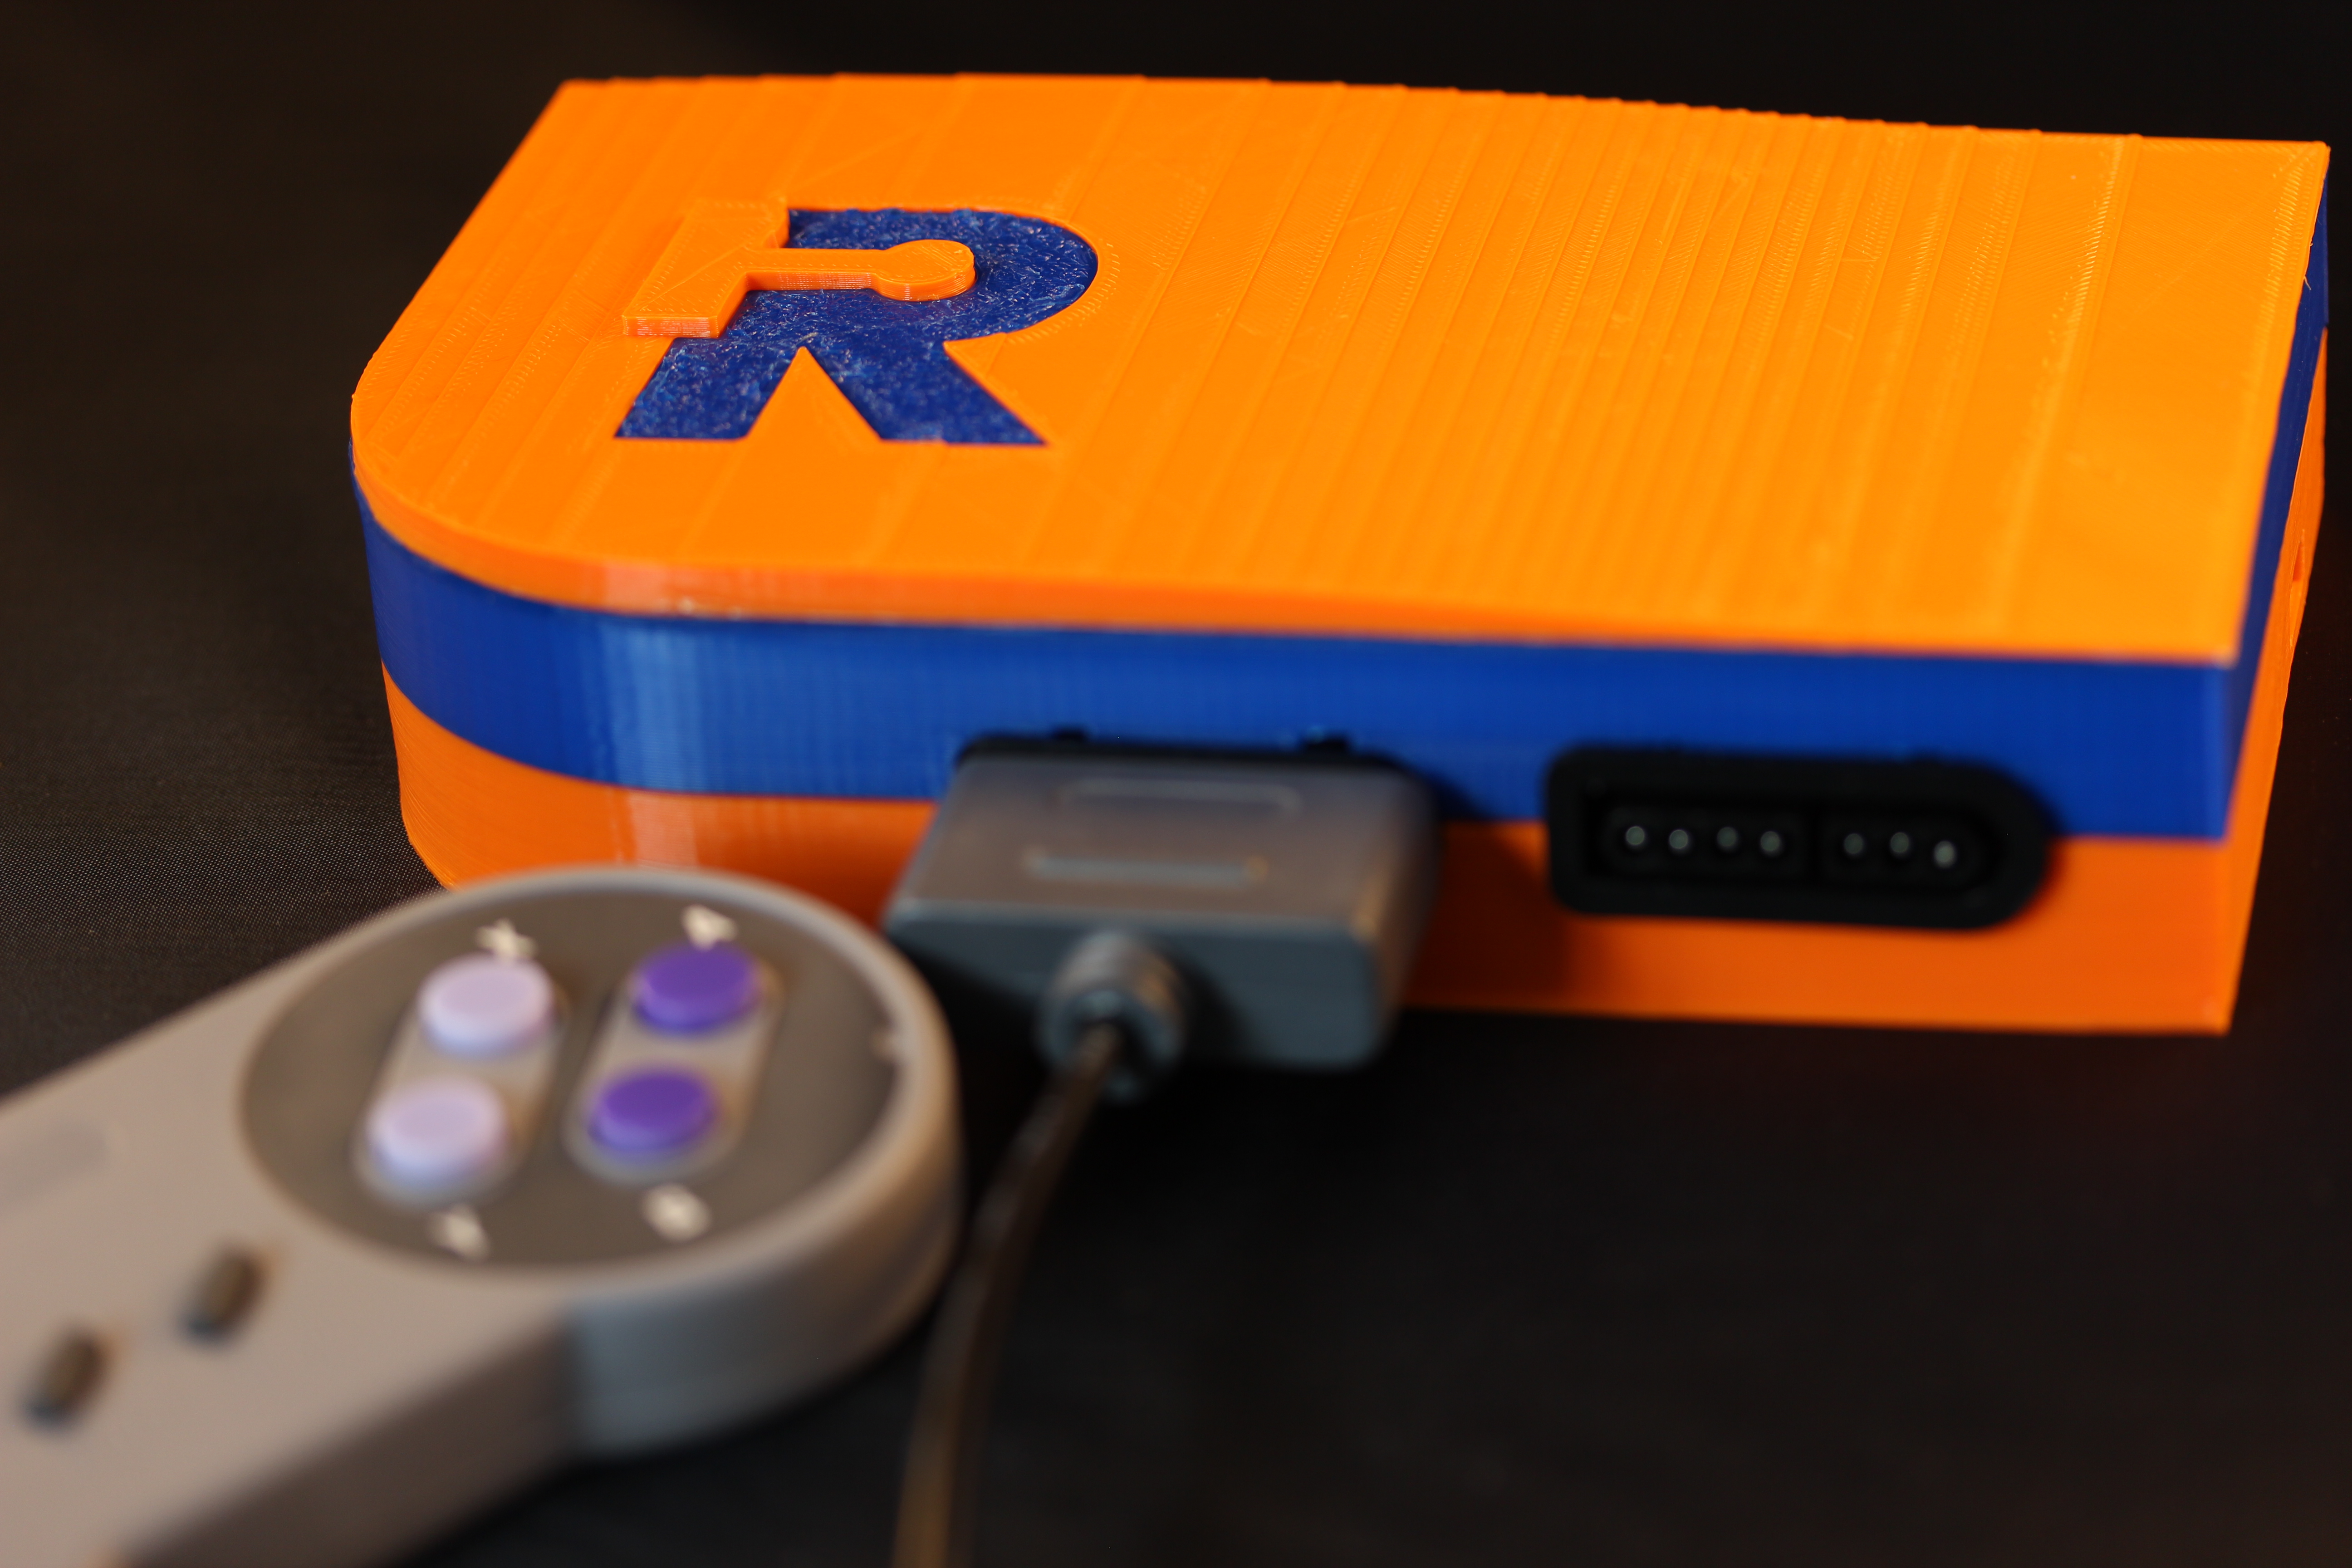
RetroPie Custom Console Case
prusaprinters
<p>This is an original design case for the Raspberry Pi. I have really got into the RetroPie and wanted to have a case for the Pi that looked more at home sitting under a TV screen. I didn't want to have wires and connectors popping out of the sides, so there is a cavity at the rear that allows access to the USB and Ethernet while directing the cables to the rear. This is the culmination of that design. I use the SNES controllers to control the emulators and wanted to have the ports on the front of the console, for that I am using PetRockBlog's <a href="http://petrockblog.storenvy.com/products/9880033-retropie-gpio-adapter">RetroPie GPIO Adapter</a>.<strong><em>Edit - 15/02/2016</em></strong> Added new lid and insert for Open Source Media Center (OSMC).</p> <p>The first design only had the SNES ports on the front, and while they work for me, some may not want them at all. So I made a 'plain' version of the case as well. Some time after I noticed a tweet on PetRockBlog's Twitter feed asking for a case that could also take their <a href="http://petrockblog.storenvy.com/products/13969704-powerblock">PowerBlock</a> as well. So I designed the case to accommodate that as well. Unfortunately as the PowerBlock and GPIO Adaptor both use the same pins there is no SNES version (something that only occurred to me AFTER I spent 8 hours printing out a case lol).</p> <p>Pretty much all the files have been updated (28/01/2016) with a number of improvements over the original - stand-offs are more robust, connector holes line up better and of course the PowerBlock version</p> <p>Each case is made up of 4 or 5 printed parts.</p> <p>If you want a<strong>SNES</strong> based case then print:</p> <ul> <li>RetroPie Mk3 Case Lid.stl</li> <li>RetroPie Mk3 Case Logo Insert.stl</li> <li>RetroPie Mk3 SNES Lower.stl</li> <li>RetroPie Mk3 SNES Upper.stl</li> <li><p>9 x No2 6mm Screws<br/> If you want a<strong>Plain</strong> based case then print:</p> </li> <li><p>RetroPie Mk3 Case Lid.stl</p> </li> <li>RetroPie Mk3 Case Logo Insert.stl</li> <li>RetroPie Mk3 PLAIN Lower.stl</li> <li>RetroPie Mk3 PLAIN Upper.stl</li> <li><p>9 x No2 6mm Screws<br/> If you want a<strong>Plain</strong> with<strong>PowerBlock</strong> based case then print:</p> </li> <li><p>RetroPie Mk3 Case Lid.stl</p> </li> <li>RetroPie Mk3 Case Logo Insert.stl</li> <li>RetroPie Mk3 PLAIN POWERBLOCK Lower.stl</li> <li>RetroPie Mk3 PLAIN POWERBLOCK Upper.stl</li> <li>RetroPie Mk3 Case POWERBLOCK Standoff</li> <li>8 x No2 6mm Screws</li> <li>M2 x 19mm Bolt</li> <li>5mm LED</li> <li>SPST Rocker Switch (RS Part No. 419794 or any that needs a panel cut out of 19.0 to 19.4mm)</li> </ul> <h3>Print instructions</h3><h3>Category: Computer Print Settings</h3> <p><strong>Rafts:</strong> No</p> <p><strong>Supports:</strong> No</p> <p><strong>Resolution:</strong> 0.3</p> <p><strong>Infill:</strong> 25%</p> <p><strong>Notes:</strong></p> <p>As the cover has a subtle curve you will want to print that as high resolution as possible (maybe 0.1mm)</p> <h3> Post-Printing</h3> <p><strong>Combining</strong></p> <h3> With the non-PowerBlock cases:</h3> <ul> <li>First secure the Pi to the lower section by 2 N2 x 6mm screws, using the mounting points in the centre of the case.</li> <li>If using the GPIO and SNES connectors use hot glue to secure them to the lower half of the case and attach to the Pi.</li> <li>Put the upper half of the case one and secure with 5 screws from the underside of the lower half.</li> <li>Secure the case lid with some glue and (optionally) with screws to help locate it correctly.<br/> For the PowerBlock case:</li> </ul> <hr/> <ul> <li>First secure the Pi to the lower section by 2 N2 x 6mm screws, using the mounting points in the centre of the case.</li> <li>Insert the M2 x 19mm bolt through the rear right hole (near to the Pi's micro USB power port).</li> <li>Place the spacer over the top</li> <li>Plug in the PowerBlock and connect LED/Switch (the pins will need to be bent to about 45 degrees to fit)</li> <li>Put the upper half of the case one and secure with 5 screws from the underside of the lower half, including the M2 bolt. I found that using a cross headed screwdriver to chamfer the M2 bolt hole helped it get purchase and tighten.</li> <li>Secure the case lid with some glue and (optionally) with screws to help locate it correctly.<br/> <em>Be careful to not over tighten the screws (especially the M2 bolt) as it is very easy to strip the plastic.</em></li> </ul>
With this file you will be able to print RetroPie Custom Console Case with your 3D printer. Click on the button and save the file on your computer to work, edit or customize your design. You can also find more 3D designs for printers on RetroPie Custom Console Case.
