Ribbon Tweeter
thingiverse
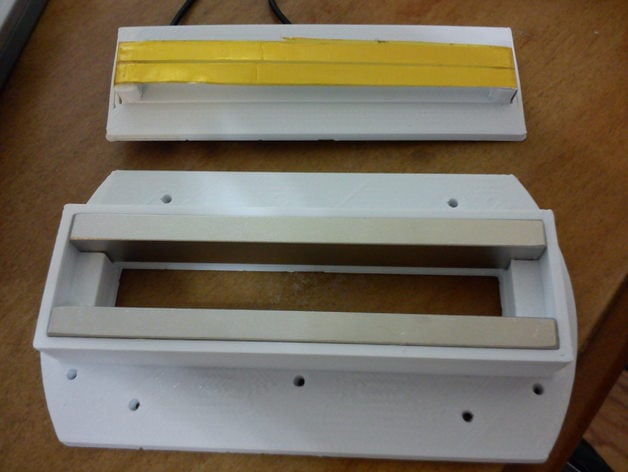
Create a printable ribbon speaker with these steps: first, print the three parts; then, attach two neodymium 100x10x5mm magnets to the front ribbon part; next, cut aluminum foil into strips and apply Kapton tape over it, trimming it to 15mm x 150mm; crimp the ribbon with any pattern, like accordion crimping, and feed it through the slots in the back ribbon part. After attaching leads to the aluminum foil side, pull the ribbon taut and secure it with more Kapton tape. Assemble everything and test your speaker with a 5w amp; it should have a frequency response of 2k to over 20k. A mic may not accurately detect frequencies above 20k. To improve sound quality, ensure the aluminum is as close as possible to the magnets without touching. Materials are inexpensive and easy to obtain, so multiple attempts can be made for an optimal result. For a sample video of this speaker in use, visit http://www.youtube.com/watch?v=HuWMWJt0-uI&feature=youtu.be.
With this file you will be able to print Ribbon Tweeter with your 3D printer. Click on the button and save the file on your computer to work, edit or customize your design. You can also find more 3D designs for printers on Ribbon Tweeter.