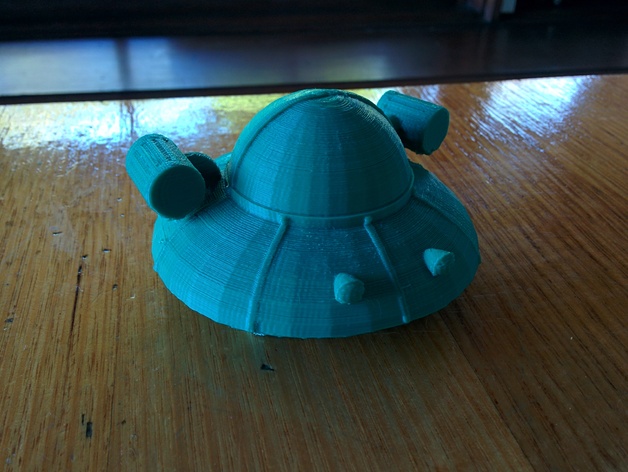
rick and morty spaceship
thingiverse
This is a model of the spacecraft found in the popular cartoon series, Rick and Morty. I modeled it within an hour or two using simple blocks & holes that have been reshaped and resized within Tinkercad. Below are guides on how to use this project within a learning environment, whether a classroom, a club, or anything in between. Print Settings Printer: Da Vinci 1.0 Rafts: Doesn't Matter Supports: Yes Resolution: Anything below 0.3mm should be fine Infill: Whatever you feel comfortable with will work Notes: The image shows the print I've done which has a diameter of roughly 5cm. It was printed at 0.2mm layer height. A few parts didn't turn out too great but that was mostly due to the size and probably my settings choices. How I Designed This The Cat A friend of mine, a Chinese language teacher, will be the example for the lesson project. Their course for years 3-4 includes a major section about animals. They learn about simple questions and statements about these five animals (cats, dogs, rabbits, fish & birds). This cat is much simpler than the spaceship, allowing younger or newer kids to be able to do this. But note that this exact design is not necessary. It is just a concept. Individual teachers can choose what they would like the children to do and customize their amount of involvement; getting the children to follow a certain instructional guide or getting them to figure out their own designs: However, this comes with its own set of hardships such as making sure they design objects which can feasibly be printed (e.g. checking for thin walls/details, size constraints, strange overhangs). Thankfully most slicers will check for this and proceed to warn you before printing. There are also many fixes for these such as netfabb's model repair service which is simple, quick and works well. Below are the steps I took to design these animals. Their applications and purpose will be below in the project component. As always, I started with the basic building blocks (the head and the body). The body was rotated a bit to fit with my design concept. Then came the legs. They were made with a few paraboloids and stretched spheres. A good tip is to do one side first and rotate, scale and stretch the parts until they look like you want. Then copy them over and move them to the other side. The ear was a simple paraboloid with a larger paraboloid cutting a hole into the side. It is then just a matter of resizing them and fitting them into place. The tail was made in basically the same way, instead I took a torus shape and cut portion out of it using a tube. I simply attached it to where I wanted, duplicated it, flipped it up and connected it to itself, making the 'S' shape I wanted. Here it is, all finished with the eyes and nose to give some detail. Project: Comprehension through creation Comprehension Through Creation
With this file you will be able to print rick and morty spaceship with your 3D printer. Click on the button and save the file on your computer to work, edit or customize your design. You can also find more 3D designs for printers on rick and morty spaceship.
