Rigidbot SLS (Sugar LASER sinterer) MOD
thingiverse
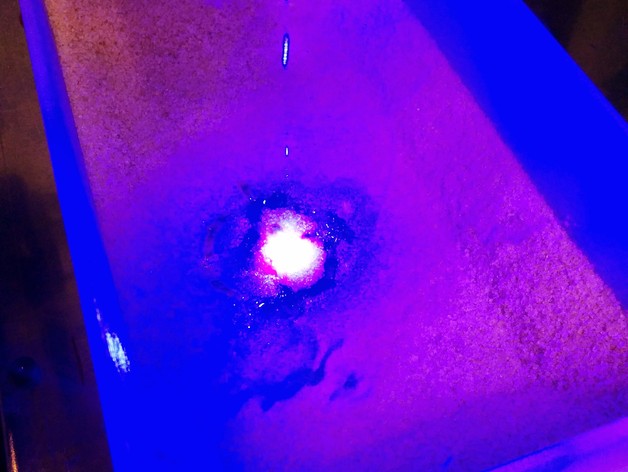
I have been experimenting over the last couple of days with transforming a Rigidbot FDM 3D-printer (and others as well) plus a $200 L-Cheapo v2 laser cutter/engraver module into a crude SLS (Selective Laser Sintering) printer for powdered build materials. My goal is to have all this set up with minimal modifications: Standard FDM-type 3D-printer Laser cutter/engraver SLS-printer Currently, the setup is not very fast and it takes around 10 minutes to make one layer, but hopefully, I can optimize the process better with a more suitable slicer & G-Code settings. I have experimented mainly with cane sugar because I had it on hand, and scrap prints are absolutely delicious. The aroma of burning sugar is also much nicer than burning plastics. If you plan to use some other material like acetone powdered ABS from your scrap prints, you will want to adjust your printing speed and other settings accordingly. The plow setup is quite simple but also a little too violent, so I need to adjust the printing starting height so that the first layer of material bonds with the build box bottom for support. If the print doesn't stick, lower the print starting height. I also recommend checking your laser lens assembly and tighten the spring inside it. WARNING: This is highly experimental, and if you do not know what you're doing and won't wear appropriate protection, you will go blind and burn your house down, so don't attempt to do it. But if you do try it, never leave your printer unattended or look at the laser light without suitable protective gear. Even with protective goggles, it is unwise to look directly at the beam, and it's unfortunate for our eyes that the only way to focus L-Cheapo properly is to stare at the laser focal point and adjust the lens assembly. Instructions: You will need: Fine cane sugar - The darker the sugar, the less build time. It should not be sticky sort or even have lumps. The plow (aura.stl) is actually the only Rigidbot 3D-printer specific part, so if some other printer is used you will need to remodel it to fit your own extruder assembly. I printed it with PLA and 0.15mm layer height. L-Cheapo v2 laser module (If your laser begins to flicker, put a larger cap on the output). I used this marvelous design by xzivr: http://www.thingiverse.com/thing:593054 Build box (loota.stl) printed with PLA - I used mild underextrusion at the build box floor so that there is more of an adhesive surface for sugar to stick to. The code assumes you drive your Z-axis to 80mm and also move your Z-axis limit switch so it doesn't crash with the build plate/box. If you have Simplify3D, I will include slightly modified original start.gcode from robotseverywhere: M104 S0; Laser OFF G21 G28 X0 Y0; Do not check the Z-level to prevent a crash into the build box. G92 Z80; Set Z level to 80mm, which has to be set manually before print G1 Z+80; Drive Z to 80mm (It is already there!) G90 G92 X0 Y0 Z0 E0; Set current position to ZEROES M400; Wait M104 S100; Laser ON And end.gcode: G91; Set relative movements on, why? M400; Wait M104 S0; Laser OFF G28 X0 Y0; Park M84
With this file you will be able to print Rigidbot SLS (Sugar LASER sinterer) MOD with your 3D printer. Click on the button and save the file on your computer to work, edit or customize your design. You can also find more 3D designs for printers on Rigidbot SLS (Sugar LASER sinterer) MOD.