Roatary Puzzle Box With Magnet Lock
thingiverse
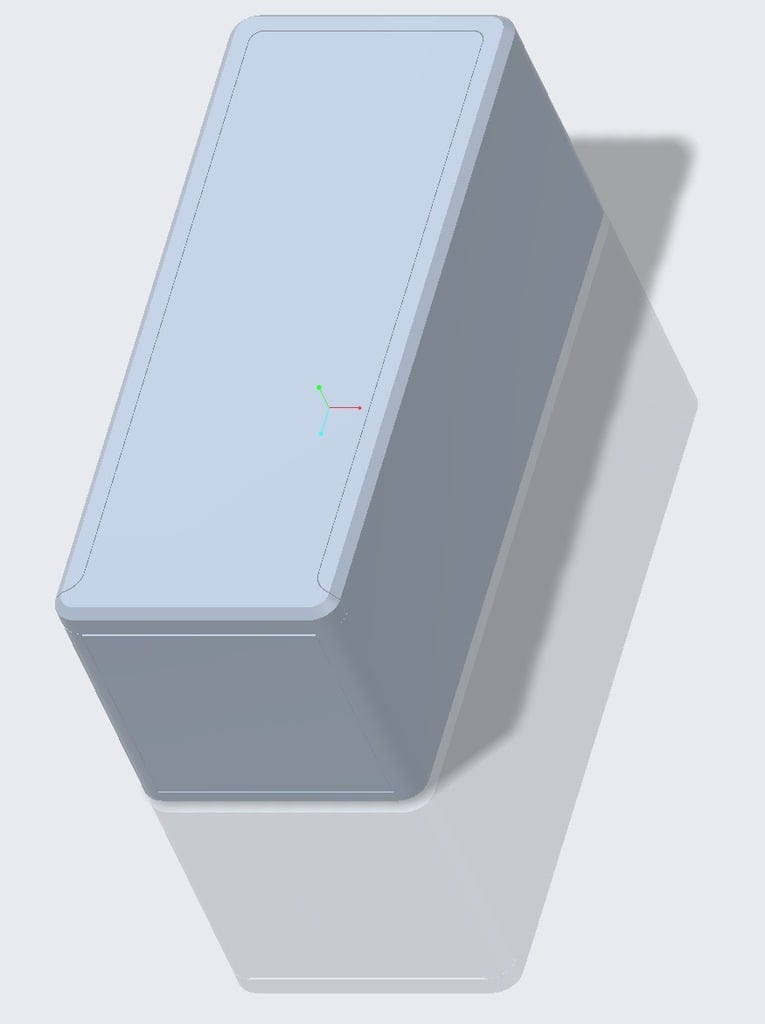
Parts needed: -Cylindrical magnet, D=4mm L=10mm -Thin sheet metal (approz 0.75mm thick) cut to approx 19mm x 2.5mm -2 x 608 bearings (roll with little resistance) -Some small weights (BB's used) (magnets/sheetmetal were purchased from officeworks in Australia, includes 8 magnets and a thin piece of sheet metal in the box) Print Info: -The front part should be printed upright with support (shaf is stronger in this orientation) -The body part should have support under the overhang within the main cavity -Do not detect thin walls for the key parts -Detect bridging perimeters -Drop magnet in the hole before the horisontal dovetail for the lid on the body part begins Print Settings: -Layer height=0.15mm -Nozzel diameter=0.4mm -Brim used Assembly: -Insert magnet druing print (Drop magnet in the hole before the horisontal dovetail for the -lid on the body begins) -Insert weights into cavity in key's (do not enable thin wall detection) -Insert bearings into keys -Insert bearing/key/weight assembly onto shaft of front part, with open side of key part facing the wall of the front part -Insert spacer onto shaft of front part -Insert bearing/key/weight assembly onto shaft of front part, with open side of key part facing the wall of the front part -Insert spacer onto shaft of front part -Insert front/key/bearing/weight/spacer assembly into the body with the flat face of the shaft of the front part facing up (the lid) -Insert thin sheet metal into the side of the lid -Rotate keys and slide the lid to close the box
With this file you will be able to print Roatary Puzzle Box With Magnet Lock with your 3D printer. Click on the button and save the file on your computer to work, edit or customize your design. You can also find more 3D designs for printers on Roatary Puzzle Box With Magnet Lock.