Robo 3D Printer Y Axis Upgrade
thingiverse
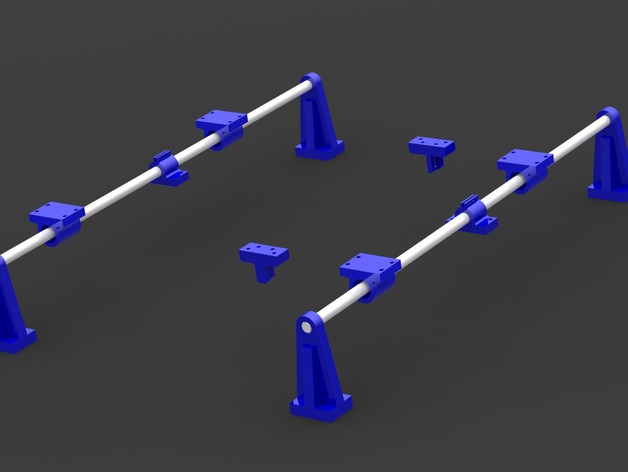
This is a major Upgrade for the Y axis on a ROBO 3D printer, specifically the Kick-starter version. I designed this upgrade due to frequent jams experienced with the original Y-Axis that employed drawer sliders. Right now, I enjoy around 11 inches of Y-Axis movement utilizing 24-inch rods and effectively recycled the belting from the original setup. The intention is to install longer 48-inch long rods for ~23 inches of motion. I leveraged several crucial components from McMastercarr: * 1/2" Linear Ball Bearing (P/N: 60595K73) * 1/2" Steel Shaft, 24" in length, suitable for longer alternatives (P/N: 1346K18) * A 1/4" wide Timing Belt of adjustable length to match your preferred shaft size (P/N: 7959K21) However, it's crucial that a brand new bed is manufactured for the setup to mount everything effectively. For this, I utilized plywood from the local hardware store and #10 screws. Since printing with PLA on the plywood bed secured by Blue tape hasn't raised any issues, the approach appears viable. Notable tasks pending resolution include: * Proper mounting of the Heat Bed as well as Glass on the brand new plywood base
With this file you will be able to print Robo 3D Printer Y Axis Upgrade with your 3D printer. Click on the button and save the file on your computer to work, edit or customize your design. You can also find more 3D designs for printers on Robo 3D Printer Y Axis Upgrade.