Robo 3D Z-Axis Limit Switch Fine Adjustment
thingiverse
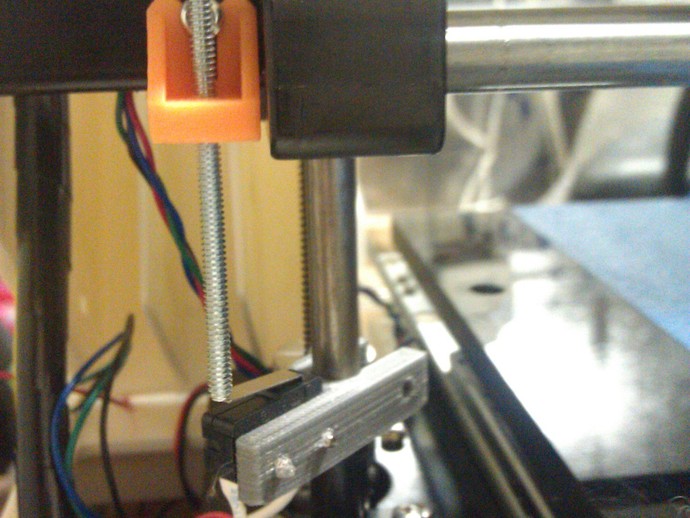
For early Kickstarter Robo3D models, this 3D printable bracket attaches to the z-axis motor mount, enabling fine adjustments of the z-axis home position. It's a modified version of a concept shared by Cambo3D on the Robo3D forum (http://forums.robo3dprinter.com/index.php?threads/better-z-height-adjustment-mod.838/). The original mod required drilling into the injection molded part, but this version uses a bracket for non-destructive implementation. To install, print the part, insert a 6-32 2" long screw (tapping is optional), mount it to the lower right corner motor mount (a longer screw may be needed), move the z-axis up and push the limit switch bracket down 45 degrees, fasten it to the motor mount screw, and secure with the 6-32x2" screw. Adjust as necessary for optimal nozzle-bed gap.
With this file you will be able to print Robo 3D Z-Axis Limit Switch Fine Adjustment with your 3D printer. Click on the button and save the file on your computer to work, edit or customize your design. You can also find more 3D designs for printers on Robo 3D Z-Axis Limit Switch Fine Adjustment.