Robo3D Enclosure
prusaprinters
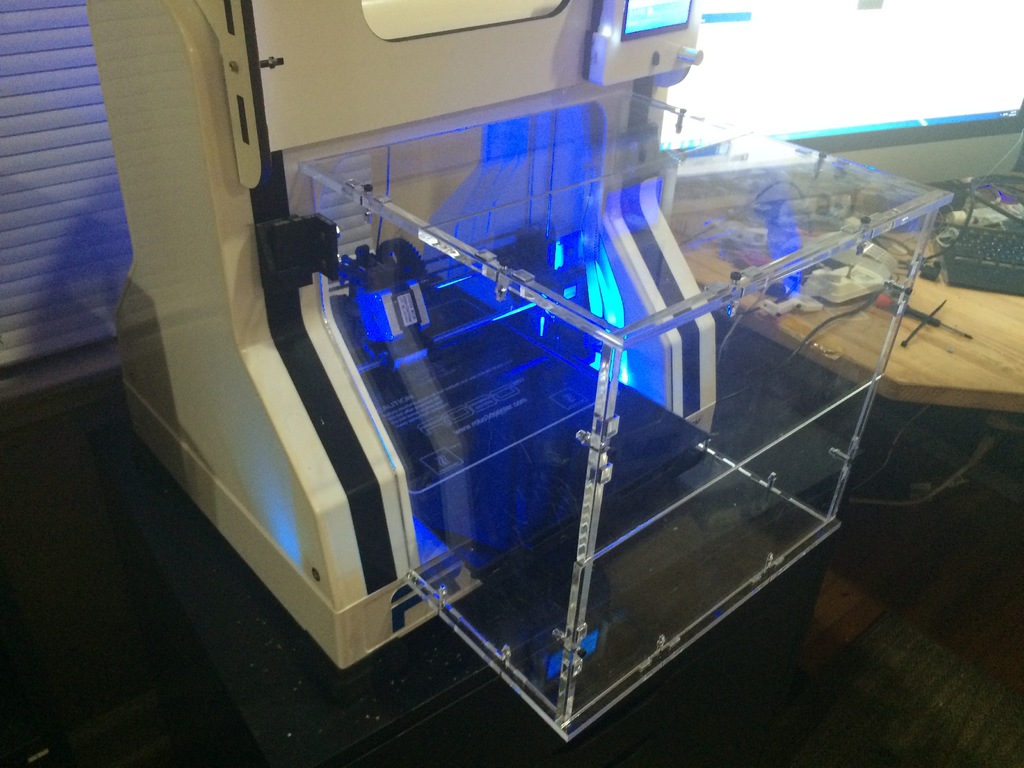
<p>This is a derivative of Mike Kelly's enclosure over at <a href="http://forums.robo3dprinter.com/index.php?threads/mike-kellys-robo3d-enclosure.2712/">http://forums.robo3dprinter.com/index.php?threads/mike-kellys-robo3d-enclosure.2712/</a><br/> I cleaned it up and changed the design so that you can use either .236" or .25" thick material and it can be assembled with just M3 nuts and bolts (20mm or 18mm). This makes it very strong. It also allows you to change out just one part if you happen to damage it one way or another.<br/> I also unified the design so you don't have subtle differences between each side like in the original design.<br/> It still uses the same slot hinges from the original design so you can go get them from the original version on the link above.</p> <p>Ignore the line on the top and front from the picture. I didn't have any extra acrylic to cut it as a whole piece but the source files have it as a single piece.</p> <h3> Instructions</h3> <p>Get the 3d printed hinges from here <a href="http://forums.robo3dprinter.com/index.php?threads/mike-kellys-robo3d-enclosure.2712/">http://forums.robo3dprinter.com/index.php?threads/mike-kellys-robo3d-enclosure.2712/</a><br/> Attach the hinges as you see fit. I used 8 - M4 14mm Pan heads.<br/> You also need 14 - M3 - 20mm nuts and bolts to assemble the frame.</p> Category: 3D Printer Parts
With this file you will be able to print Robo3D Enclosure with your 3D printer. Click on the button and save the file on your computer to work, edit or customize your design. You can also find more 3D designs for printers on Robo3D Enclosure.