Robo3D Z Isolator v2 (with nylon nut)
thingiverse
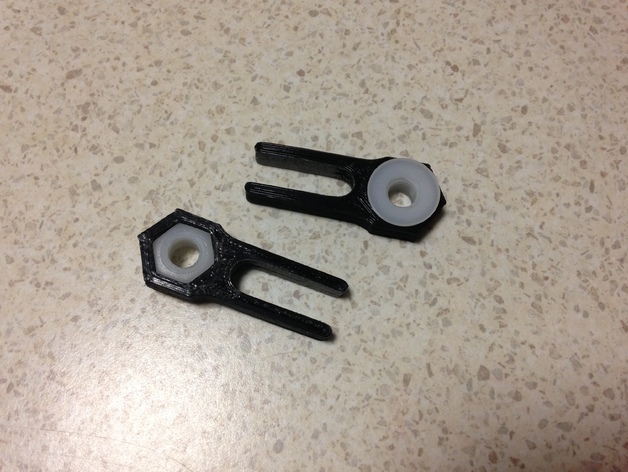
Description This design works a lot better as the surface of the nylon nut's washer face slips on the X carriage much better and the nylon nut has less slop on the threaded rod and less stiction. It helps remove Z ribbing caused by bent Z screws and/or Z couplers that aren't perfectly centered. Works best in tandem with a Z constraint like http://www.thingiverse.com/thing:1124184 Instructions This design requires M8 Nylon Washer Faced nuts with a 13mm face to face distance. Such as the following ones on ebay.http://www.ebay.com.au/itm/10x-M8-NYLON-NUTS-Metric-Washer-Faced-Stud-AUS-STOCK-/181226389121?hash=item2a31ef3e81:g:HqcAAOSwwbdWMqiv Print 2 of these and press one of the nuts into each. Make sure the nut fits firmly and the guide arms don't have any slop on the 8mm Z guide rod but isn't tight. I lubricated the inside of the guide arms. Take your X carriage and Z nuts off and manually screw the isolators on, nut washer face up, onto the Z screws by turning the Z screw by hand until they're about an inch odd down on the Z guide rod. Do not try use the motor to do this as the Z screw will flop around and you could damage your Z coupler. Once you have both isolators on and at the same height put the X carriage back on and control the motors to lower the carriage. You'll need to lower your Z end stop and lengthen the screw, if you have one. Re-level the bed and do a test print. Print Settings Rafts: Doesn't Matter Supports: No Resolution: 0.3mm Infill: Solid Notes: There is no tolerance in the design, it's exactly 13mm from flat to flat for the nut insert and 8mm for the guide arms. You'll need to have your printer accurately calibrated. You can use the XY offset now provided in Slic3r and S3D as I do. You may still need to do some slight filing/sanding. Mine is printed using S3D with 3 perimeters.
With this file you will be able to print Robo3D Z Isolator v2 (with nylon nut) with your 3D printer. Click on the button and save the file on your computer to work, edit or customize your design. You can also find more 3D designs for printers on Robo3D Z Isolator v2 (with nylon nut).