Robox DIY Smoke Alarm Power Switch using Arduino Micro
thingiverse
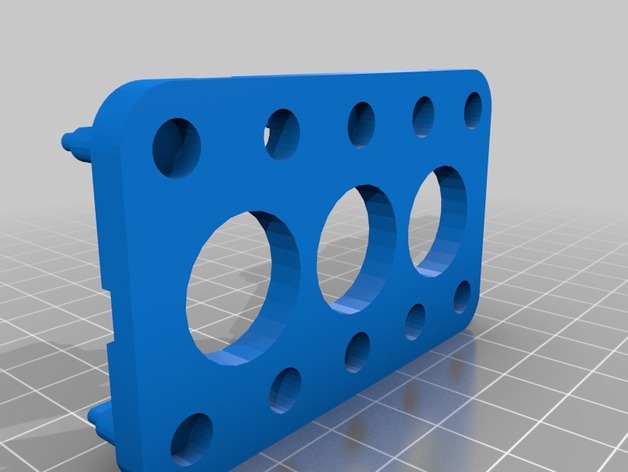
What is the DIY Power Switch for Robox 3D Printers to Detect Carbon Monoxide Gas? A homemade power switch for Robox 3D printers can be created using an Arduino Micro and other components to detect carbon monoxide (CO) gas levels in the printer environment. This DIY project includes a smoke detector-style design that triggers a power switch off when CO levels reach a certain threshold. Hardware Requirements * 1 x Arduino Micro * 1 x Power Switch Tail II Module * 1 x Piezo Speaker Module * 2 x RJ-45 Ethernet Cable (male-to-female) * 3 x Female-Female Jumper Wires * 1 x MQ-7 Carbon Monoxide Sensor Breakout Board * Other components and tools to build a housing for the DIY project Assembly Instructions 1. Attach all the electronic components to the board or use wire-wrapped breadboards as an alternative option. 2. The MQ-7 sensor's VCC pin is connected to the Arduino's digital input 3, while the AO (analog out) is connected to digital input A0. Note that it may take around a minute or so for this project to complete because some tools are used here. However, with all these easy steps, your homemade carbon monoxide gas level switch will function properly. Troubleshooting Issues If the device does not function as expected, try adjusting the threshold setting in the SmokeAlarmRobox.ino Arduino sketch code from static const int GAS\_LEVEL\_THRESHOLD = 800 to a different number that may fit for your printer setup better. This guide includes step-by-step assembly and wiring instructions using common components found online. By following these simple steps, anyone can create their own DIY power switch to detect high carbon monoxide levels in Robox 3D printers.
With this file you will be able to print Robox DIY Smoke Alarm Power Switch using Arduino Micro with your 3D printer. Click on the button and save the file on your computer to work, edit or customize your design. You can also find more 3D designs for printers on Robox DIY Smoke Alarm Power Switch using Arduino Micro.