Rock-solid build plate pad upgrade for Replicator 2
thingiverse
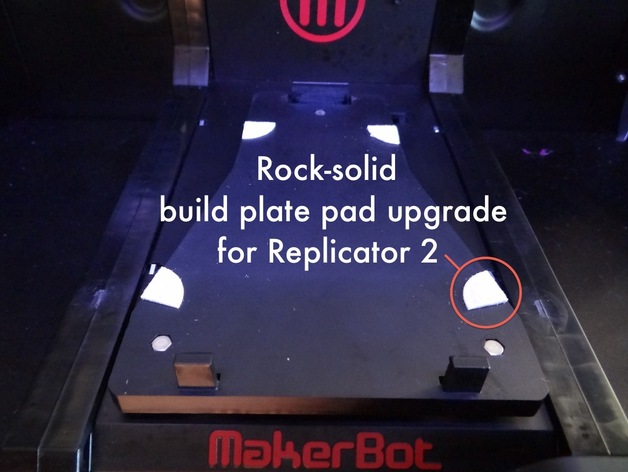
Improve your Replicator 2's build platform rigidity and potentially enhance tall prints' surface quality with this practical upgrade. Just a few days after acquiring my Replicator 2, I noticed print degradation and cracks in prints due to the floppy acrylic build plate. A temporary fix involved using paper shims between the plate and levelling platform, but a better solution was needed. Thus, I created felt surface saver pads that offer greater dimensional stability than rubber ones. To make these pads, purchase adhesive-backed felt pads (usually used to protect hardwood floors) from a local supermarket or hardware store. Trim the pads to be 1-2mm high, score them with a knife for easy cutting, and use sandpaper to smooth any imperfections. Finally, cut the pads into four segments and replace the old ones by following these steps: remove the acrylic build plate and levelling platform, clean off adhesive residue, prepare the surface with mentholated spirits, apply the new felt pads, reinstall the levelling plate, and run a bed levelling procedure.
With this file you will be able to print Rock-solid build plate pad upgrade for Replicator 2 with your 3D printer. Click on the button and save the file on your computer to work, edit or customize your design. You can also find more 3D designs for printers on Rock-solid build plate pad upgrade for Replicator 2.