Rocket Fin Bevel Jig
thingiverse
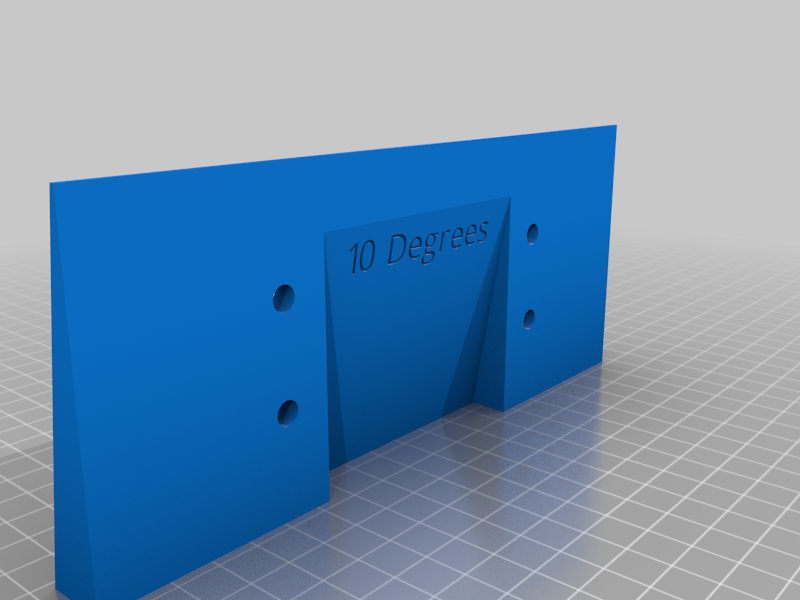
This is a jig for beveling rocket fins for mid and high power rockets. Primary designed for a BOSCH RA1181 router table; may be useful for other router tables. The jig is made of three components. * The brace which has two parts * Top "feather board". * The Slider sits in the router table groove * The 10 degree fence shim plate * The 10 degree brace face plate To assemble, it requires the following: * Four #8-32 brass inserts * Two #8-32 5/8" socket head bolts * Two #8-32 1/2" socket head bolts * Soldering iron with insert tips Printing can be done with standard PLA using standard settings. The fence shim should be with the text facing upwards. The brace face plate should also be printed facing upwards and for the best results should use plate on supports. Assembly is straight forward. First assemble the brace face plate. * First take the brace face plate and lay it flat on a surface, with the text facing upwards * Using the heated soldering iron, mount the brass inserts into the four holes making sure that each insert is flush Once the inserts have cooled, then assemble the brace top. * Screw the face plate onto the Top brace, with the thickest end being flush with the bottom of the Top brace * For the top two holes use the 1/2" bolts * For the bottom two hole use the 5/8" bolts Next is attaching the brace Slider to the Top brace. * Grab two of the knobs from a feather board for the router table and remove them from the feather board * Run the knob bolts up through the brace Slider and set the Slider inside the rails of the Top brace * Screw the knobs onto the bolts Finally, attach the fence shim plate to the fence. * Remove your fence from the table * Unbolt the two inner most bolts holding the face plate onto the fence * Using the bolts, attach the face shim plate onto the face plate * The edge with the bit notch should be flush with the bottom of the fence * Remount your fence to the router table Router table setup is as follows: * Adjust the fence so that the fence, not the shim's, leading edge is just behind the 0" measurement marker * Install the brace as you would a feather board on the middle set of feather attachment points For a drill bit use, I use a flush trim router bit. You should be fully assembled and mounted. To use, first place your fin between the two face plates and make sure that the brace face plate is snuggly, but not too tight, up against the fin. You should be able to slide the fin back and forth. Do this on both sides of the fin. To bevel the fin, start the router and simply slide the fin between the face plates from right to left. Flip the fin around and slide the fin back through again right to left. You should have nicely beveled fins! Make sure you practice with some scrap lumber. The shim is 0.125" which should leave about a 0.125" edge on the root of the fin for a 3/16" fin. You may also need to adjust the height of the router bit to get a complete bevel.
With this file you will be able to print Rocket Fin Bevel Jig with your 3D printer. Click on the button and save the file on your computer to work, edit or customize your design. You can also find more 3D designs for printers on Rocket Fin Bevel Jig.