ROFI Head Shell
pinshape
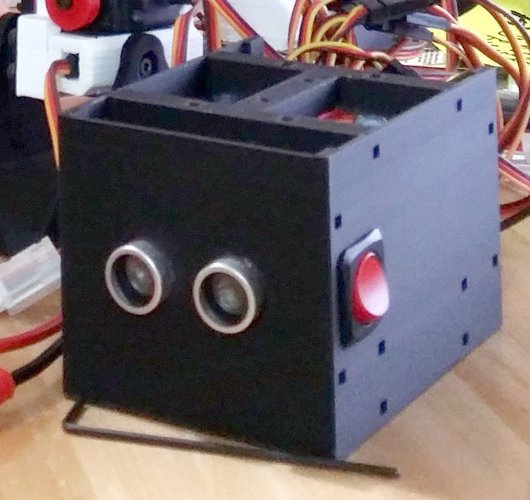
Summary While my son and I were building the ROFI robot, the biggest challenge we faced was trying to put all the electronics into a head that was simultaneously being constructed of separate panels. It was an exercise in juggling and frustration. Most electronic projects I've worked on (I'm a degreed electrical engineer with nearly 40yrs experience in building electronic projects) have been contained in some type of pre-existing enclosure rather than building the enclosure at the same time the electronics are being assembled. Just print this off and install the ROFI head electronics inside. It could not be more simple and you only need four bolts to attach it to the body of the robot. Use the stock back panel from the ROFI project to seal off the back of the head once you get the electronics inside. This latest revision also has an internal track to slide your Arduino board in, so you don't need to fumble with board mounting screws. This is a remix of the Arduino Mega Clip Mount Base (http://www.thingiverse.com/thing:702345). This solution avoids internal screws entirely. I also added a hole to access the power switch of the Android tablet. Top window has been lengthened to allow the user to reach all the buttons on the tablet as well. Instructions Example printed in PLA on a MendelMax 3 @ 200 deg C / 70 deg bed heater.
With this file you will be able to print ROFI Head Shell with your 3D printer. Click on the button and save the file on your computer to work, edit or customize your design. You can also find more 3D designs for printers on ROFI Head Shell.