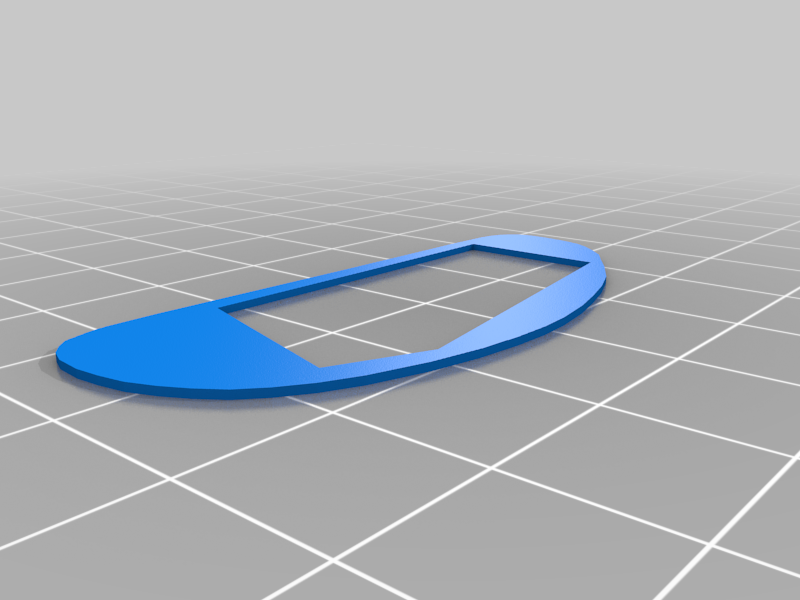
Rokid Max Lens Masks (Template)
thingiverse
*What is this thing?* Some Rokid Max users experience focus and glare issues in the very corners or around the edges. These masks leverage a principal known as edge diffraction to sharpen up these areas of the image. I was originally masking off my lenses using adhesive vinyl, but moved to a 3D printed approach as these are much easier to add/remove any time you need to, and it's also much easier to make fine adjustments to the masks just by moving edges a fraction of a millimeter and reprinting (each print takes about 3 minutes). Note that the included STL files should be considered templates. These particular masks were made for myself, and I can almost guarantee they won't work for you without some modification to the inner edges that form the mask. As such, some knowledge of manipulating 3D models will be required in order to make use of these. Since I created them, decided may as well share in case someone else can use them. You can see the principal that allows these masks to work in action easily enough. With one eye, look at some text in the distance that you can barely read, such as the binding of a book on a shelf across the room. While looking at that text, take something with a straight edge, such as a credit card, hold it below, but close to your eye and gradually raise it up into your line of sight. At the point right before the edge of the card starts to actually obstruct your ability to see that text, the text will get very sharp and crisp. This hack takes this same principal and selectively applies it to any edge of the image in each eye that is particularly problematic with regard to focus and glare. Note that the masking will be very specific to each individual and there is quite a bit of trial-and-error involved in the placement, as there is a fine line between where this helps, and where it actually starts to make things worse by obstructing the image. In addition, the masking may cause a very slight dimming effect right along the masked edge, but if done correctly, this is unnoticeable when viewed with both eyes, and the end result can be quite effective. In my case, I now have nice sharply focused corners and edges all the way around my Rokid Max image. Here are the basic steps I used to accomplish this. 1. Adjust the glasses so that they fit the way you want to wear them, with the image centered as much as possible. 2. With one eye closed, identify the edge in the other eye that is most out of focus or has the most glare. 3. Take a piece of painter's tape (I used the easily removable blue stuff) and cut a small strip with a straight edge that is long enough that you can grab and slide it between your eye and the lens enclosure. 4. Slide the tape into the gap and try and align it as close to the target edge as possible, then stick it down. If it's not making any visible difference, move it a smidge closer. If it's obstructing the image, move it out a smidge. Repeat until you get the best positioning possible. 5. Repeat steps 3 and 4 for any other problematic edges visible by the first eye, and then repeat the entire process for the other eye. 6. With both eyes open, evaluate the final results. You should have a pretty good idea at this point if this approach helps in your situation or not. If you aren't seeing any improvement, maybe this approach won't help in your case, and you can remove all the painter's tape and clean up. 7. If you see improvement and are pleased with the results, you can replace you can take some measurements of where the masking tape is located relative to the lenses themselves and use these measurements to tweak the included STL file to match where the tape has been placed. 8. Print the STL and see how closely it matches your mask. I recommend leaving the tape in place until you have your first print of the masks, as you can overlay them to verify that the masks are correct, and the make adjustments as needed. Note that the STL files print with a small gap underneath along one edge to help get a fingernail under them and peel them off from the build plate. 9. At this point, you can make fine adjustments to the edge of the mask by editing the STL file and reprinting, if desired. 10. I used a very thin piece of double-stick tape on each edge of the mask to stick it in place. The tape tends to stick to the mask, not the glass, so it's easy enough to just pop them off if you need to for any reason. If all went well, enjoy your hopefully much more focused edges and corners!
With this file you will be able to print Rokid Max Lens Masks (Template) with your 3D printer. Click on the button and save the file on your computer to work, edit or customize your design. You can also find more 3D designs for printers on Rokid Max Lens Masks (Template).