Rolly Reel Holder
prusaprinters
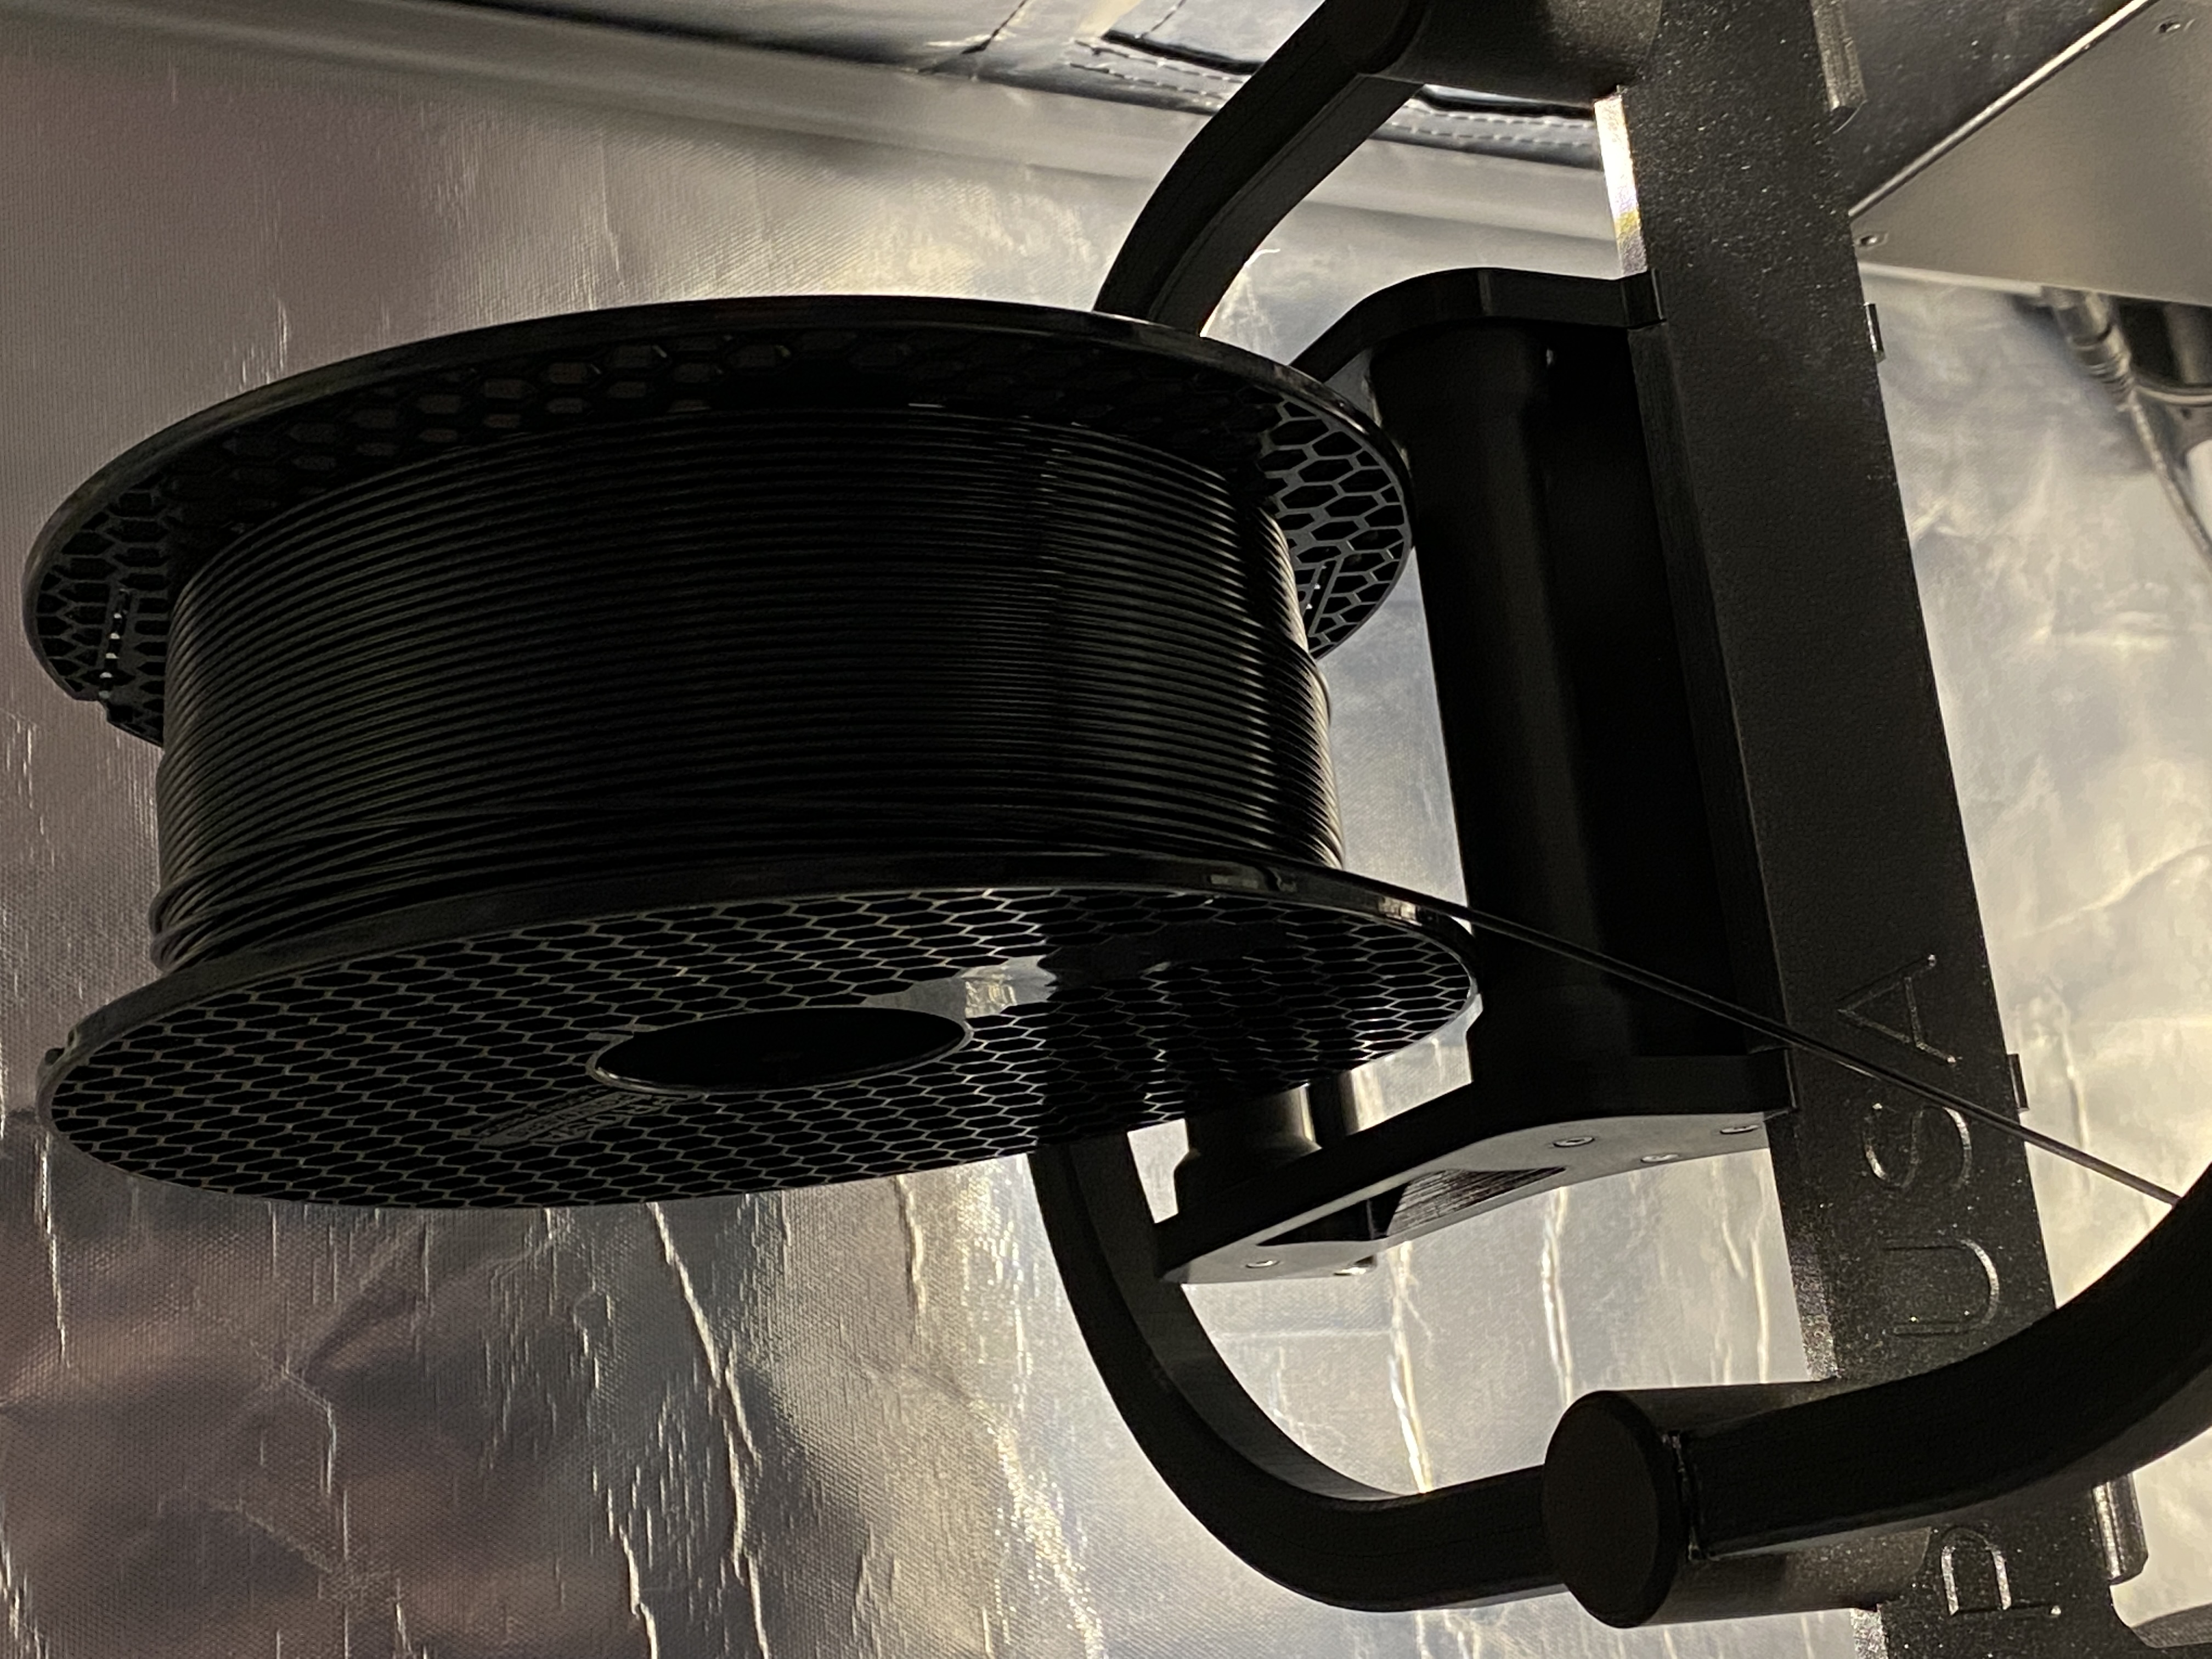
<h3>Rolly Reel Holder</h3><p>The Rolly Reel holder is a single-reel, bailer-less, overhead reel holder for the Original Prusa I3 MK2/3(S+) series. It mounts to the top-most 6x40mm section of the stock frame. It features grease damped roller bearings for long life and smooth operation.</p><h4>Parts List</h4><p>In addition to the printed parts, you will need:</p><ul><li>8 <a href="https://www.amazon.com/gp/product/B07VNDFYNQ">M3x20mm Socket Head Cap Screws</a></li><li>4 <a href="https://www.amazon.com/gp/product/B07VNDFYNQ">M3x8mm Socket Head Cap Screws</a></li><li>4 <a href="https://www.amazon.com/uxcell-Groove-Bearing-Double-Bearings/dp/B07FDYTJS5">608ZZ bearings</a> (these are usually pre-packed with grease)</li></ul><h4>Printing the Parts</h4><p>All parts print fine with a 0.4mm nozzle. 0.20mm layer height (or finer) is recommended.</p><h5>The Rollers</h5><p>Print two of the rollers. For best results, print them standing on end. You will need support material (build-plate only) to ensure the bottom bearing cavity has the right shape and dimensions when printed.</p><h5>The Brackets</h5><p>Print one left bracket and one right bracket, flat side down.</p><h5>The Front Spacer and Rear Spacers</h5><p>Print the front spacer with the flat (upper) face down. Print the rear spacer with the square side touching the build plate. Support is not required.</p><h4>Assembly</h4><h5>Prepare the Rollers</h5><p>Press the bearings into the ends of the rollers until they are seated fully. They should be flush, or nearly flush with the ends of the rollers.</p><h5>Prepare the Brackets</h5><p>Screw an M3x8 screw into the top of the stub shafts, just until the screw head is flush with the surrounding material. Do not over-tighten; these fasteners are there to add stiffness and compression to the stub shafts.</p><h5>Mount the Rollers</h5><p>Press the ends of the rollers onto the stub shafts until they seat fully. Since the inner ring of the bearing sits against a 1mm high rest, there will be a slight gap to allow the roller to turn freely.</p><h5>Add the Front Spacer</h5><p>Slide the front spacer between the large end of the brackets, flat side up. Use 6 M3x20mm screws to attach the part, but don't tighten them fully yet.</p><h5>Add the Rear Spacer</h5><p>Slide the rear spacer between the small end of the brackets. It should be oriented so that the square corner is pointing up and rear. Use the remaining two M3x20mm screws to secure it.</p><h5>Tighten the Fasteners</h5><p>Carefully tighten the M3x20mm screws securing the spacers. Do not over-tighten, but tighten until there is no gap, and then a half-turn more.</p><h4>Attaching to the Printer</h4><p>The Rolly Reel holder hangs on the top rail of the frame. With the larger end of the reel holder toward the printer, angle the holder slightly forward, and hang the long hooked part of the assembly over the frame rail. Then push the rear down until the assembly is level and secure. Check to make sure it's level and solid.</p><h4>Loading the Reel Holder</h4><p>Place a reel of filament onto the rollers with the filament feeding forward from the top of the reel. Load the extruder. Your Rolly Reel Holder is ready for years of service! Enjoy!</p>
With this file you will be able to print Rolly Reel Holder with your 3D printer. Click on the button and save the file on your computer to work, edit or customize your design. You can also find more 3D designs for printers on Rolly Reel Holder.