Roman Pilum
thingiverse
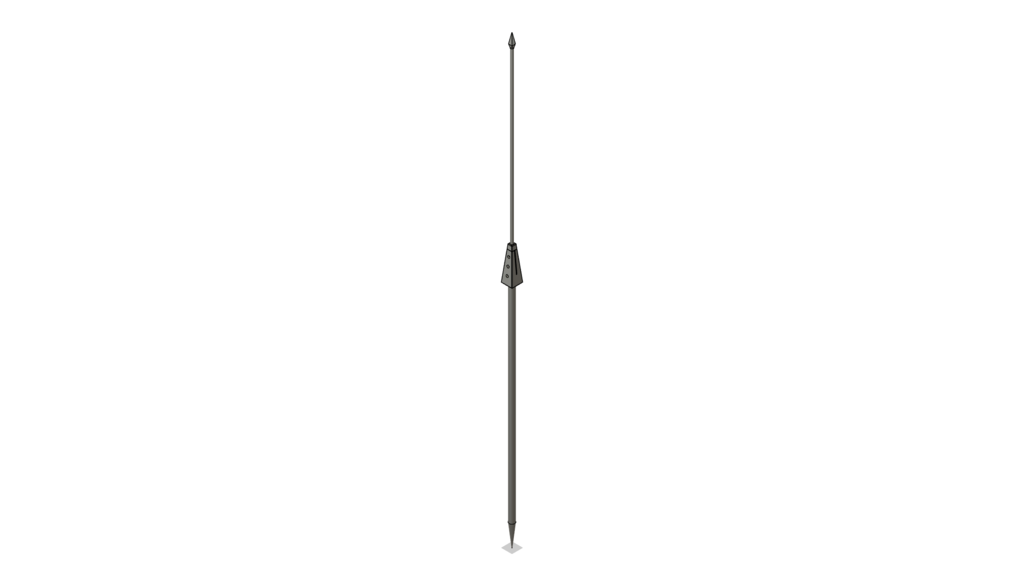
Additionally required parts. 1 x round timber 1000 mm x 12 mm 1 x round timber 1000 mm x 25 mm 1 x wooden dowel 8 mm 3 x M6 screws of different length 3 x M6 nuts Glue for PLA plastic Wood glue 1. Print out the parts. 2. Paint the parts. 3. Glue the pilum mount bottom to the pilum mount. 4. Insert the 25 mm round wood into the pilum mount. 5. Drill a hole through the log with a 6 mm drill bit. Use the hole in the pilum mount as a gauge. 6. Screw the log to the pilum mount with an M6 screw. 7. Insert the 12 mm roundwood into the upper end of the pilum mount. 8. Drill two holes through the log with a 6 mm drill bit. Use the hole in the pilum mount as a gauge. 9. Screw the log to the pilum mount with two M6 screws. 10. Guide the plium mount top part from the top onto the pilum mount and glue it in place. 11. Glue the tip onto the 12 mm roundwood. 12. Glue the six rivet heads to the holes to hide the screws. 13. Drill a centered 8 mm hole for the wooden dowel at the end of the 25 mm round timber. 14. Glue the wooden dowel into the 8 mm hole and place the pilum rear point on top.
With this file you will be able to print Roman Pilum with your 3D printer. Click on the button and save the file on your computer to work, edit or customize your design. You can also find more 3D designs for printers on Roman Pilum.