Roomba Ral
prusaprinters
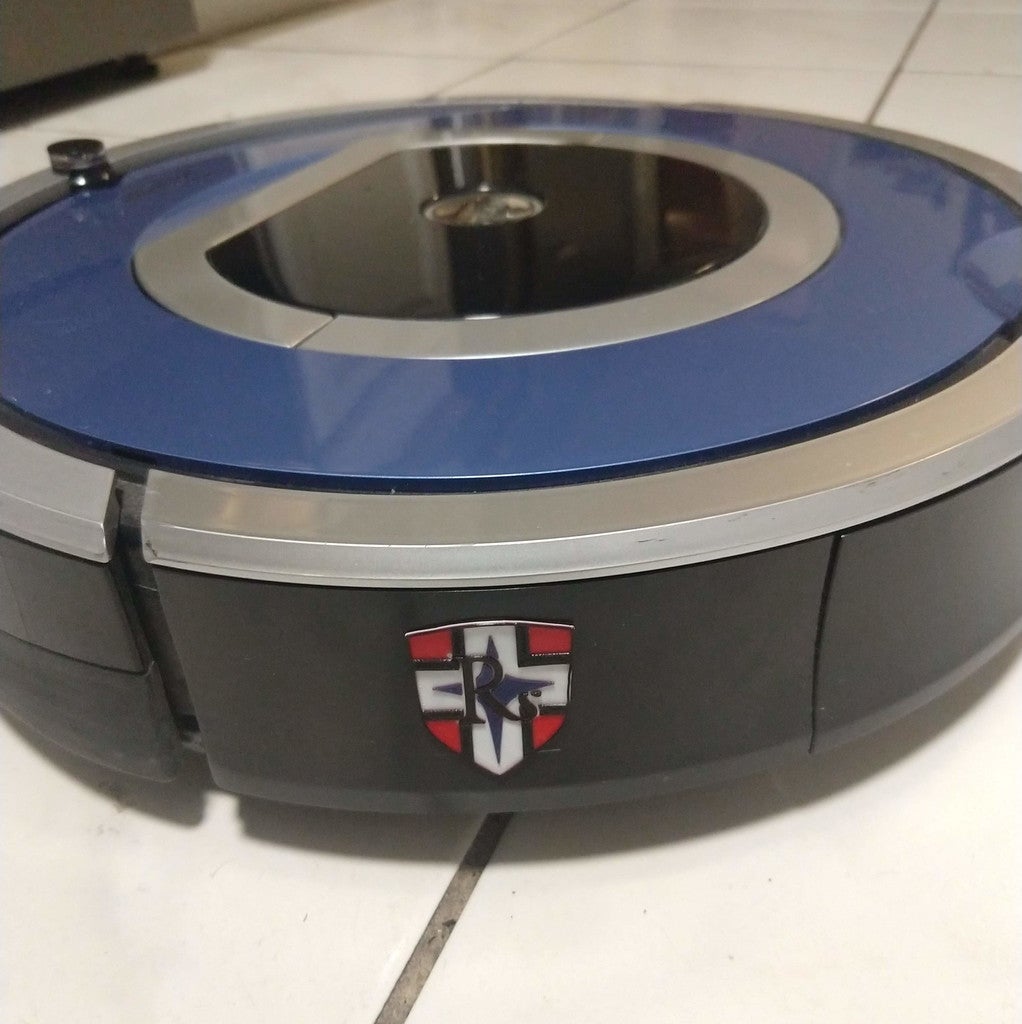
<p>"This is no Zaku, boy! No Zaku!"</p><p>...Sorry</p><p>I couldn't resist a good pun and named my Roomba 790 "Roomba Ral". After years of meritorious service Roomba Ral is retiring. I figured it was now or never to give it the decoration that has been due all along.</p><p>I was going to sketch some matching rank and cape insignia, but I couldn't figure out a placement that would be tasteful. I ended up going with the less is more philosophy for now.</p><p>I don't think anyone will be inclined to use these models to decorate a blue Roomba. However, maybe someone can use the emblems for something else cool.</p><p><strong>Print Settings</strong></p><p>Both emblems were printed with a 0.25 nozzle. At the scale I printed, 0.4 nozzle walls are far too thick to resolve the fine details.</p><p>The model files are bigger than where I ended up placing them on the Roomba. I scaled the files down as indicated below. The Ral emblem is designed for multi color by filament change. The model is tiered so the top layers to show the correct color.</p><p>Ral emblem:<br>Scaled - 29.8mm x 35mm x 0.9mm<br>Color 1 - Hatchbox PLA White<br>Color 2 - eSun PLA+ Fire Engine Red<br>Color 3 - Amazon Basics PLA Dark Blue<br>Color 4 - Hatchbox PLA Black</p><p>Zeon emblem:<br>Scaled - 26.12mm x 28mm x 0.4<br>Color - Amolen PLA Gold</p><p><strong>Post-Printing</strong></p><p>The Ral emblem is too thick to sit flush on the curved side of a Roomba. I used a heat gun to first soften the PLA and press it onto the area it would be glued. This a very delicate process and too much heat will melt the finer details. The zeon emblem is very thin and plenty flexible. It shouldn't be heated at all as it will instantly curl up into a mess.</p><p><strong>How I Designed This</strong></p><p>The design process was simple if a bit tedious.</p><p>First, bitmap images for the emblems were brought into GIMP where I could select the color regions and make paths from them. I tried Inkscape for a while but couldn't coax it into tracing useful paths. After cleaning up the paths a bit the were exported to SVG files.</p><p>Second, I imported the SVG files (as geometry) into FreeCAD and then converted from draft to sketch. The Ral emblem paths from GIMP were not closed so I had to re-sketch a fair bit of them by hand. Final with clean sketches I was able to extrude the models and export them.</p>
With this file you will be able to print Roomba Ral with your 3D printer. Click on the button and save the file on your computer to work, edit or customize your design. You can also find more 3D designs for printers on Roomba Ral.