Roomy ESP32 Enclosures
thingiverse
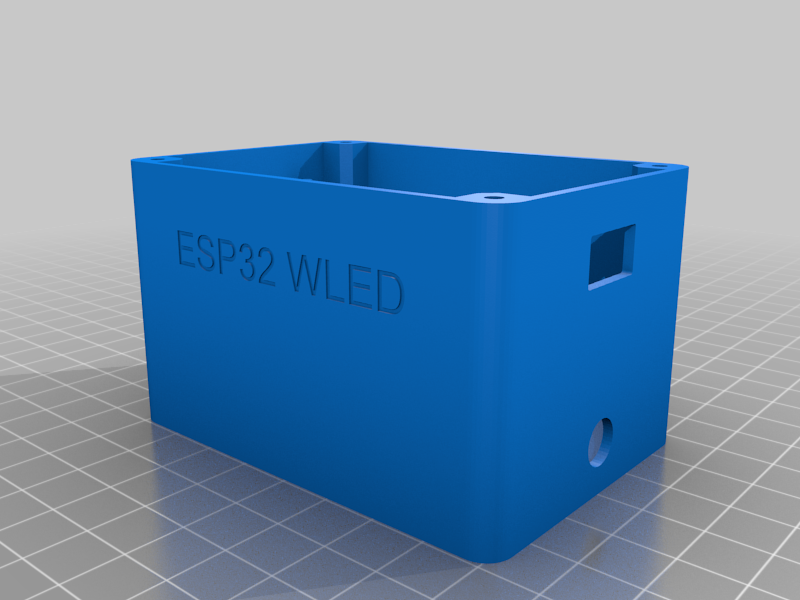
There is plenty of ESP32 board enclosures out there, but most of them are quite streamlined/minimalistic, which is fine but I set out to buid an enclosure with a little more room in it so you can easily use breadboard jumpers instead of soldering, more slack in your wiring to make it easier to pull the Dev board out and make adjustments etc. It is 58.5mm wide x 83mm long and 52mm tall (54.5mm with lid), The 4 standoffs for mounting your ESP-32 board are 35mm tall (1 ⅜ inches) giving you plenty of room for your breadboard jumpers, on top of the standoffs are pins that align and allow your ESP32 to “snap” into place. I adjusted this until it was easy to set the chip in, while still doing a good job of holding the dev board in place. There is extra space at the end of your ESP32 so that you can wire in a Level Shifter and keep it tucked away in this enclosure. The lid has the negative space of the inside of the enclosure protruding down to line up and securely hold the lid in place. The clearances are ~.5mm so, at least with my resin printer, it makes a nice snap sound when i put the lid on. Also there are places for 4 screws on the corners for M3 screws. The lid hole has a diameter of 3.125mm so the m3 can slide through it, and the enclosure has holes of 2.85mm, so you can thread the screws in place. You can use the self tapping or “normal” screws (as seen in image above) These are both M3 screws at 6mm in length which is probably the shortest you would want to go with, but if you find yourself taking the lid/screws on and off frequently, the holes on the enclosure run the entire height of it, so you can just grab the next size larger screw if you get to that point. Option 1 is just a basic case, so if you're not planning on screwing it to another surface this is the best choice for you. You can always drill out a hole in the bottom if you change your mind later. Option 2 has 2 tabs on either side of the enclosure to screw into place Option 3 has 4 tabs on each corner to secure The lid is a one lid fits all. I hope this helps someone out: Box i built for Sound Reactive builds of WLED to attach a microphone: https://www.printables.com/model/317718-esp32-wled-sound-reactive-box https://www.thingiverse.com/thing:5631371
With this file you will be able to print Roomy ESP32 Enclosures with your 3D printer. Click on the button and save the file on your computer to work, edit or customize your design. You can also find more 3D designs for printers on Roomy ESP32 Enclosures.