
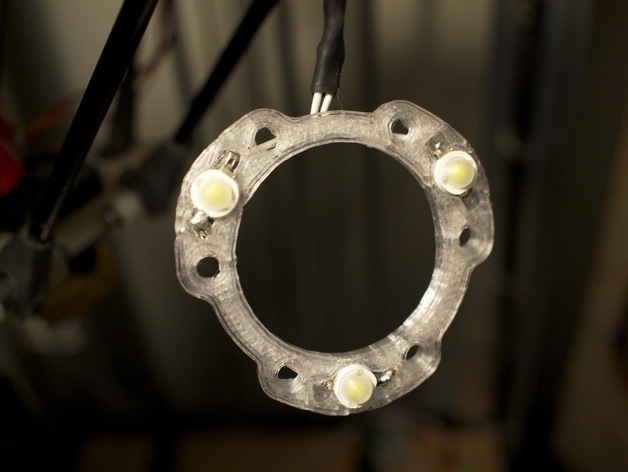
Rostock LED light ring
thingiverse
To avoid bending over with a flashlight, try using 3M LED light strips; however, their shape may not fit the Rostock platform. Instead, use 1-watt LEDs at a lower wattage to prevent heat damage from the hotend. At full power, three LEDs can be blinding, so choose an appropriate resistor value for brightness control. Wire the LEDs in series with the resistor on the positive side and use a 1/4" drill bit to clean out the LED holes. Remember not to connect the LEDs without a resistor and consider using sandpaper to diffuse light for a softer look. For polycarbonate prints, use pseudo support as regular support can damage the finished product.
With this file you will be able to print Rostock LED light ring with your 3D printer. Click on the button and save the file on your computer to work, edit or customize your design. You can also find more 3D designs for printers on Rostock LED light ring.