Rostock Max V2 Aux Side Fan Mount, Adjustable, Retractable
prusaprinters
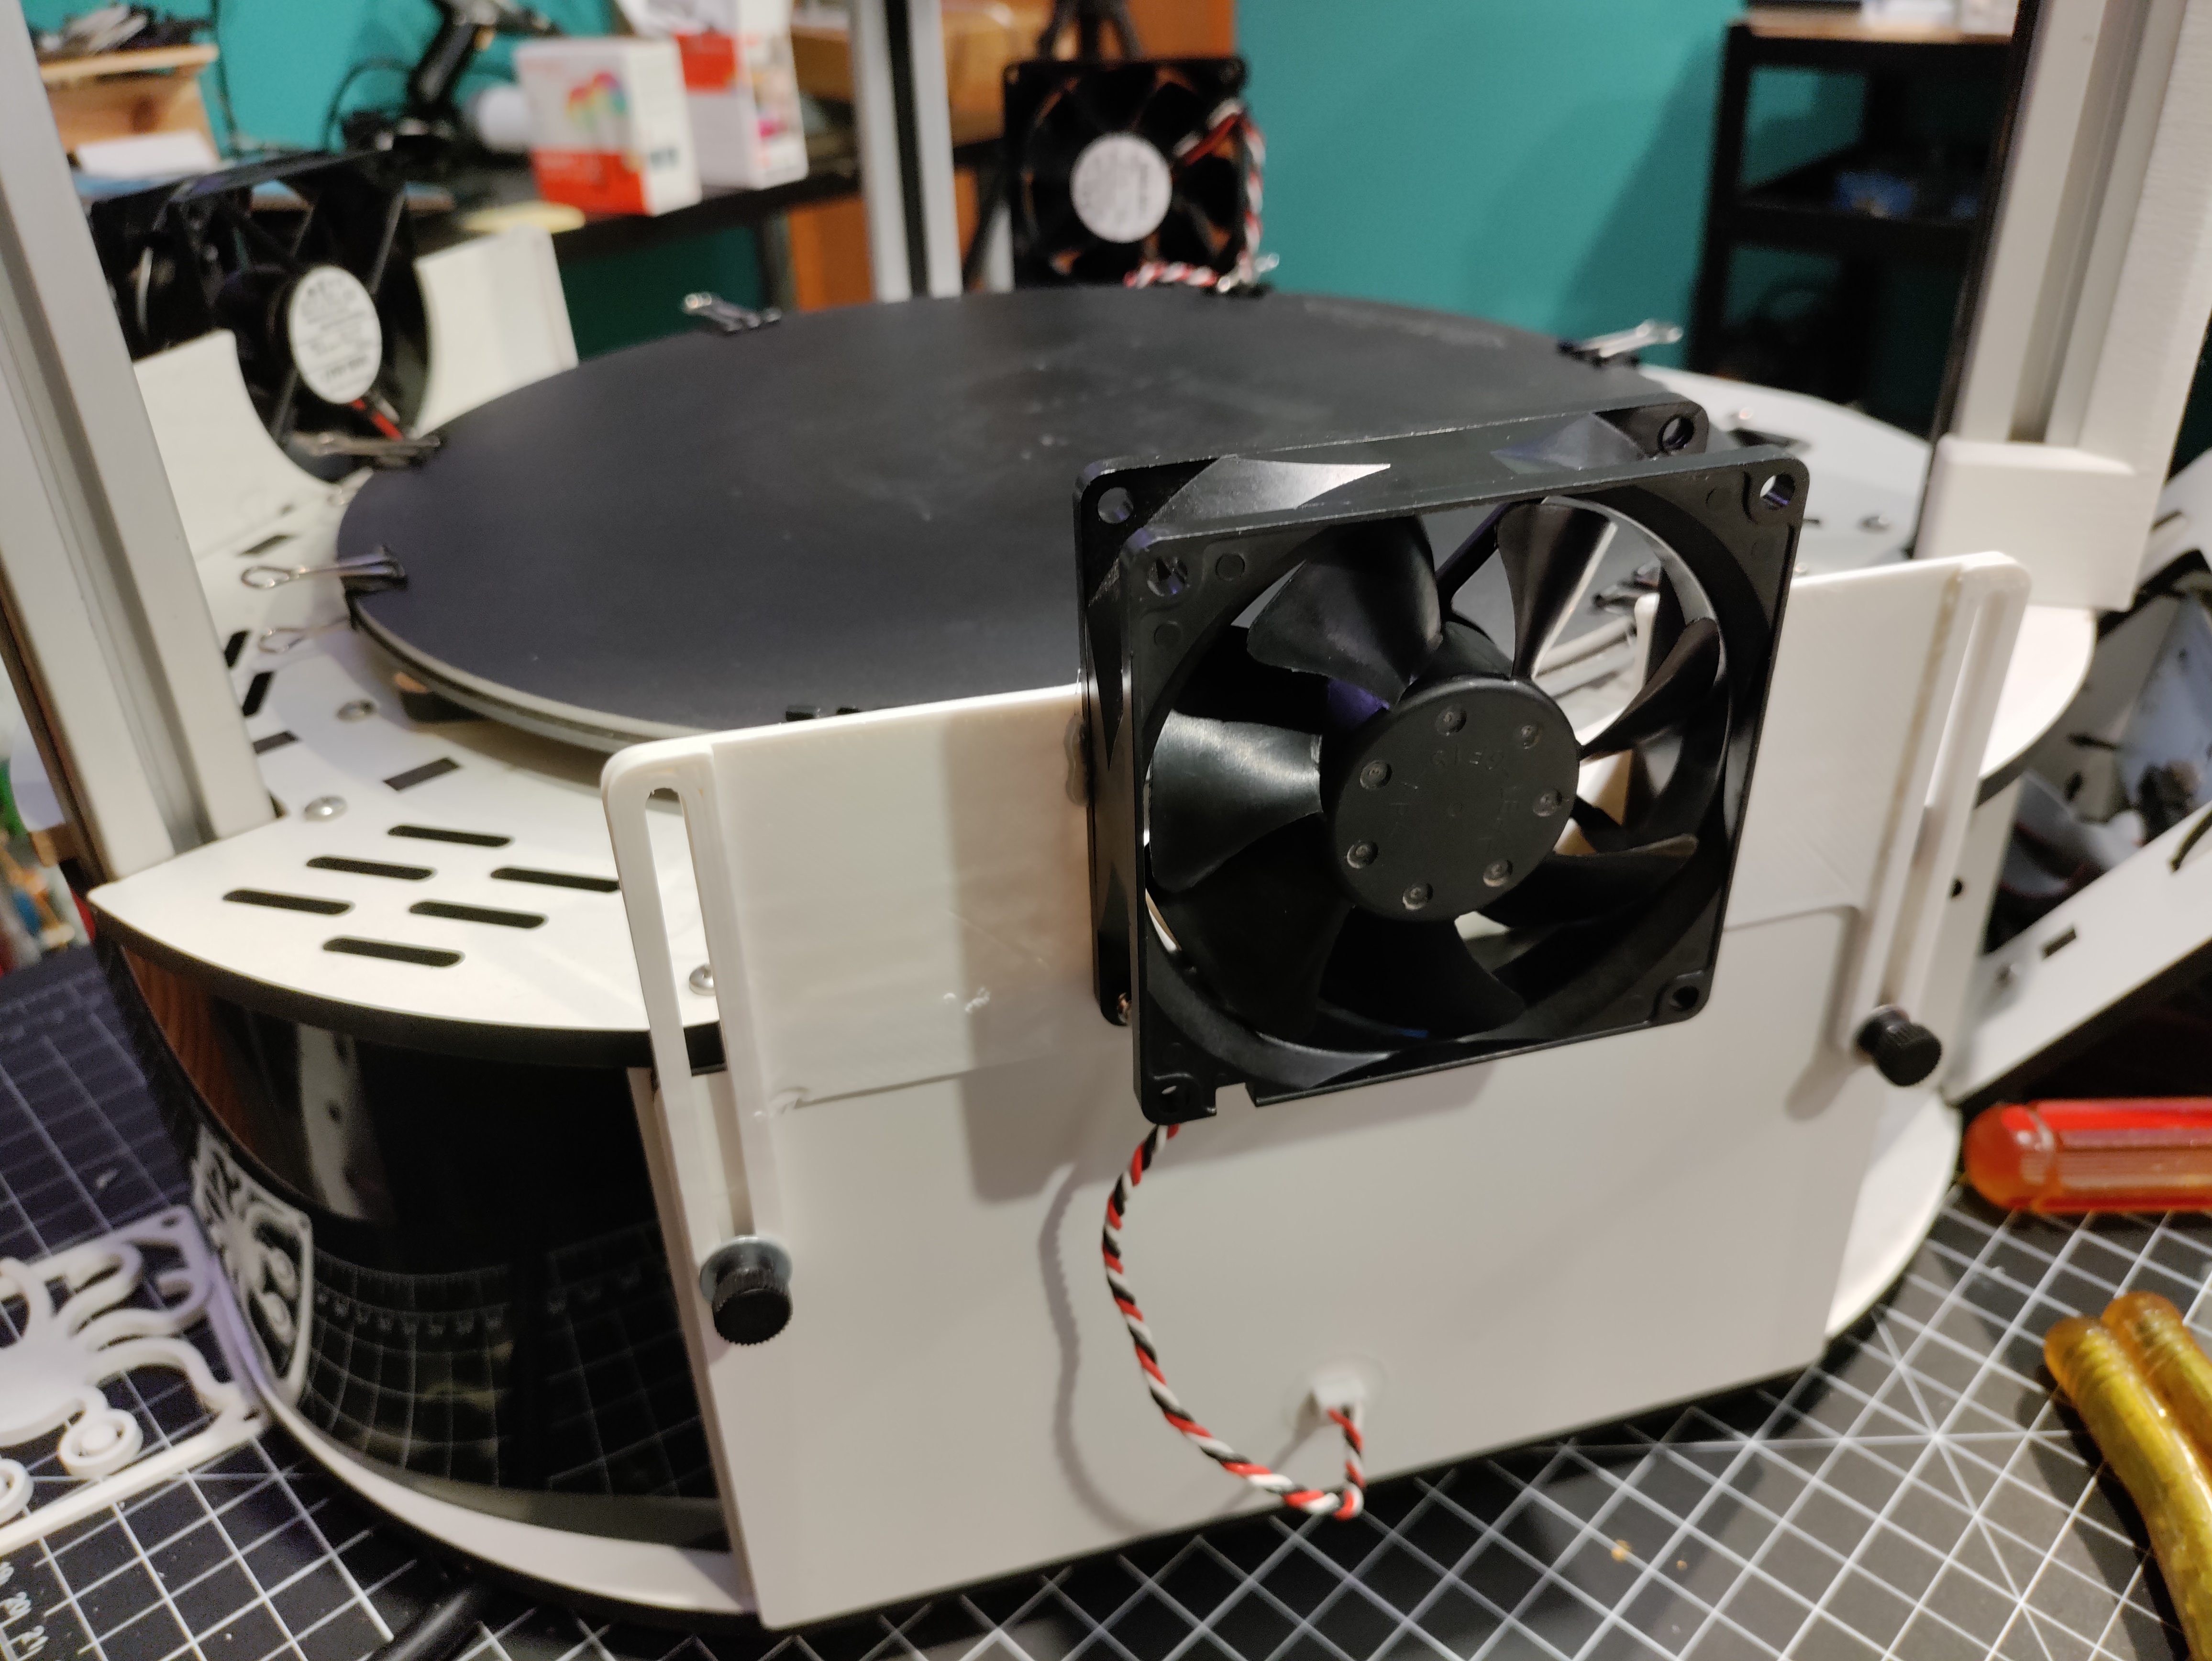
<p>I'm turning my Rostock Max V2 into a super speed printer, which means I need some serious part cooling. I've got a Berd-Air up top but sometimes need some extra air, so I added a couple fans beside the bed. Just use normal PC 80mm fans. You can hook them up to one of the spare fan connectors on the RAMBo. Wiring can be snaked into any of several existing holes, or you can make a clean installation by adding some holes to the side panels for connectors as per <a href="https://www.printables.com/model/303651-fan-connector-panel-mount-3-pin-shrouded.">https://www.printables.com/model/303651-fan-connector-panel-mount-3-pin-shrouded.</a></p><p> </p><p>The carriers can slide below the plane of the bed, in case they might hit some accessory you have on the effector.</p><p>Two models available.</p><p>One is the whole thing in one shot (print 2, one per side, use as-is).</p><p>The other is just one half (print 2, then mirror and print 2 more). Glue together after screwing them to the fan. Useful in case you're using a small or badly adjusted printer that can't achieve a big flat part yet :)</p><p>If you end up selecting the flush mounted connector approach, position the drilled hole carefully. Install the fan carrier and lower it all the way, then carefully place the hole below it so the connector will just barely clear. There is bracing behind the cover that you don't want to hit.</p>
With this file you will be able to print Rostock Max V2 Aux Side Fan Mount, Adjustable, Retractable with your 3D printer. Click on the button and save the file on your computer to work, edit or customize your design. You can also find more 3D designs for printers on Rostock Max V2 Aux Side Fan Mount, Adjustable, Retractable.