Rostock Max v2 Idler Adjuster
thingiverse
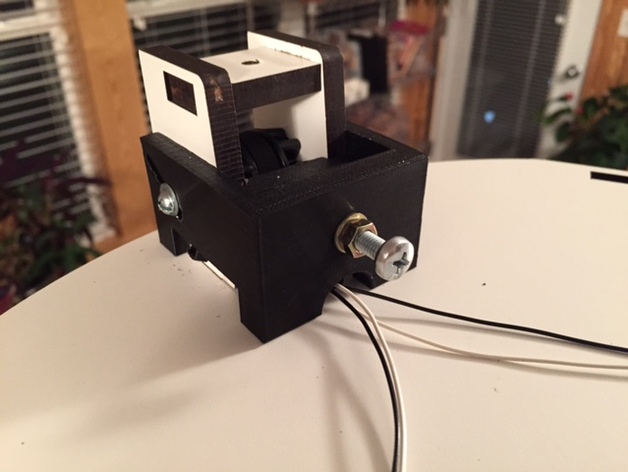
This thing is an idler adjuster for a SeeMeCNC Rostock Max v2. Note: This may fit the v1 and Orion printers. This adjuster makes tightening the belts on the Rostock Max v2 easier. It is designed to allow you to tighten the belts without putting pressure on the pulley or mangling the Melamine using small, improvised pry bars. It also helps to keep the pulley aligned (perpendicular to belt). If you're like me and do not want to tighten your idler bolts too tight, the adjuster allows you to lightly tighten the bolts without the idler slipping. OTOH, if you have over tightened the idler pulleys and crushed the Melamine thereby rendering future adjustments problematic, this adjuster can solve the problem because it provides a rest for the bolt. Provided you don't over tighten it and crush the plastic. See a pattern here? Stop it! ;) Instructions Vitamins (6) M4 nuts (3) M4 nuts (3) M4x35 or M4x40 bolts (3) #6 x 2-1/2" bolts (replaces the idler bolts) Note: 3" bolts will work too but will stick out a bit (6) #6 fender washers Note: You can substitute SAE hardware if you'd like but be sure to make the change in the .scad file. Instructions 1) Print (3) sets of adjuster and plate with 0.2mm layers and 40% infill Note: you can use coarser layers, but you may need to sand or smooth out the angled slots to allow the idler bolt to slide freely. The notches associated with higher layer heights can make the adjuster harder to use. 2) Remove your filament, spool, and spool arm (not the spool tower). 3) Carefully remove the Acrylic panels from the top section. A piece of blue painters' tape can help grip the panel. Go slow! 4) Remove the plastic bolts (3) on top of each axis. 5) Lift off the top panel careful not to damage the tabs on the side panels. 6) Remove the bolts from all idler pulleys. For each tower, do: 7) Insert (1) M4 nut in each adjuster body (inside face). 8) Thread a M4 nut on each M4 bolt (all the way down) 9) Place a M4 washer over the bolt 10) Thread the bolt through the adjuster body and through the nut. 11) Place the adjuster over the tower (notches down) and then place the bar in place. Be sure your wiring is routed away from the adjuster - that's what the cutouts are for! The bar should be positioned with the angled side against the tower so that the bar sits flush and the face is vertical. 12) Place a #6 washer on the #6 bolt and thread it through the adjuster and idler. You may need to wiggle things to get it line up. 13) Install another #6 washer and the #6 Nylock nut but don't tighten yet. 14) Tighten the M4 bolt on the adjuster. This pulls the adjuster toward the center thereby tightening the belt. Lifting the idler pulley with your fingers will help speed the process. 15) When the belt is tight, use the M4 nut to clamp the position of the adjuster bolt and lightly tighten the idler bolt. 16) Repeat (7)-(15) for each tower. 17) Replace the top and side panels 18) Replace the (3) plastic bolts. 19) Replace the Acrylic panels. 20) Replace your spool arm and reload your filament.
With this file you will be able to print Rostock Max v2 Idler Adjuster with your 3D printer. Click on the button and save the file on your computer to work, edit or customize your design. You can also find more 3D designs for printers on Rostock Max v2 Idler Adjuster.