RPi tray with captive M3 nuts
thingiverse
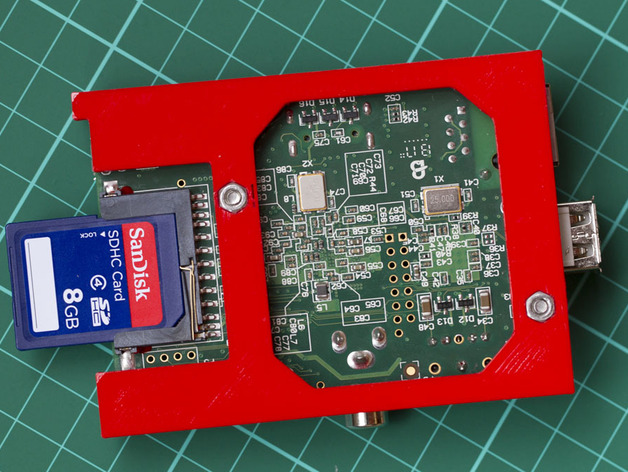
To enhance the Pi attachment on a Mendel90 dibond kit, changes were made to the original design. These included adding cut-outs for M3 nuts beneath and widening one strut's mounting hole. The updated STL has a shelf between the holes and nut traps for proper printing. Insert two M3 nuts at the bottom, use double-sided tape to attach the tray to the PSU, and secure the Pi with M3 x 8mm screws and washers. The +5V PSU wires can be used for powering, utilizing a short USB lead from the Melzi to the Pi.
With this file you will be able to print RPi tray with captive M3 nuts with your 3D printer. Click on the button and save the file on your computer to work, edit or customize your design. You can also find more 3D designs for printers on RPi tray with captive M3 nuts.