Rubber Band Elbow V1.0
thingiverse
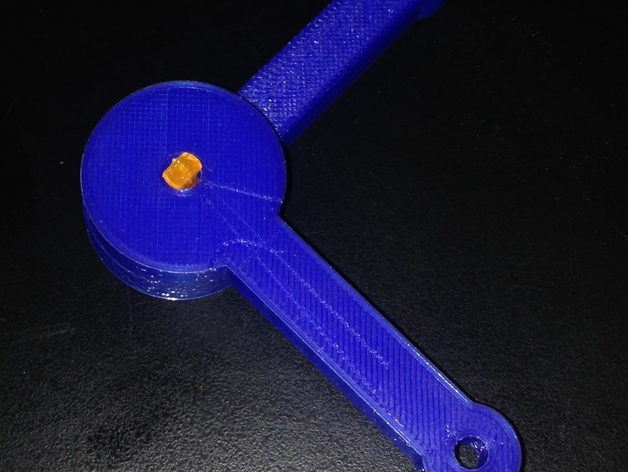
I was working on a project that needed a spring action joint that went between 45° and 90°. Unfortunately I was not able to find one Thingiverse, so I set out to make my own. This uses a small rubber band. I got mine out of a variety pack found at a "Dollar Tree" store in the US. The blue parts were printed on an ultimaker 2 with .2 layer height, .8 shell and .8 top/bottom, at a speed of 90. Make sure to turn support material OFF. The orange pins are a stand-in for more permanent hardware, such as a nut and bolt. They were printed on a Tinkerine DittoPro at 200 microns and 80mm/s This print is fully functional, but is intended for you to modify it for use in your own projects. Demonstration videos coming soon. Updated versions may also be on the way. Post-Printing The rubber band is tied around the bridge as shown in the second photo. To assemble the two parts, loop the other end of the rubber band around the hook on the other part. The last image shows the orientation of the two parts.
With this file you will be able to print Rubber Band Elbow V1.0 with your 3D printer. Click on the button and save the file on your computer to work, edit or customize your design. You can also find more 3D designs for printers on Rubber Band Elbow V1.0.