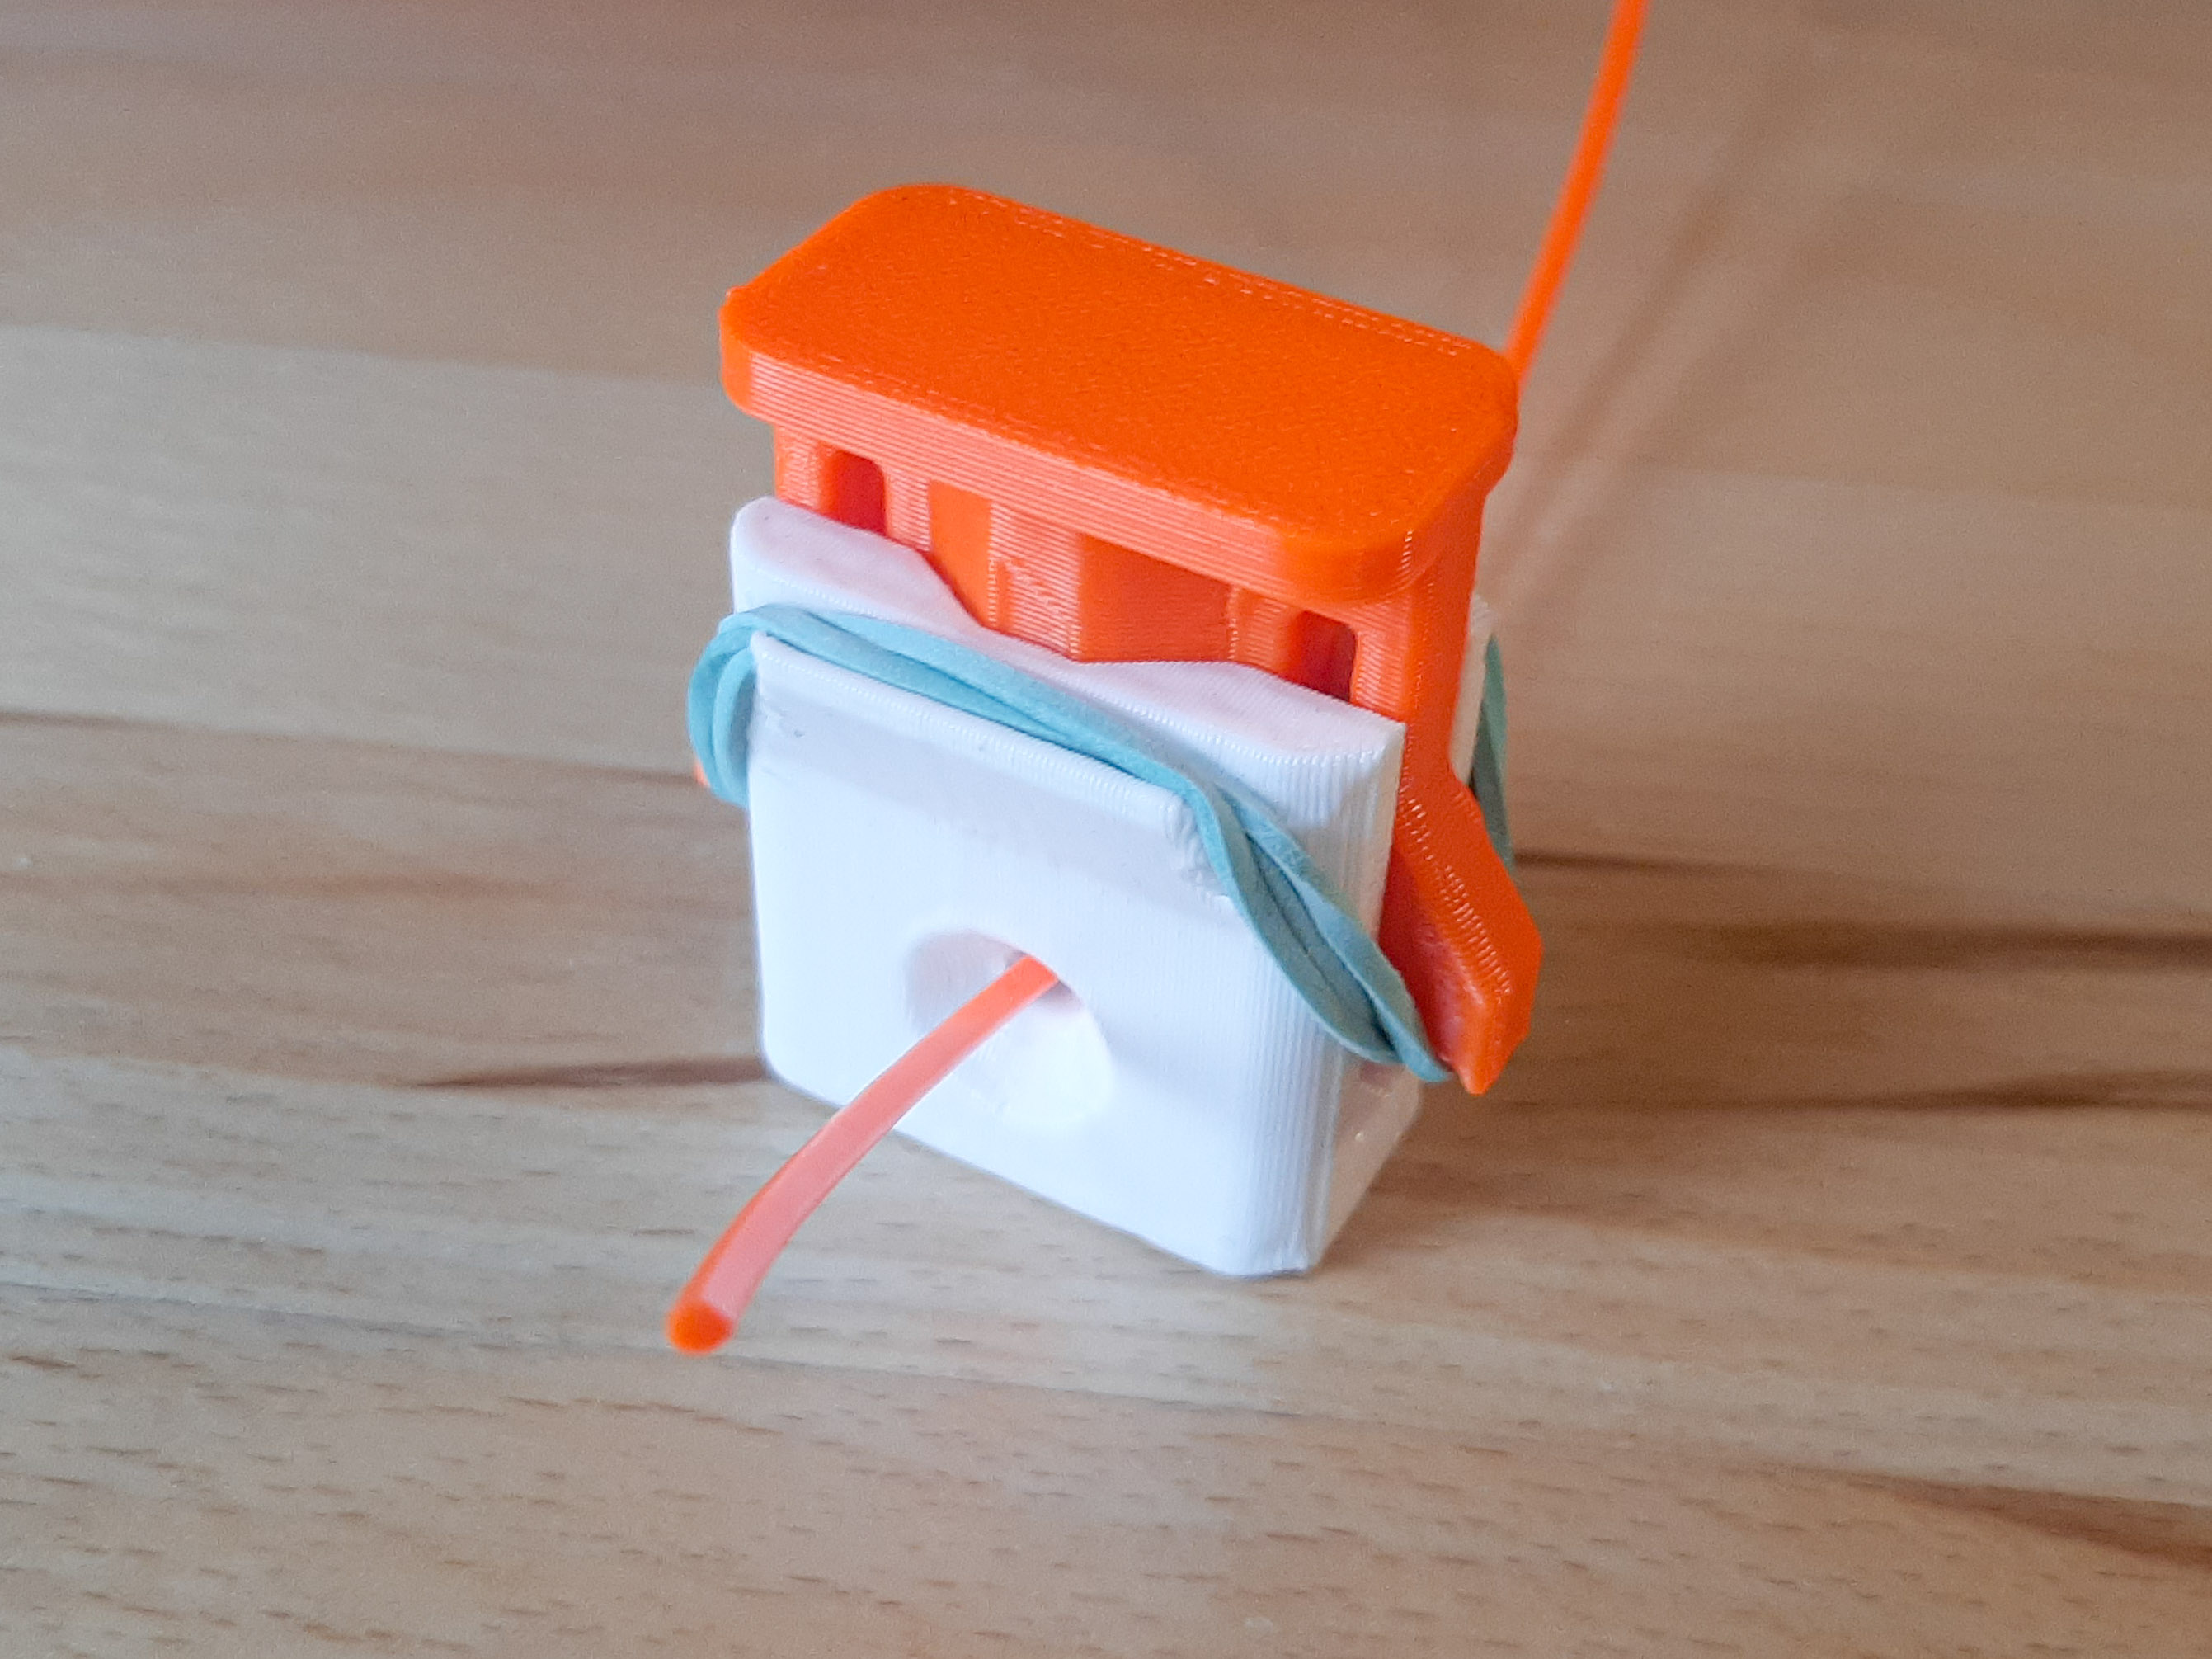
Rubber Band Filament Cutter 45°
prusaprinters
<p>I love the Filament Cutter 45 from Pomi, but as i try to print it, i found that the needed materials are not as common available as i thought. So i decided to give it a “facelift” with a even easier accessible material: rubber band.</p><h3><strong>Print</strong></h3><ul><li>No supports needed.<br>Print as the STL is exported to get optimal results.</li><li>Tested with PETG and PLA.</li></ul><h3>Material</h3><ul><li>One segment from snap-off blade 18 mm (<a href="https://www.amazon.com/Stanley-11-301-Quick-Point-Snap-Off-Blades/dp/B000BQY64Y">example</a> 1, <a href="https://www.heureka.cz/?h%5Bfraze%5D=%C4%8Depel+18mm+odlamovac%C3%AD+n%C3%A1hradn%C3%AD+-+10ks&m=f">example</a> 2)</li></ul><figure class="image image-style-align-center image_resized" style="width:347.281px;"><img src="https://media.prusaprinters.org/media/prints/67509/rich_content/621f4363-d438-41aa-805a-17a50d551125/obrazek.png"></figure><ul><li>a rubber band</li><li>maybe some glue</li></ul><h3>Improvements over Pomi`s design</h3><ul><li>no ball springs or screws needed</li><li>minimized friction: print bottom part sideways, so the layers of top and bottom part do not rub against each other</li><li>clearer symbol how to attache the blade</li></ul><h3>How to assemble?</h3><ul><li>Print as the stl files are provided (top part should be upside down, bottom part should lay sideways).</li><li>Take one piece of the snap-off blade and put it into top part. Use some pliers to avoid an injury. There is a small mark on the side of the top part how where the tip of the blade should be. Additionally you can use glue to fix the blade in position.<br>If the slot is too narrow (can happen depending on print settings) a hair dryer can be used to soften the plastic a bit.</li><li>Put top and bottom part on each other. Check that the blade holds well on the upper side while both parts are at there nearest position.</li><li>Cut to pieces of 1.75mm filament approximately 3 cm in length. Add these pieces on the small holes on the side of the bottom part. Cut the overhang of the filament. You may glue these if they are to loose.</li><li>Place the rubber band.</li></ul><h3>Customize the angle of the cutter</h3><p>You may customize the angle of the cutter in FreeCAD (i used FreeCAD 0.20).</p><ul><li>Got to <strong>Part Design Workbench</strong></li><li>Click on <strong>Top Part > DatumPlane blade</strong><br>In the <i>Properties > Attachment > Angle</i> change the 45° angle as you like</li><li>Click on <strong>Bottom Part > Datum Plane Blade Cutout</strong><br>In the <i>Properties > Attachment > Angle</i> change the 45° angle as you like</li><li>Check the angle in Wireframe-View (Menu > View > Draw Style > Wireframe)</li></ul>
With this file you will be able to print Rubber Band Filament Cutter 45° with your 3D printer. Click on the button and save the file on your computer to work, edit or customize your design. You can also find more 3D designs for printers on Rubber Band Filament Cutter 45°.