Rubber band torque meter
thingiverse
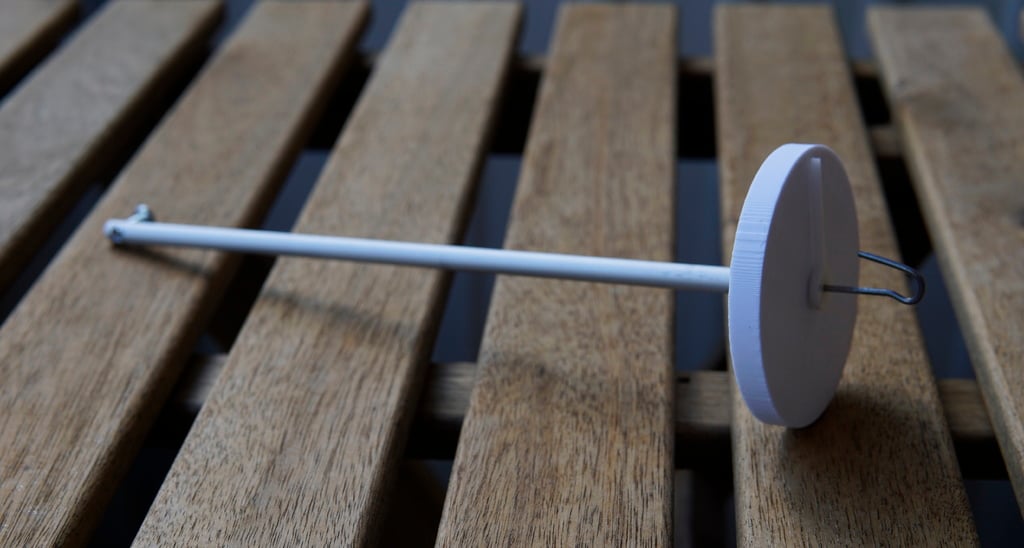
Torque meter for rubber band model airplanes You will need: 2x 1.5x4x2 mm bearing (I bought this one: https://www.kullagergrossisten.se/product/1-5x4x2-metalltat) 1x aluminium pipe 4mm inner 6mm outer diameter 1.5 mm music wire 0.3 mm music wire One or two screws for securing the 0.3 mm music wire in the back. I used m4, but smaller would be better if two screws are used. Indicator is printed in TPU 95a and the rest in PLA. The 1.5 mm music wire will be the hook for the rubber band. On this 1.5 mm wire the indicator will sit snuggly with friction. The 0.3 mm music wire is soldered together with the 1.5 mm wire inside the aluminium pipe in the front. In the back two holes need to be drilled for the screws that will secure the wire. A scale for the indicator to show torque value will be necessary to add. This you can do by using two fixed weight and calculate the torque from those weights. The rest of the torque values are linearly increased or decreased. To attach the torque meter to a table or a holder a modification is needed. If you are not able to get a aluminium pipe you could print it in plastic. This I do not recommend because it’s hard to print and not as durable. This torque meter was developed with some help and input from David Brohede.
With this file you will be able to print Rubber band torque meter with your 3D printer. Click on the button and save the file on your computer to work, edit or customize your design. You can also find more 3D designs for printers on Rubber band torque meter .