Rubik's Cube (100% 3D Printed)
prusaprinters
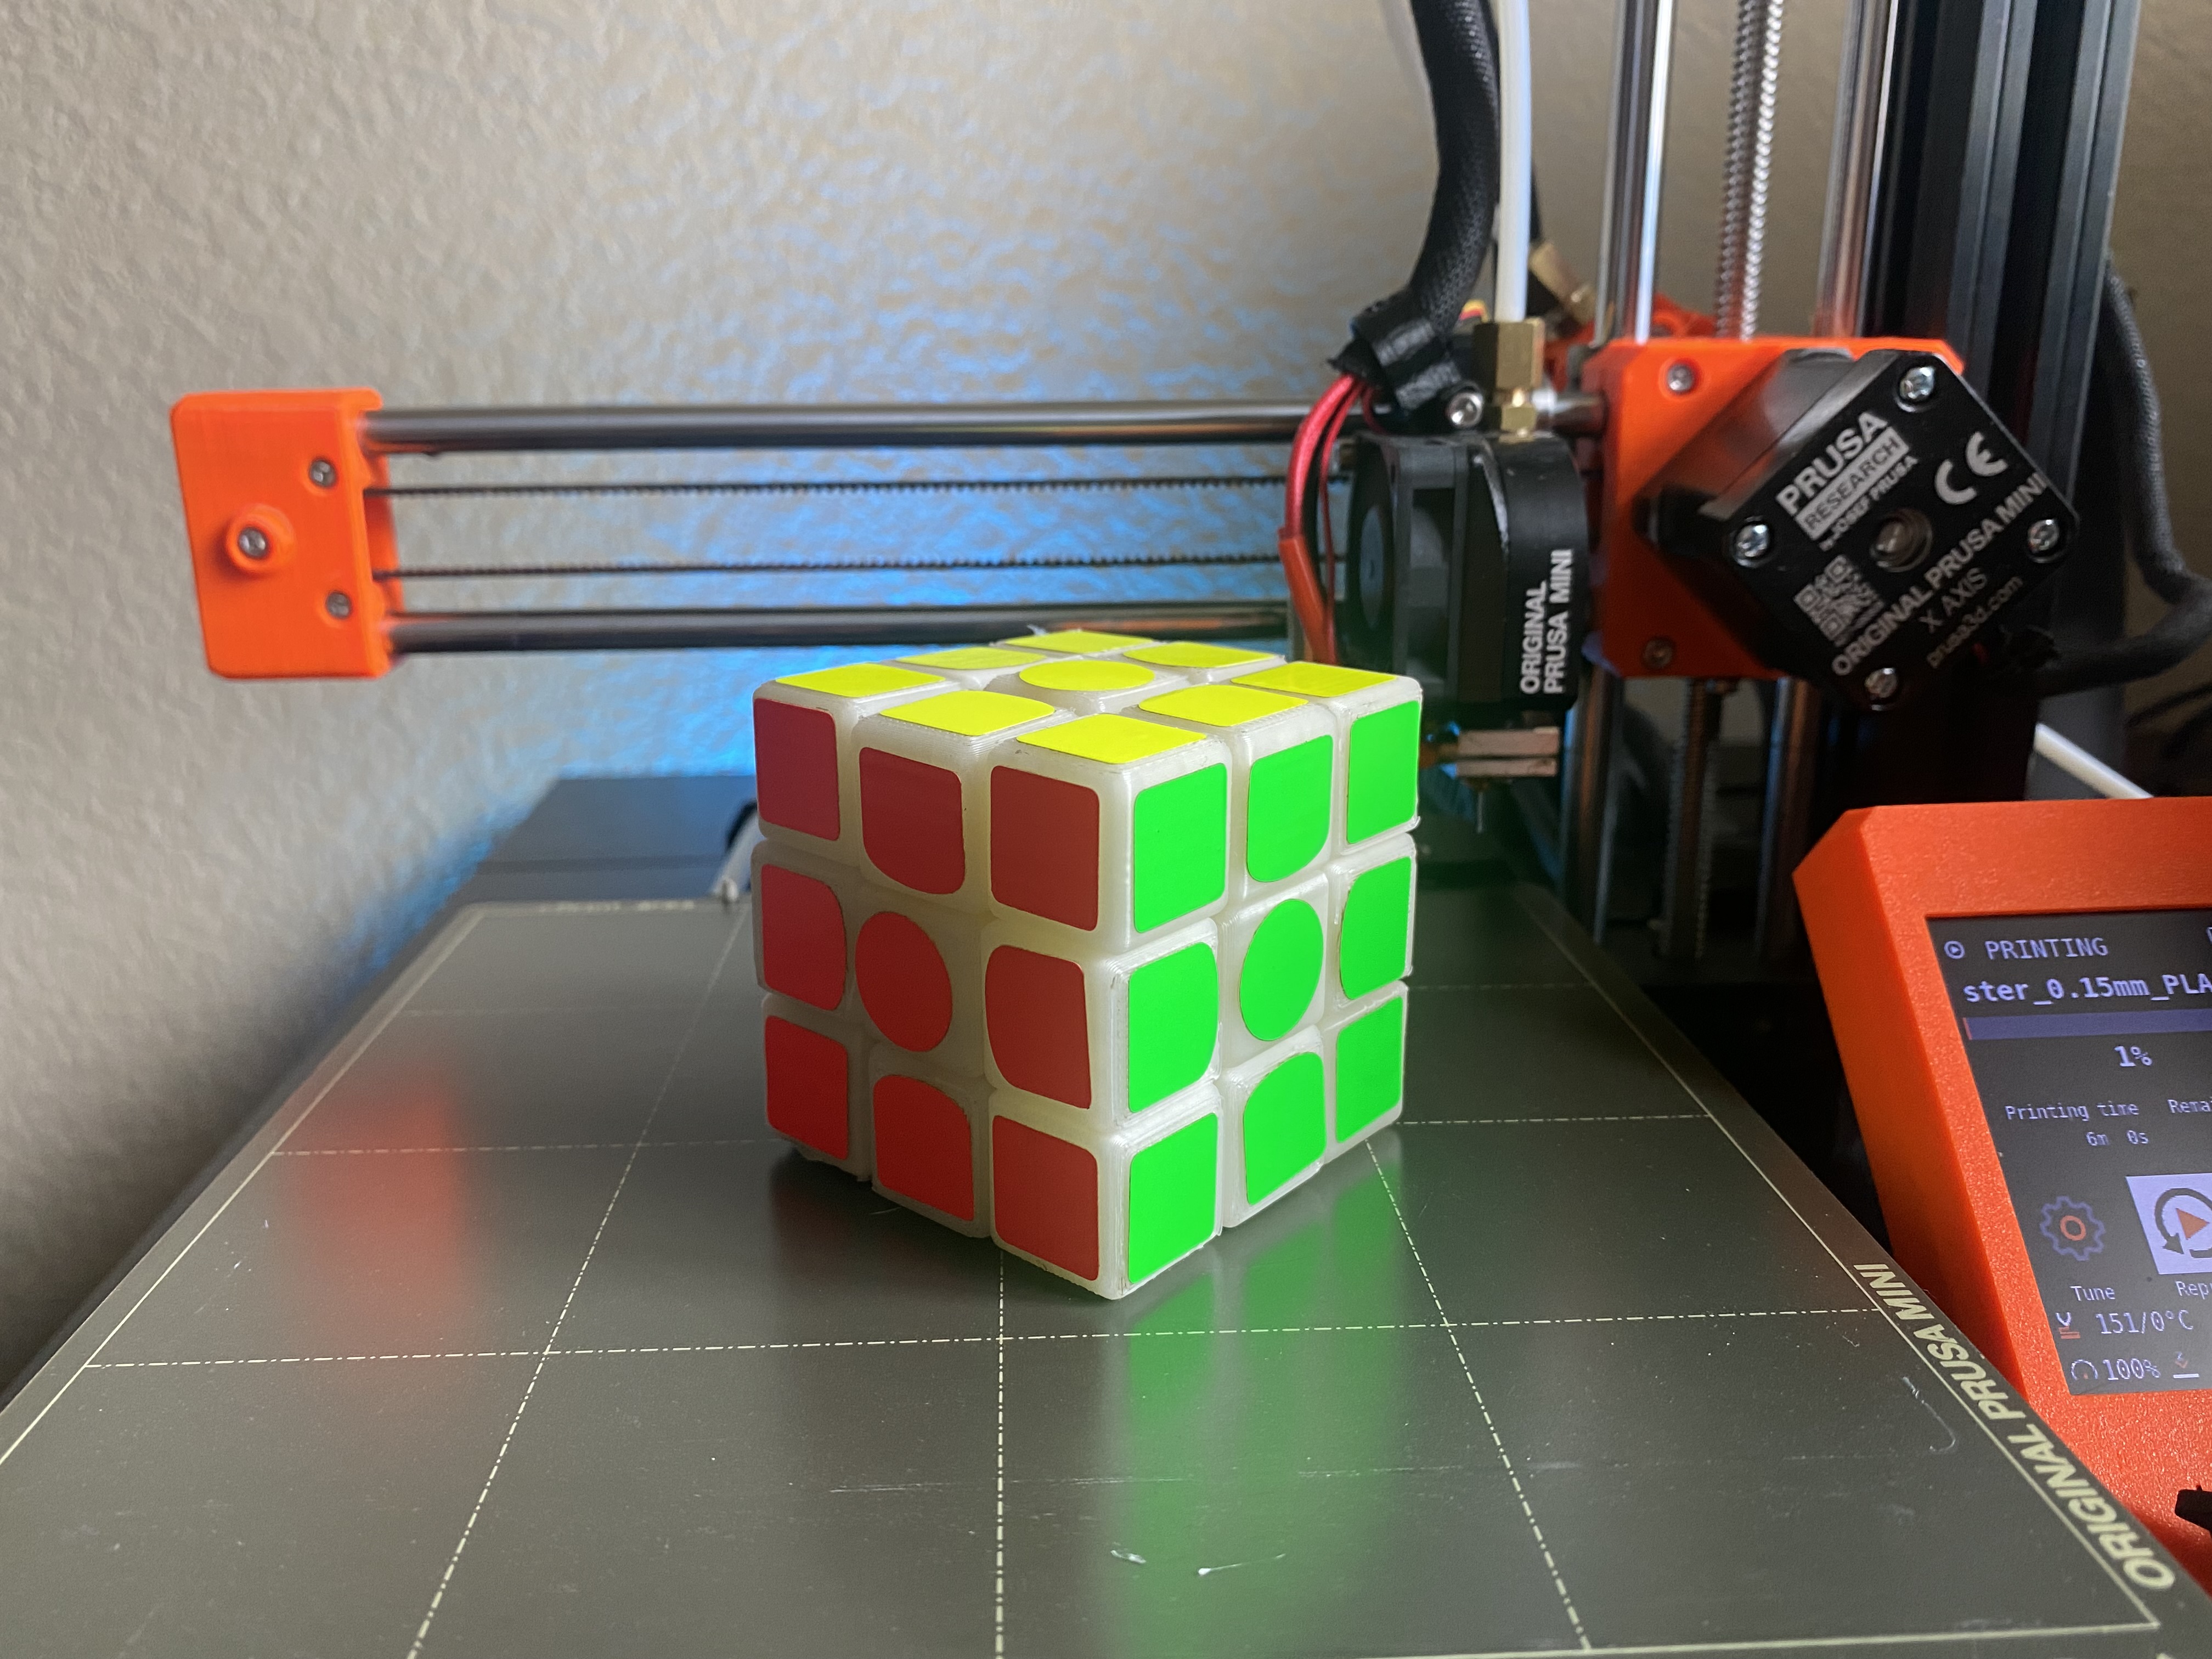
<p> This was the longest design I have ever worked on. I started the Rubik's Cube design about a year ago and have attempted this print with 1 other printer. No success. I then scrapped the design and started over. This design has less flaws and will work more efficiently. The Cube will get better as I discover and fix more mistakes.</p><p> The Cube is extremely difficult to assemble for people who have never dealt with Rubik's Cubes, so I created an assembly page which should speed up the process significantly.</p><h3>Slicing </h3><p> If you chose the STL file, there is a certain way you will have to slice the center piece, so I recommend you use the g.code file. For those who don't have a Prusa MINI and do have to slice it, make sure the layer height is at its most precise or the center piece will not rotate when printed. Use support on the center piece and take it off gently. I also recommend to use 60% infill for the strongest center piece so when you do assemble it, you don't break it. When slicing make sure the model is oriented in the picture's fashion. (the red line being your build plate)</p><figure class="image image-style-align-center image_resized" style="width:75%;"><img src="https://media.printables.com/media/prints/230388/rich_content/3a4fe5a1-23d8-41b9-8267-087cb090a1ce/rubiks-cube-v24.png#%7B%22uuid%22%3A%22b67f1063-8a79-469e-86c1-806ccd3279ce%22%2C%22w%22%3A1920%2C%22h%22%3A834%7D"></figure><h3>Assembly</h3><h4>Step 1</h4><p>You should have printed 12 edge pieces and 8 corner pieces as labeled. You need to assmble the bottom row first.</p><figure class="image image-style-align-center image_resized" style="width:75%;"><img src="https://media.printables.com/media/prints/230388/rich_content/e011c6f4-6c14-48ec-afd3-f41438f06b64/img_e4204.jpg#%7B%22uuid%22%3A%22c966f0b5-2e8f-4b55-a7a2-00be5dfb2f3d%22%2C%22w%22%3A2100%2C%22h%22%3A1574%7D"></figure><p>You need to slide 4 edge pieces in and 4 corner pieces in. It is important that you slide the edge pieces in this manor. </p><figure class="image image-style-align-center image_resized" style="width:75%;"><img src="https://media.printables.com/media/prints/230388/rich_content/c9376a8d-8a93-4209-b7c3-ae559df9806b/instruction-view-edge-piece.png#%7B%22uuid%22%3A%22033c9d8d-4c8f-4f7d-b295-9fe6f4c99475%22%2C%22w%22%3A1920%2C%22h%22%3A834%7D"></figure><figure class="image image-style-align-center image_resized" style="width:75%;"><img src="https://media.printables.com/media/prints/230388/rich_content/10a5eaec-4707-46a7-b286-2ef04d182552/instruction-corner-piece.png#%7B%22uuid%22%3A%22390ffffe-6d21-449e-8d48-4fdaea9edd61%22%2C%22w%22%3A1920%2C%22h%22%3A834%7D"></figure><h4>Step 2</h4><p>The middle section is next.</p><figure class="image image-style-align-center image_resized" style="width:75%;"><img src="https://media.printables.com/media/prints/230388/rich_content/2eb0acba-ec4b-489f-875c-d089f207290a/img_e4205.jpg#%7B%22uuid%22%3A%220e915f4e-54bd-46af-8dbc-aa2a62c9715d%22%2C%22w%22%3A1792%2C%22h%22%3A828%7D"></figure><p>You will do the same for the middle section and slide all 4 edge pieces in. No corner pieces needed for this step.</p><h4>Step 3</h4><figure class="image image-style-align-center image_resized" style="width:75%;"><img src="https://media.printables.com/media/prints/230388/rich_content/22922550-4396-4356-9088-af4e35bd9793/img_e4206.jpg#%7B%22uuid%22%3A%2253722621-c043-4fe8-a16a-36414b85633d%22%2C%22w%22%3A1792%2C%22h%22%3A828%7D"></figure><p>Place the last edge and corner pieces in with extreme ease. The last pieces is the hardest, so take caution in not breaking the center piece.</p>
With this file you will be able to print Rubik's Cube (100% 3D Printed) with your 3D printer. Click on the button and save the file on your computer to work, edit or customize your design. You can also find more 3D designs for printers on Rubik's Cube (100% 3D Printed).