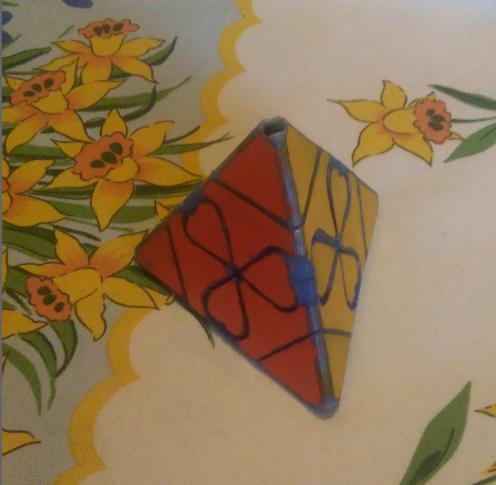
Rubik's valentine pyraminx
thingiverse
published a time before Valentine day, you have time to make one. This is not a day-before project, do your project start a month before you need it! Weight 51 gram (complete). How to make: print all pieces as shown. corner.stl: print with support material. core.stl: do not print support inside the sphere! Try to get good adhesion to printbed. Maybe you need some glue around after print start. Remove all plastic blobs and sharp edges. I don't have sandpapered. assembly: You will need 4pcs screws M3 and nylock nuts. Tool: 1 long M3 screw or threaded rod. Come with M3 rod thru the sphere, add a nylock nut from the other side and pull this nut in the inner hexagon holes. Do not push a nut without guide rod, it will be lost inside. Complete it, screws may be lubrificated with vaseline. Other sides should be lubrificated after paint/sticker. Close all screws to end, puzzle is blocked. Open again all screws by 1/4 turn, check if rotates, repeat. if you like, insert stopsel.stl to screwholes at the end. if you like, don't assemble trivial_edge.stl and this is a hexagonal puzzle. There are holes for screw head in the edge. Paint it or sticker. Lubrificate all moving tracks. Twin project: https://www.thingiverse.com/thing:3219527 https://www.thingiverse.com/thing:2750996
With this file you will be able to print Rubik's valentine pyraminx with your 3D printer. Click on the button and save the file on your computer to work, edit or customize your design. You can also find more 3D designs for printers on Rubik's valentine pyraminx.