Run-DMD PICO Enclosure (M6A)
thingiverse
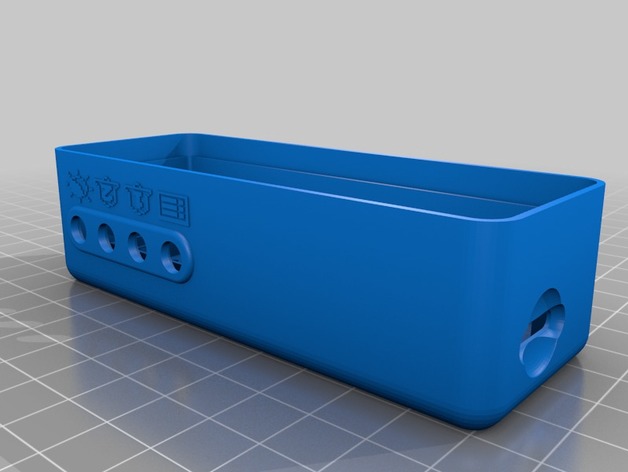
Enclosure for the Run-DMD PICO Clock (pcb RevM6). Run-DMD PICO PCB: http://run-dmd.com/product/run-dmd-pico-barebone OLED Display: http://www.buydisplay.com/default/spi-3-2-inch-oled-module-display-256x64-panel-screen-yellow-on-black Assembly Guide: http://youtu.be/7_Fzn80VAWY Print Settings: Printer Brand: LulzBot Printer: Mini Rafts: Doesn't Matter Supports: No Resolution: 0.2mm Infill: 100% Notes: For best surface finish, have slicer software perform retractions on the inside of the enclosure where they are not visible. This can be done in Simplify3D by setting option "Choose start point closest to specific location" to a coordinate in the middle of the enclose part. Post-Printing Assembly: A lasercut, lightly tinted or transparent 2 or 3 mm acrylic front glass is recommended. It should have the same outer dimensions as the "Front Spacer" with corner 3.5 mm holes (acrylic_front.svg). Requires four M3x25mm screws for assembly. (M3x20mm if not using front acrylic) Assembly Instructions: Print the enclosure, board spacer, and buttons in desired color. Print the Front Spacer (black color recommended). Place the buttons in the button holes from the inside of the enclosure. Make sure they fit loosely; clear the holes with a 6mm drill if needed. Install the Run-DMD PICO PCB, ensuring it seats firmly against the four corner bottom spacers of the enclosure. Verify that the buttons are clickable. Place the "board spacer" so it fits on the side over the SD card holder. Install the OLED display, ensuring the connection pins are correctly inserted into the Run-DMD PICO PCB connector. Place the "front spacer" over the OLED display, verifying that its corners are completely seated against the OLED display's PCB. Place the optional acrylic front glass on top over the OLED display and front spacer. Install the four M3 screws in the corner holes; do not over-tighten! Verify that the four control buttons feel correct, and all clicks when pressed. Install the micro SD card. You may need to gently push it in with a small screwdriver to make it click into place. Install the CR2032 battery and then connect the USB power cable to a 5V source or computer.
With this file you will be able to print Run-DMD PICO Enclosure (M6A) with your 3D printer. Click on the button and save the file on your computer to work, edit or customize your design. You can also find more 3D designs for printers on Run-DMD PICO Enclosure (M6A).