Runout sensor bracket - glues in place
prusaprinters
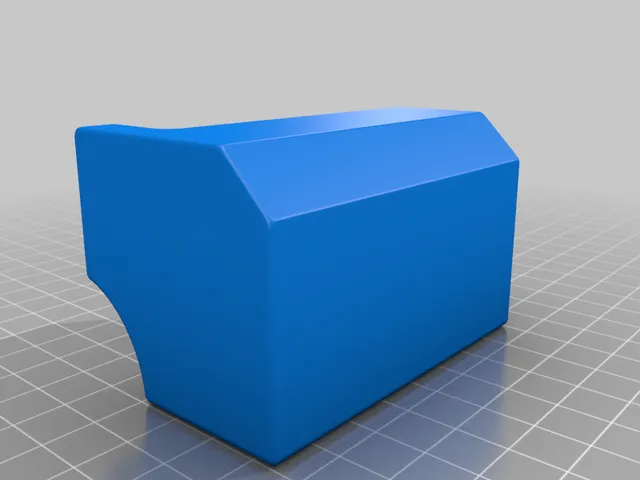
I picked up a Creality runout sensor, but the included bracket required quite a bit of disassembly. I really wanted to avoid this. I finally got everything zeroed in and taking apart so much would undo a lot of that work. So I designed and printed this bracket. It glues to the X-Axis belt cover. It's probably beefier than it needs to be, but I wanted to ensure zero sag. When importing the STL it's on the bed in the correct orientation so you can see how it would mount. If you flip it in your slicer you won't need any supports. Just remember to zero out the Z position as flipping it drops it below the bed a couple of MM. For infill, I went with 20%. I also added an extra wall for strength. I intentionally left some room so it can be moved a bit on the belt cover to accommodate for different runout sensors. The version I have pictured is my first version. This one has an additional chamfer to reduce the profile, and I cut some material where it could interfere when the Z axis was all the way up. It's designed with easy access to existing hardware. Category: 3D Printer Parts
With this file you will be able to print Runout sensor bracket - glues in place with your 3D printer. Click on the button and save the file on your computer to work, edit or customize your design. You can also find more 3D designs for printers on Runout sensor bracket - glues in place.