RV Clock Mount Adapter
thingiverse
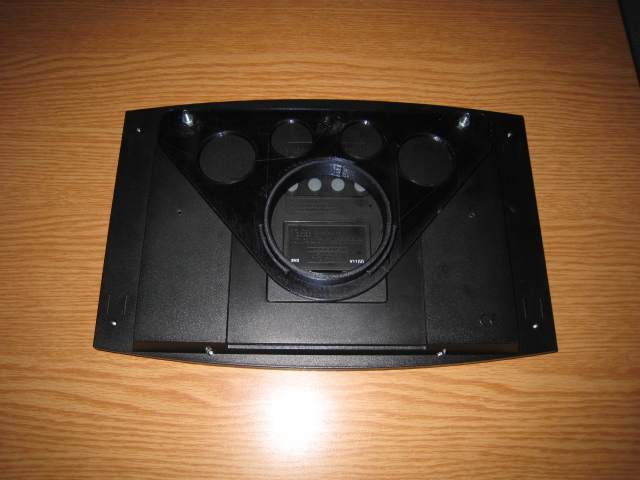
My Winnebago Itasca RV came with a factory installed Howard Miller brand analog clock above the door as shown in the third pic. To replace the battery the clock is removed by rotating the clock 45 degrees counterclockwise and then pulling it from the wall. The wall mount stays screwed to the valance over the RV door. See pic 2. I wanted to replace it with a SkyScan atomic clock that provides me with more info and doesn't require resetting the time twice per year (DST). I did not want to drill more holes in my RV so I made an adapter. This adapter allows the SkyScan clock to use the already existing wall mount. It attaches to the SkyScan clock's 20 cm on center mounting holes with two small machine screws and nuts. See the 1st pic. This mount fits really well with the correct amount of friction to keep it in place. **One up side:** When you decide to sell your motorhome you can put the old analog clock back up with no hint there was another clock in its place. **One down side:** You will need to loosen the machine screws and swing the adapter out of the way when the batteries need replacing. **Update 08/01/2019:** I have rotated the adapter 45 degrees so that it is correctly oriented for a 220 mm x 220 mm bed. **-VegasGuy** *Check out my [designs page](http://www.thingiverse.com/VegasGuy/designs/) to see other useful things I have made for my RV.*
With this file you will be able to print RV Clock Mount Adapter with your 3D printer. Click on the button and save the file on your computer to work, edit or customize your design. You can also find more 3D designs for printers on RV Clock Mount Adapter.