RV Day / Night Shade String Tensioner
thingiverse
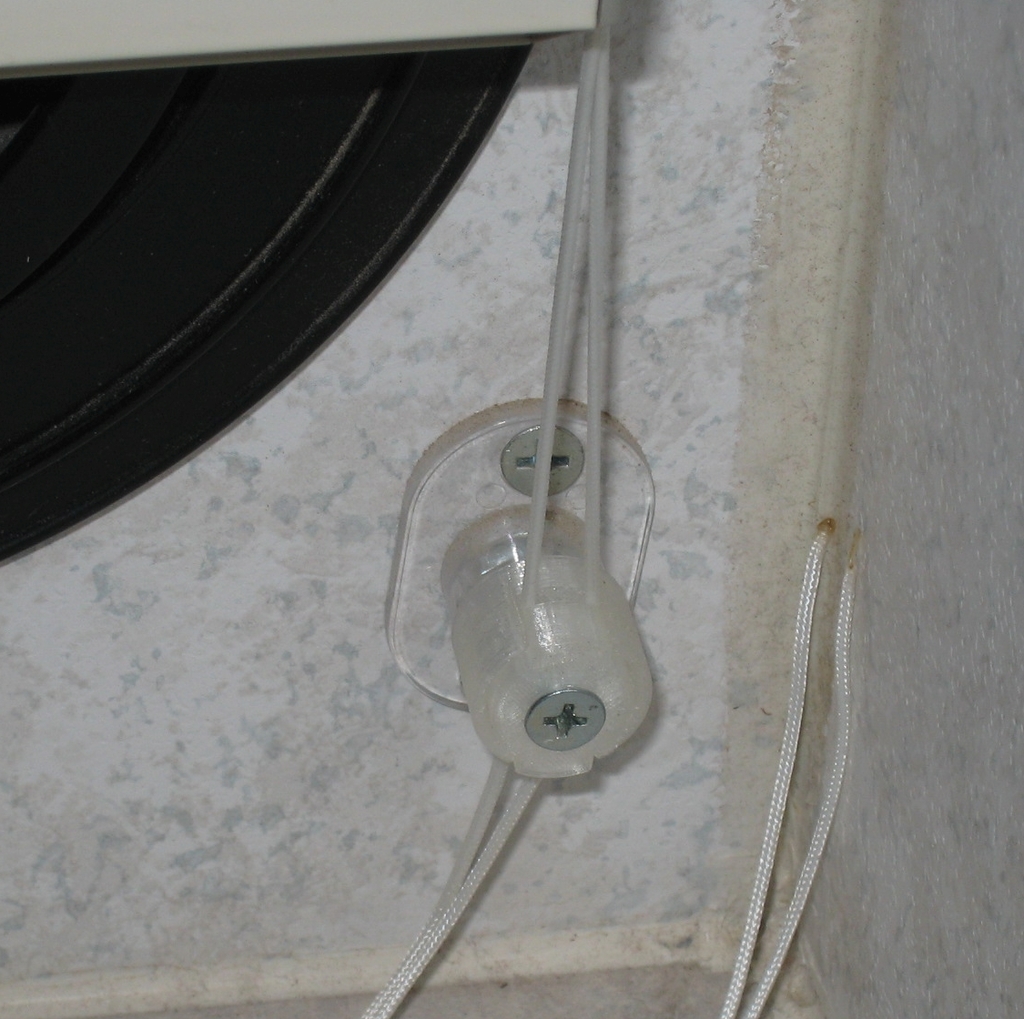
I had to order string tensioners to replace a couple of broken ones in my recreational vehicle. In my opinion, string tensioners cost way too much, especially considering the tiny amount of plastic they contain and the outrageous shipping charges. So, I decided to create my own. This tensioner is essentially the same as the ones I bought, except I omitted the chamfer on the top piece due to its shallow angle, which would have required supports during printing. If you prefer a chamfered version that resembles the original equipment manufacturer's product, just let me know; it's an easy modification. The tensioner shown in image #1 was printed with clear polylactic acid (PLA). To use this tensioner, simply remove only the center screw and swap out the old one with your new one. It installs on top of the old tensioner's wall mount, with the grooved parts facing each other and the flat sides facing outward. Route the two strings so that one string is on the left side of the center shaft and the other string is on the right side. Pull both strings until you have proper tension, then tighten the screw. Having a helper makes the job much easier. The bottom and top pieces are a bit too snug, just like the original equipment manufacturer's versions. This version matches the dimensions of the OEM product exactly. Print both STL files and test for fit. If you prefer a looser fit, print the bottom piece at 102% to 105% in both the X and Y axes; scale as needed, since these pieces are tiny and only take a few minutes to print. Recently, I had to restring one of our Day/Night shades. A 4-string model. In my opinion, this style of tensioner makes it much easier to retension a Day/Night shade compared to the style with two holes in a rotating drum. The latter style is far more prone to breaking where the string passes through the hole. To tension the shade, pull both strings with equal tension, tighten the screw slightly, and check if further adjustment is needed. I have found that after a week or two, the strings will stretch and require re-tightening. If you are restringing your shades, you may also need my RV Day/Night Shade String Guide Grommet. Check out my designs page to see other useful things I've made for my recreational vehicle.
With this file you will be able to print RV Day / Night Shade String Tensioner with your 3D printer. Click on the button and save the file on your computer to work, edit or customize your design. You can also find more 3D designs for printers on RV Day / Night Shade String Tensioner.