Ryobi battery plug
thingiverse
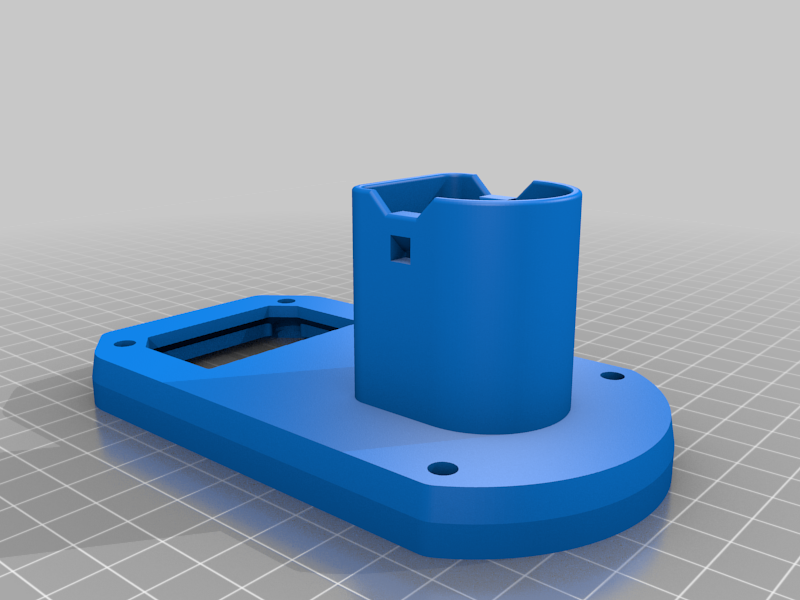
I made this to make my own DC to AC inverter to use with my Ryobi batteries. This has the potential to be a part of any DIY project needing a moderate performance, rechargeable 18v battery. I left screw holes in the base plate for the future option of some sort of housing to contain mount/components. My next plan is to implement a PWM controller between the battery and the Ryobi angle grinder so I don't have to buy a low RPM or variable speed model for polishing stone. You only need supports for the small tabs that the battery grabs once locked in place. Personally, I print with a 0.4mm nozzle, at a 0.18mm layer resolution, while combining infill every 2 layers, 2 perimeters, 20% infill. Your preferences may vary. If your printer doesn't print bridges well, then you may need supports on both parts. The full assembly needs 2 parts printed. I provided a model with both parts oriented properly for printing. You could glue them together, but they seem to stay together just fine without. For the positive and negative terminals, I simply left a slot to fish some wire through and wrap around. With a battery inserted the wire should press against the terminals. I will use metal tabs for higher amp applications, but the wire wrapping works for smaller loads.
With this file you will be able to print Ryobi battery plug with your 3D printer. Click on the button and save the file on your computer to work, edit or customize your design. You can also find more 3D designs for printers on Ryobi battery plug.