RYOBI Blower Handle Bolt Replacement
thingiverse
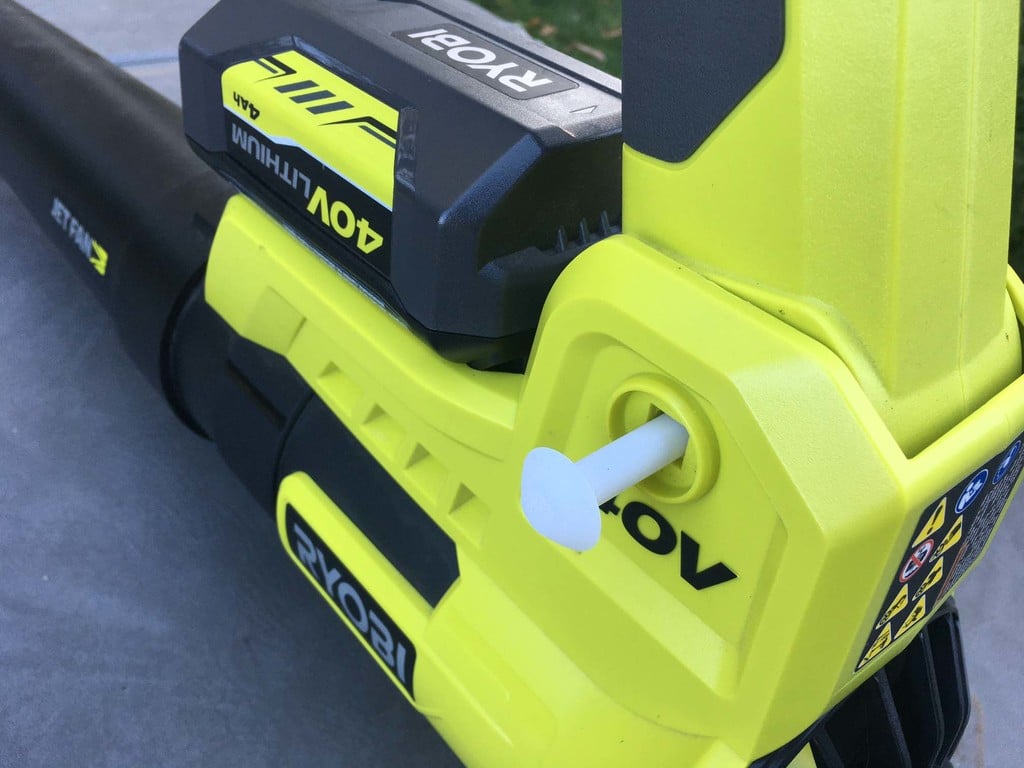
This is a replacement part for the plastic wing-nut with threaded insert that is used to adjust the position of the handle for RYOBI 40-Volt Jet Fan Blower. Instructions: 1. Remove the threaded insert from the old-broken plastic bolt. I used a knife and whittled away the soft-plastic until the insert was completely removed. 2. Print this part lying down on the bed. You want the layer-lines parallel to the shaft of the bolt. 4. Use a 5/16" drill-bit to clean out the pocket so the threaded insert fits snuggly inside. 3. Use a dab of superglue to attach the threaded insert into the pocket of the newly printed bolt. 4. Install and enjoy! Please note, I printed with PLA -- it is not as strong as the original part, so don't crank down on the wing-nut super hard. Consider printing with stronger materials.
With this file you will be able to print RYOBI Blower Handle Bolt Replacement with your 3D printer. Click on the button and save the file on your computer to work, edit or customize your design. You can also find more 3D designs for printers on RYOBI Blower Handle Bolt Replacement.