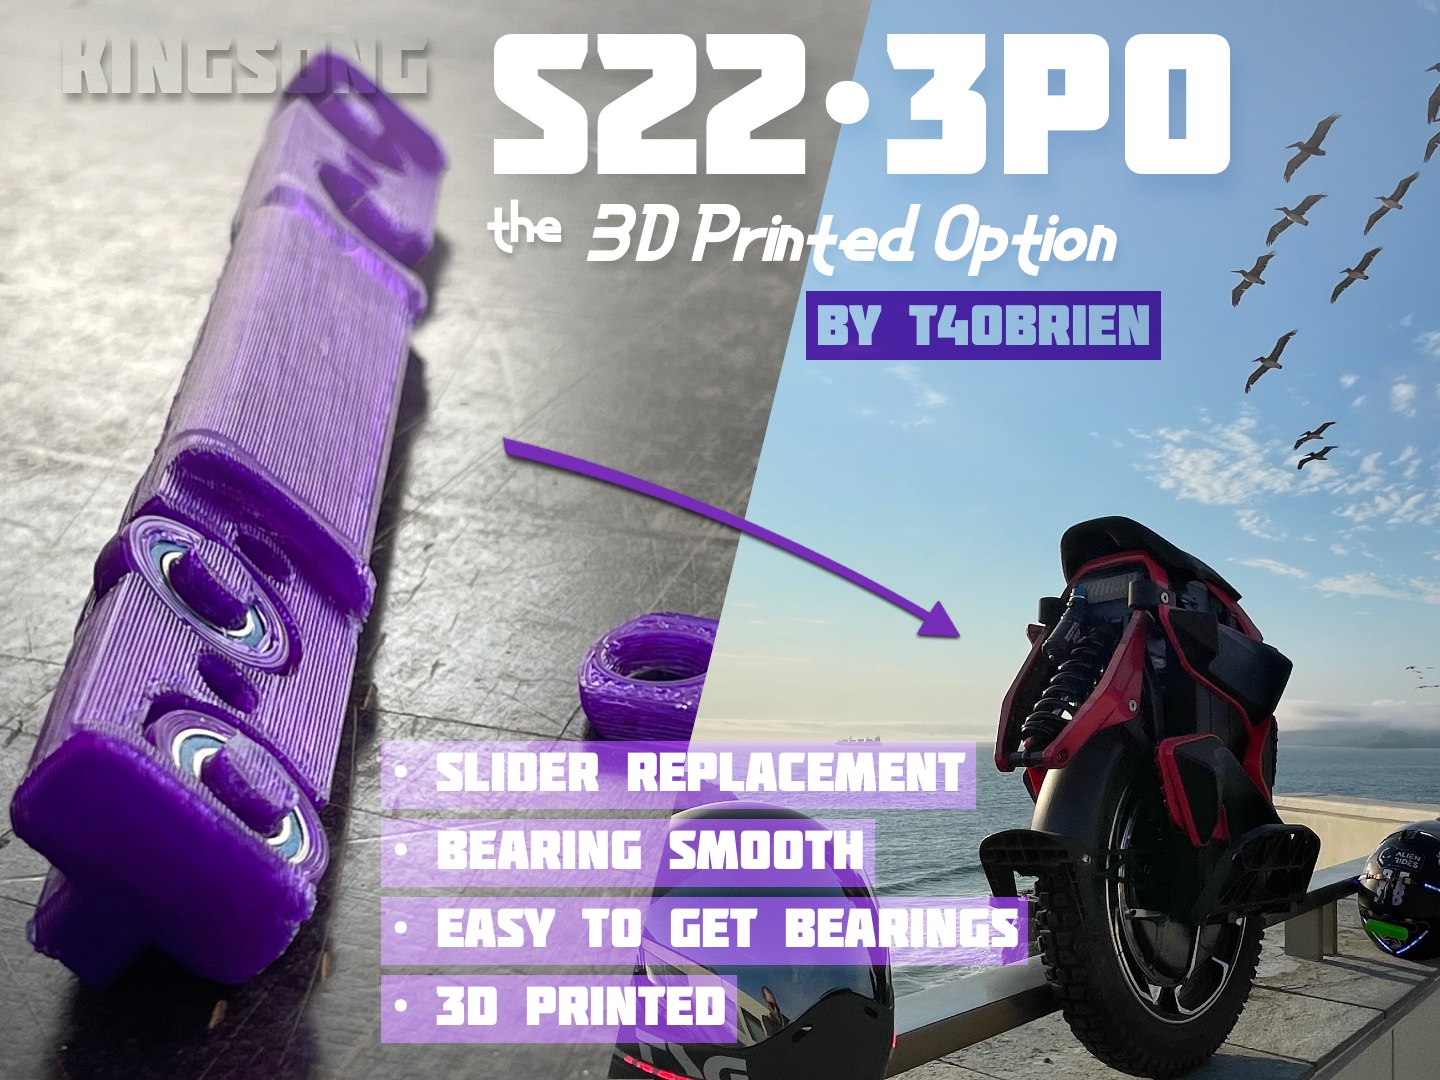
S22 3PO: The 3D Printed Option: KingSong S22 Suspension Slider FIX: Bearing Rollers
prusaprinters
<p>Real quick: Check out my <a href="https://www.printables.com/social/225959-t4obrien/models">other S22 designs</a> like my <a href="https://www.printables.com/model/246739-kingsong-s22-front-handle-side-parts-w-led-channel">LED handle/boomerangs</a>, help me spread my design by hitting the <i>like button</i>, post a photo as a <i>make </i>once you've printed things out!! There's an active community on this, come:</p><ul><li>join the <a href="https://b.link/t4discord">discord channel</a> about the project</li><li><a href="https://t.me/coolwheel">telegram dm</a> me</li><li>join the <a href="https://t.me/+wUXRYuUmRJE0MDYx">telegram group chat</a></li><li>send a printables message</li></ul><p><i>I seriously want to hear about every success, failure, or quirk with this system. Please stay in touch and help get it better for everyone. </i></p><h3><i>S22 Suspension: but Smooth, Quiet, Subtle, Amazing</i></h3><figure class="image image_resized" style="width:38.63%;"><img src="https://media.printables.com/media/prints/268351/rich_content/ab0efd1f-1bb3-4029-84a7-d781e964dee0/suspension-gif.gif#%7B%22uuid%22%3A%229c4485d9-2074-4d5a-9cf9-a79489945cdf%22%2C%22w%22%3A300%2C%22h%22%3A398%7D"></figure><p>Yes. It's possible. It's 3d-printable. It's durable. It works amazingly. </p><p>It's a little difficult to make, so I've documented it thoroughly. Read on!</p><p> </p><h3>Video</h3><p>New! David Raney made <a href="https://www.youtube.com/watch?v=G8NM6KjRlyI&list=LL&index=1">a video</a> on his results and steps to make this project. Give it a watch! </p><p>He's also now made a <a href="https://www.youtube.com/watch?v=JjW1t6JjXdo">follow up </a>about his printed roller wheels failing and increasing friction again. We've learned a lot since he started his project months ago and now have roller wheel solutions that are plenty strong and long-lasting. See the section on Filament Choice for the roller wheels and the wheels slicing section!</p><p> </p><h3>A Flaw</h3><p>The S22 has a major design deficiency. It has a fancy <i>cantilevered variable swing-arm MTB shock system</i>— but it exerts an <i>offset force</i> on its four linear sliders that allow the wheel to move inside the frame. That offset force, no matter the lubrication, will add tons of friction. This makes it useless for everything except absorbing huge hits but only AFTER its been unloaded (like in a jump or a drop). ♂</p><figure class="image image-style-align-center image_resized" style="width:75%;"><img src="https://media.printables.com/media/prints/268351/rich_content/dae243ad-1ec9-4805-8a63-8b988bfeb0e0/bearing-system.jpg#%7B%22uuid%22%3A%22c2e3733b-54ed-484f-ba3b-c3ee22755cc3%22%2C%22w%22%3A2862%2C%22h%22%3A1064%7D"></figure><p> </p><h3>The Solution: Bearings!</h3><p>Replacing the sliders with a system where bearings handle the load is the <i>ideal solution</i>— and there's many ways to do that. Some amazing folks have made CNC aluminum holders for specialty bearing roller wheels with integrated axles. However my analysis and testing shows a carefully designed 3D printed solution is actually <i>better</i>:</p><ul><li>All force is are supported <strong>within 2cm</strong> by steel bolts through to the aluminum bracket.</li><li>Force is held on <strong>both sides of the bearings</strong>, no just one.</li><li>Any force beyond what the plastic body can sustain has the system act as a classic <strong>friction slider</strong>. Same goes for off-axis forces. Put another way: normal bumps: bearings got that. HUGE jump? Sliders got that.</li><li><strong>No metal</strong> that can damage the channel by scraping metal-on-metal</li><li>Super inexpensive to <strong>fabricate yourself</strong>, only ~250g of plastic needed</li><li>Can be made by anyone with a low cost 3D printer or ordered from a local service / friend</li><li>Configurable design that can accommodate different bearing sizes</li></ul><p>Great, so let's make one!</p><figure class="image image_resized" style="width:41.32%;"><img src="https://media.printables.com/media/prints/268351/rich_content/9eeaa585-b6ff-4ae3-a380-9fdb1dc3942b/slider-gcode-view.gif#%7B%22uuid%22%3A%22deeed72c-7b53-4ea7-a2a3-2a0bb918a6e5%22%2C%22w%22%3A400%2C%22h%22%3A214%7D"></figure><h3>Making your own!</h3><p>A few important steps: </p><ol><li>parts needed</li><li>filament choice</li><li>slicing + printing</li><li>finishing</li><li>installation</li><li>maintenance</li></ol><p> </p><h3>Step 0: Updates and Additions!</h3><figure class="image"><img src="https://media.printables.com/media/prints/268351/rich_content/94a047d0-a7fc-4cfc-8c69-18f22f9af471/image.png#%7B%22uuid%22%3A%222172938a-7aad-4df6-afb8-ae99ad9ac5d9%22%2C%22w%22%3A1547%2C%22h%22%3A277%7D"></figure><ul><li><i>Update 20220831: </i>Added a captive nut option to the top of the main part. Allows for bolting on slider protectors like <a href="https://www.thingiverse.com/thing:5454456">these from Rawnei!</a> Thanks TG@Subzerofpv for the idea and proof of concept!</li><li><i>Update 20220901: </i>Added a <code>roller - dirt scoop.stl</code> file, it scoops away any incoming dirt or debris and scoops it out of the way. My minimalist solution to slider protection! See the section below on printing!</li><li><i>Update 20220909: </i><strong>Updated for the new V2</strong>! This version is shorter, allowing taller S22 suspension configurations to work and since they're smaller they're slightly easier and more economical to print. I'm running these in my wheel now. <ul><li>Don't feel left out if you've printed the original! It works great and not going anywhere, it'll still be here in the Files tab. </li></ul></li><li><i>Update 20220922</i>: <ul><li>Added David Raney's new YouTube <a href="https://www.youtube.com/watch?v=G8NM6KjRlyI&list=LL&index=1">video</a>!</li><li>Added new details from my roller wheel material testing below. HTPLA+ wheels don't hold up!</li><li>Added the <code>8x14x4 wheel <strong>+1mm</strong>.stl</code> file specifically for trying oversized TPU wheels. See the “<i>For the roller wheels</i>” section.</li><li>Some better steps for the finishing process.</li></ul></li></ul><p> </p><h3>Step 1: Hardware Needed</h3><ol><li><strong>8x14x4 bearing</strong> is what I use and have exported the STLs for. That's 8mm inner diameter, ID, 14mm OD, and 4mm thickness. Here they are in <a href="https://www.amazon.com/dp/B082PS75YB">Amazon US</a> in a 20pack for example. Search “8x14x4 bearing” wherever you buy such things.<ol><li>More can work! most anything under 8x16. (limited by the space between the two adjacent bolts) If you're interested– message me for a configuration and export!</li></ol></li><li>3D printer. See the next step for filaments needed.</li><li>Sandpaper for finishing things so they're nice and smooth.</li><li>Recommended: Extra M5 countersunk bolts & M5 nuts.<ol><li>Use these to hold things together when sanding. Thanks Javi for the idea.</li></ol></li></ol><p> </p><h3>Step 2: ⚙ Filament Choice</h3><p>This is a high wear potentially high heat environment. Regular PLA probably won't survive. </p><ol><li>For the main body + caps you should use:<ul><li><strong>✅ HTPLA+</strong> / 3D870 is my favorite. It has all the best properties of PLA and ABS: It's rigid like PLA but can bend like ABS before breaking, it prints almost as easily as PLA but with super strong layer adhesion, has temperature tolerance more like ABS, and won't shatter like PETG does. It's often called ‘engineering grade’ PLA. <ul><li>I get mine from <a href="https://fusionfilaments.com">Fusion Filaments</a> in the US, just search for 3D870 filament locally elsewhere.</li></ul></li><li><strong>✅ PETG</strong> <i>needs more testing</i>, but is probably one of the best options. It's more difficult to print perfectly compared to HTPLA+ but has better chemical resistance (road oils).</li><li><strong>✅ Classic engineering filaments</strong>: PET, Nylon, fancy <a href="https://fusionfilaments.com/collections/pet-standard-spools/products/1kg-pet-filament-natural">HTPET+</a>, POM. These are very high strength, very high temp, but require a high-temp printing setup to print safely. Full metal hot-ends, higher temp beds, and often heated enclosures. <ul><li>Beware that since the part is long and thin warping is common for most higher temp materials!</li></ul></li><li><strong>⚠ </strong><i>NO plain PLA</i>, it softens and warps with not much temperature at all. <br> </li></ul></li><li><strong>For the roller wheels </strong><ul><li><strong>✅ </strong>PETG is the perfect wheel material. It holds up to everything and doesn't seem to deteriorate at all.</li><li><strong>✅</strong> TPU, using oversized wheels. See <code>roller - 8x14x4 wheel +1mm.stl</code> and the next section on wheel printing.</li><li><strong>✅</strong> PET should work great. Tough to print.</li><li><strong>⚠ </strong>NO HTPLA+ or regular PLA. It <i><strong>doesn't hold up.</strong></i> After a few weeks of going down stars and up curbs it splits and breaks.<ul><li>See “The Shredded Tire” photo at the bottom of the page for what happens. </li><li>Things are still ridable when wheels fail, it just becomes a high-friction slider again.<br> </li></ul></li></ul></li><li>For the Dirt Scoops<ul><li>✅ TPU!</li></ul></li></ol><p>Keep in mind: <i>printing the wheels are the easiest+fastest thing to print</i>. Experimenting with wheel material is a great way to dial things in. </p><p>Wheel fit / size is also SUPER important. See the next section!</p><p> </p><h3>Step 3: Slicing + Printing</h3><ol><li>Print a few <strong>calibration cubes</strong> to get your flow settings dialed-in<br><br><i>Seriously</i>. Do this. Especially if you're using a new filament you've never tried before.<br> </li><li>Print the <code>bottom</code> STL:<ul><li>2x left</li><li>2x mirrored (for the right side)</li><li>Print settings:<ul><li>Orientation: print as-is in the STLs, it's rotated nicely.</li><li>3 walls</li><li>~50% cubic infill</li><li>support: standard, 40º overhang, touching buildplate only</li><li>fan to help with the 45º tilt</li></ul></li><li>Print one at a time at first to ensure things come out perfect. No warping!</li></ul></li><li>Print the <code>cap</code> STL:<ul><li>4x left</li><li>4x mirrored (for right side)</li><li>Print settings:<ul><li>3 walls</li><li>100% infill</li></ul></li></ul></li><li>Print the <strong>wheels</strong><ul><li>Choose the right wheel size! <br>There's 6 different STL files, each with different outside diameters:<ul><li><code>+0.0</code> → <code>18.42diam</code></li><li><code>+0.2</code> → <code>18.62diam</code> <i>start with this one!</i></li><li><code>+0.4</code> → <code>18.82diam</code></li><li><code>+0.6</code> → <code>19.02diam</code></li><li><code>+0.8</code> → <code>19.22diam</code></li><li><code>+1.0</code> → <code>19.42diam</code></li><li><strong>Start with the +0.2mm option first</strong> <br><i>(now recommended after much user feedback)</i></li><li>Print 1x, the <strong>measure with calipers</strong>. <ul><li>Diameter should be 18.6mm or slightly above!</li><li>If they're too small then try the next size up.</li><li>Make sure they fit snugly on the bearings.</li></ul></li><li>If, once assembled and bolted tight, your wheels responds to breaking with angry shuddering/vibrations– then try going two sizes larger. Meanwhile you can set Ride Mode to Medium and it will prevent that shuddering. See <i>Step 6 Shuddering / Shaking</i> section below!</li></ul></li><li>Print settings:<ul><li><strong>Seam Position set to Random</strong></li><li><strong>Print Sequence set to One at a </strong>Time. <br>> It means you'll only be able to print a few at once (I print 9 per print) but they're super quick and need far less finishing.</li><li>Disable print cooling</li></ul></li><li>print 16x (plus a few spares)<br><img class="image_resized" style="width:43.47%;" src="https://media.printables.com/media/prints/268351/rich_content/2f01fc9c-40ce-4e66-b14c-fc873a8f21bc/32x-wheels-print.gif#%7B%22uuid%22%3A%228e6c07d9-092f-421b-8d7b-c1bebcd426f2%22%2C%22w%22%3A400%2C%22h%22%3A225%7D"></li></ul></li><li>Print the <strong>Dirt Scoops</strong><ul><li><strong>Print in TPU with print settings: </strong><ul><li>1 perimeter wall</li><li>gyroid infill, maybe 20% (not too important)</li><li>standard support. </li></ul></li><li>This should be a very flexible part. </li><li>CA glue it on the end</li></ul></li></ol><p> </p><h3>Step 4: Finishing</h3><ul><li>Make sure things fit together nice and flush and the bearings friction fit in well. Sand if necessary until things are flush. </li></ul><figure class="image image-style-align-center image_resized" style="width:35.78%;"><img src="https://media.printables.com/media/prints/268351/rich_content/b1653de7-1f3c-454b-8164-3e8d29b84f11/photo_4925051385465121613_y.jpg#%7B%22uuid%22%3A%227f585f75-6fbe-4968-8c02-d654c6b34df6%22%2C%22w%22%3A721%2C%22h%22%3A456%7D"></figure><ul><li>Install the bearings into the wheels, then both into the bearing spots. </li><li>Make sure it rolls smoothly along your desk. If the wheels have blobs you you should probably tune your print settings and print again. <ul><li>I used a well-sized drill attachment to spin my wheels against some sandpaper to rid them of imperfections but I should've just reprinted. </li></ul></li><li>Sand/clean your caps + main bodies so that the caps fit flush</li><li>Get your sliders to fit smoothly:<ol><li>Bolt the caps down with some M5 bolts/nuts so they're flush</li><li>test fit in the channels</li><li>sand until it's nice and smooth</li><li>Repeat step 2 + 3 until it's nice and smooth! The cleaner your print was the less finishing you need.</li></ol></li></ul><p> </p><h3>Step 5: Install it!</h3><figure class="image"><img src="https://media.printables.com/media/prints/268351/rich_content/42437a7e-596b-4260-8c9d-39d72a5cc6d4/image.png#%7B%22uuid%22%3A%2285cad388-0d1d-49d2-ac9e-e8a81f07d0e9%22%2C%22w%22%3A2987%2C%22h%22%3A708%7D"></figure><ol><li>Unscrew controller. See my Tire Change Guide below for more detail.</li><li>Unbolt suspension. Also see the guide below.<ul><li>careful with the thin bearing load-washers. Note where they were.</li></ul></li><li>Slide the wheel + controller out</li><li>Remove the existing sliders. <ul><li>Be careful removing the bolts here! Make sure you're using quality, well fitting, hex drivers. Using an impact driver is never a bad idea.</li></ul></li><li>CLEAN.<ul><li>clean</li><li>CLEAN</li><li>clean those channels some more. </li><li>holy shiza that grease is impossible to remove. Keep going.</li></ul></li><li>TEST the sliders fit. <ul><li>Ideally do this with bolts through the new sliders and M5 nuts to hold them down as they will be when installed. </li><li>Often the dirt scoops will provide the most friction. Carefully clean them up with a soldering iron set to 200ºC and re-test.</li></ul></li><li>Install new sliders! <strong>Orientation is super important</strong>:<ul><li>Dirt scoops go <strong>on top</strong>.</li><li>Arrows are engraved on the <strong>bottoms</strong> of the sliders to indicate left vs right. They always point <strong>forward</strong>, toward the front of the wheel!</li><li>Add loctite to each bolt before reinstalling</li><li>Bolt them each down lightly, then go back and hand tighten them each. You're tightening against plastic so don't crack anything but get them evenly tight. </li></ul></li><li>Reassemble!<ul><li>slide wheel+controller back into frame. Two people probably make this much easier. </li><li>carefully reattach the controller wires</li><li>re-bolt the controller, bolting each bolt loosely, then going around again to tighten.</li><li>reattach the suspension bolts, taking care to put the thin bearing load-washers back in place.</li></ul></li></ol><p> </p><p>Here's my Tire Change Guide that covers the easiest & fastest way to remove your wheel. It's a great modular design that's actually pretty fun to tear down. Important notes for the sliders:</p><figure class="image"><img src="https://media.printables.com/media/prints/268351/rich_content/5508ed85-76af-4961-a72a-9c0f5af531dd/wheel-change-guide.jpg#%7B%22uuid%22%3A%22c4722cf7-81c0-4c76-b3a7-b58f6aa75de1%22%2C%22w%22%3A1920%2C%22h%22%3A2000%7D"></figure><p> </p><h3>Step 6: Issues you may see (like shuddering vibration)</h3><p>Issues you may get and what to do about them:</p><ol><li>Shuddering / Shaking<br>Can be from two things, but has three solutions!<ol><li>From the bolts loosening. Use new loctite every time you reassemble the sliders. Print can compress over the first few days.</li><li>Wheels too thin. Measure wheels with calipers, the diameter should be 18.6mm or slightly above! Switch to a different wheel file with a wider outside clearance.</li><li>Change the S22 <i>ride mode</i> setting. Switching to medium or light will actually prevent shuddering.</li></ol></li><li>The ride position is too low / your suspension doesn't have enough travel left after it's absorbed rider weight<ul><li>This is my biggest problem. The DNM shock needs a stronger spring! A usual MTB shock like this only carries half the rider's weight, here it's supporting 100%. I'd really like to try an 850LB spring.</li><li>You can adjust the spring's preload to get some of the way there. Just tighten it by hand by turning the spring. </li></ul></li><li>The suspension gets too friction laiden, wheel needs to be pulled up after unloading weight<ul><li>You've got too much friction! Probably from grease in the channels. Take it apart and clean it throughly again and again until it's clean enough to lick it.</li></ul></li><li>Something else? <ul><li><strong>Message me on </strong><a href="https://b.link/t4discord"><strong>discord</strong></a><strong>/</strong><a href="https://t.me/coolwheel"><strong>telegram</strong></a><strong>/printables and let me know.</strong></li></ul></li></ol><p> </p><h3>Failures & Issues: what to look for and how to prevent them</h3><p>Here's some issues & failures I've seen or been sent and some ideas for how to fix/prevent them. Please please message me on <a href="https://b.link/t4discord">discord</a>/<a href="https://t.me/coolwheel">telegram</a>/printables if you've had any of these or any new ones!</p><ol><li><strong>The Wobbly Print</strong><br><img class="image_resized" style="width:47.27%;" src="https://media.printables.com/media/prints/268351/rich_content/7efdc61a-fca1-4414-9bab-8b4bcd6ad255/image.png#%7B%22uuid%22%3A%222e085d41-0857-4aa8-b3f8-7e2d615637b9%22%2C%22w%22%3A1812%2C%22h%22%3A614%7D"><br>Make sure you're using cooling when printing, and adding support with 40º (touching build plate only)</li><li><strong>The Shredded Tire</strong><br><img class="image_resized" style="width:50%;" src="https://media.printables.com/media/prints/268351/rich_content/849df000-4dca-41c9-9d14-0fb45ad9f8dd/image.png#%7B%22uuid%22%3A%22313f0654-1d6f-45fb-9070-79cd3251f7f4%22%2C%22w%22%3A1024%2C%22h%22%3A436%7D"><br>Caused by under-extrusion, needed more flow! Try adding a print modifier to adjust the line width in the middle of the print so there aren't shear lines to fail. <ul><li>Note: I'm still riding my system while it's like this, I'll have to swap it out in the future.</li></ul></li><li><strong>The Shuddering&Shaking Breaking</strong><br>No photo/video sadly. <ul><li>Caused by the slider bolts being loose. Loctite helps but it might also be caused by your printed plastic slowly deforming under the first few days of pressure. Re-tightening after 1 week seems to solve this. </li></ul></li></ol><p> </p><h3>Sharing & License & Stuff</h3><p>The LAST thing I want to do is restrict anyone from sharing. But. PLEASE share links to this printables page, not the STLs. Here's why:</p><ol><li>This is under active development. The STLs WILL CHANGE and get better.</li><li>The documentation is really important here, and I'm sure there's stuff I'll be adding as feedback comes in.</li><li>The community is important, I want people to reach out and join the <a href="https://t.me/+wUXRYuUmRJE0MDYx">telegram group chat about this project</a>, not download some STLs and go it alone.</li><li>It's just a <i>super dick move</i> to repost designer's stuff. I've spent a long time making, testing, and documenting this and my only reward is that little stupid ‘like’ and download counter. <i>DON'T DEPRIVE ME OF MY ONE SENSE OF SELF WORTH</i></li></ol><p>The actual license is Creative Commons (4.0 International License) Attribution—Noncommercial—Share Alike. If you'd like to print this kit commercially send me a message <strong> </strong>on <a href="https://b.link/t4discord">discord</a>/<a href="https://t.me/coolwheel">telegram</a>/printables.</p><p> </p>
With this file you will be able to print S22 3PO: The 3D Printed Option: KingSong S22 Suspension Slider FIX: Bearing Rollers with your 3D printer. Click on the button and save the file on your computer to work, edit or customize your design. You can also find more 3D designs for printers on S22 3PO: The 3D Printed Option: KingSong S22 Suspension Slider FIX: Bearing Rollers.