S8 Pillow Bushing Mount for z-sync belt
thingiverse
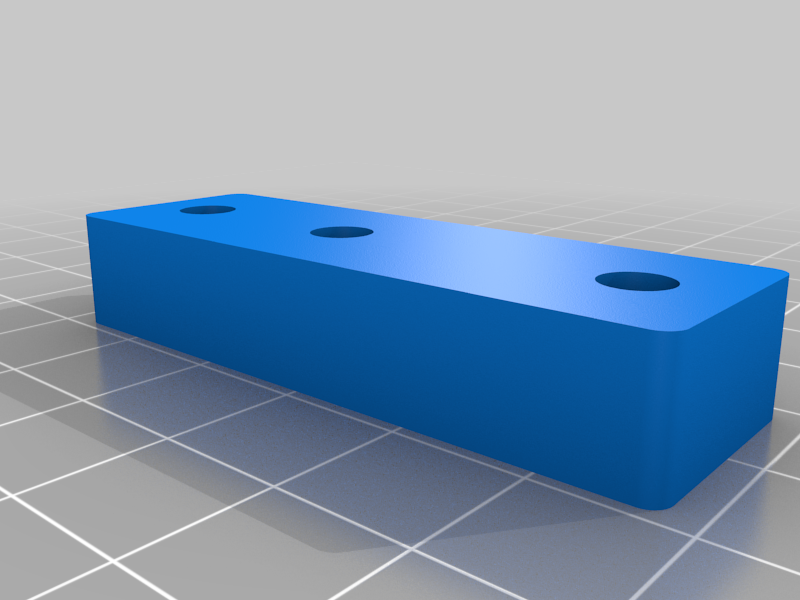
I wanted to use a timing/sync belt for the Z-Axis on our S8+. To do that I needed to swap out the Z-axis lead screw support brackets at the top of the frame to use a true bushing. This was to withstand and maintain the tension that a belt would place across the top of the lead screws. I found pillow bushings on Amazon to use as my starting point. The existing brackets held the lead screw 25mm off of the back edge of the top rail. The Pillow Bushings were just under 14mm from bottom to the lead screw center. So I created these shims/mounts to move the center of the bushing bearing out to match the lead screw. The mount has 3 holes, due to how much wider the frame of the bushing is than the old brackets (and underlying top frame) were. So I used the "center" (it is actually a little off center, by design, instead being closer to the edge of the 2020 frame) bolt hole to secure the mount, then the outside 2 holes to mount the bushing to the frame. For the edge that "hangs out" a little past the edge of the frame, I have seen some just use a regular sized T-Nut and just clip the edge of the 2020 frame. I decided I wanted a little more "bite" to it than that so I found and ordered some longer M5 T-Nuts, just for those end bolts. When it is all tightened down it feels very secure. You may be able to just use regular T-Nuts for all of them or just use a regular nut for the outside mount points and bolt the bushing to the shim/mount itself, if your filament and infill provide enough strength. Installation tip: I ran the gantry all the way to the top to position the top of the lead screws when I bolted down the bushings. That helped me to ensure that I had/have the lead screw held true and level. Note: I thought about buying a longer lead screw and putting the pulleys on top, but decided against it for now. The length needed was 518mm, so no matter what it would require some cutting of a purchase lead screw and also I was not sure I liked the look of it on top of the bar. Putting it under the bushing caused me to lose maybe 5mm ~ 8mm in build height. I figured if I ever had a print that needed that additional ~5mm of build volume, then I will deal with new lead screws then. I also already have an Ender 5 Pro with a Dual-Z XL upgrade for a whopping 500mm Z build height, (but still only a 220mm X/Y volume). That larger Z E5 Pro greatly reduces the possibility that the slight loss on the S8 build height will be one that I need to worry about later. Note 2: I tried many combinations of pulleys and belts, from belts 760mm up to over 810mm and pulleys weighing in with 20, 30, 40 and (finally) 36 teeth. I did find the combination that worked with what felt like good tension, without being to the point of binding, was an 800mm belt and 36 tooth pulley. I expected to need to put some sort of idler/tension part in to make it work, but this combination worked for me without any additional parts or components. BOM Pillow Bushings https://www.amazon.com/gp/product/B07C5MTB5X GT2 Belt (800mm) https://www.amazon.com/gp/product/B07GJ3BGYM GT2 Pulley (36t) https://www.amazon.com/gp/product/B07K69ZPKJ Long T-Nuts https://www.amazon.com/gp/product/B07PR31317/ref=ppx_yo_dt_b_search_asin_title?ie=UTF8&psc=1 Nuts/Screws (4) M5 T-Nuts (reused the ones that were used by the existing lead screw brackets) (2) M5x8mm hex socket cap head screws (4) M5x20mm hex socket cap head screws
With this file you will be able to print S8 Pillow Bushing Mount for z-sync belt with your 3D printer. Click on the button and save the file on your computer to work, edit or customize your design. You can also find more 3D designs for printers on S8 Pillow Bushing Mount for z-sync belt.