Saitek X55 Joystick X&Y Axis Replacements
thingiverse
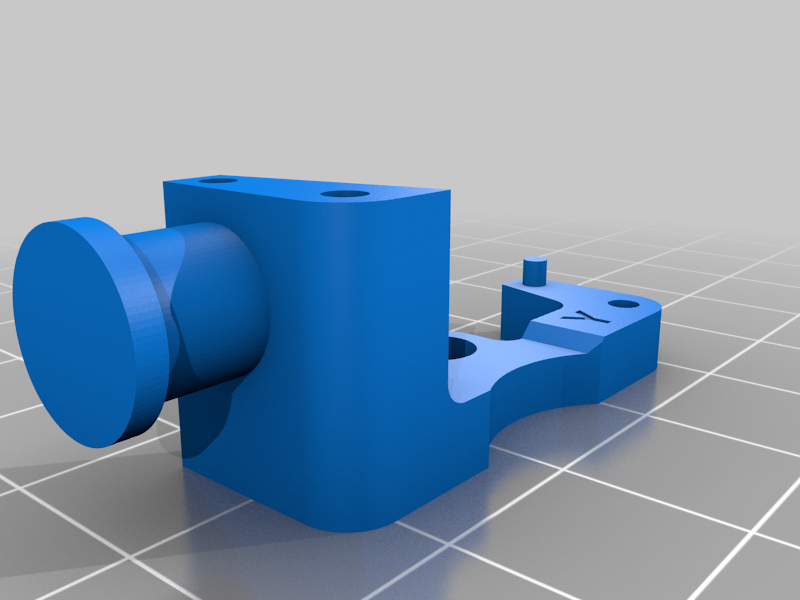
I found out that Saitek's X55 and X56 Joystick's axes tend to break after prolonged use. Don't throw it away when that happens, repair it. Read the Print-settings please! !! There are TWO of each axis-type inside the Joystick !! 1. Remove Baseplate of Joystick-Holder (PHILIPS-screws) 2. Unscrew PCB and disconnect the cable leading to the Joystick 3. Take out the square rim, holding the axes in place. 4. Use some Teflon-grease or any low friction grease to lube where your prints make contact with the Joystick. 5. Unscrew the broken Axes and replace them with the printed ones. 6. Put it back together and that's it. Be proud of yourself for saving the environment. Also that just saved you some serious money!
With this file you will be able to print Saitek X55 Joystick X&Y Axis Replacements with your 3D printer. Click on the button and save the file on your computer to work, edit or customize your design. You can also find more 3D designs for printers on Saitek X55 Joystick X&Y Axis Replacements.