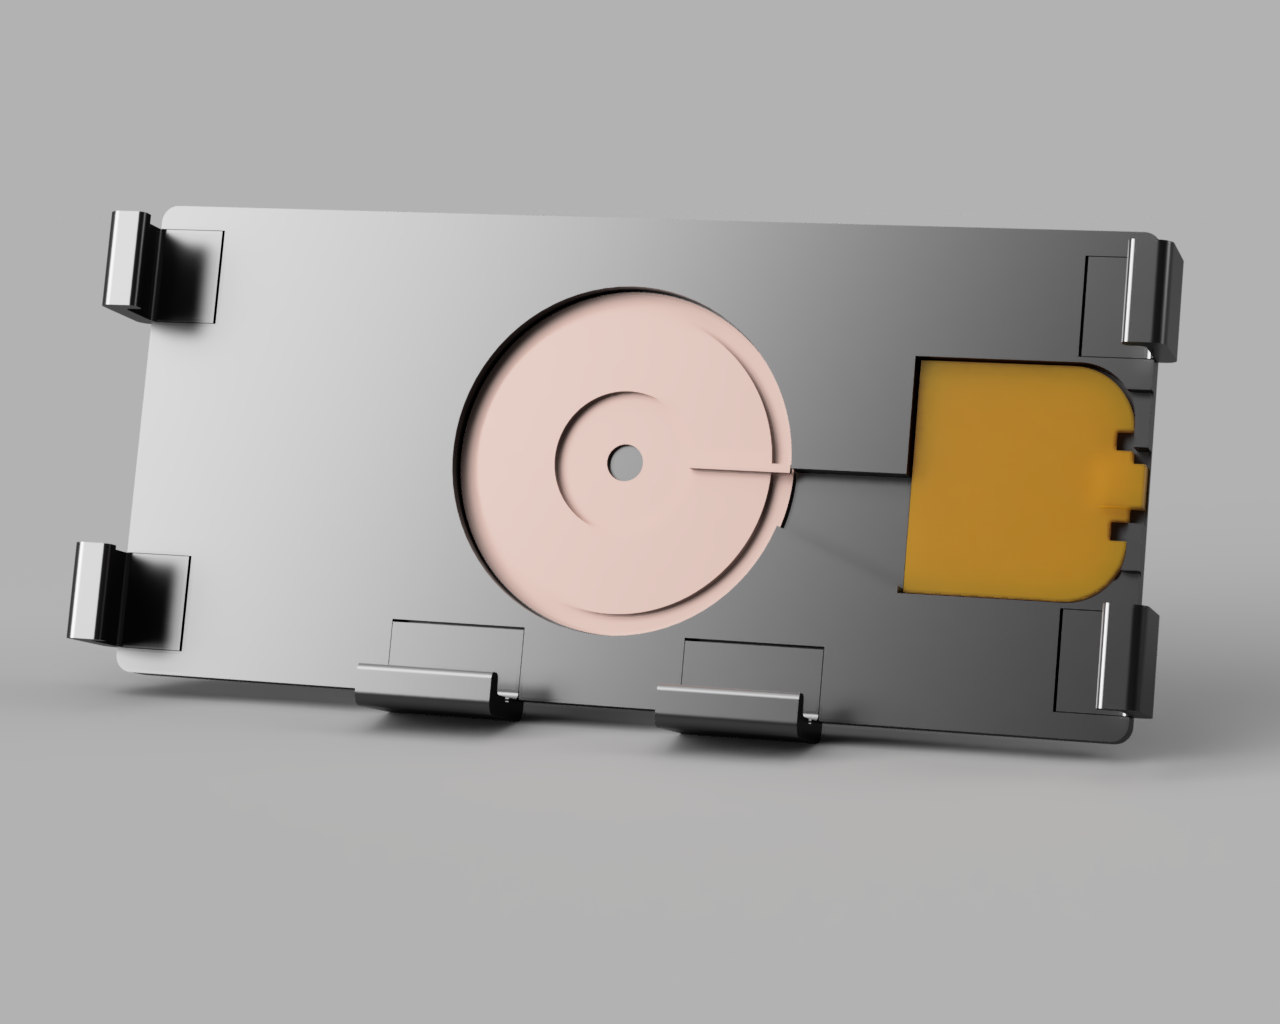
Samsung Galaxy S10 car mount
prusaprinters
<p>Cradle for mounting a Samsung Galaxy S10 in a car.</p> <p>Features:</p> <ul> <li>Simple drop-in</li> <li>Built-in wireless charger</li> <li>Holds uncased phone in landscape orientation</li> <li>Lockable ball-and-socket joint</li> <li>Clearance cutout for phone's cameras</li> <li>Side buttons and USB-C all accessible</li> </ul> <p>Wireless charging capability is provided by an integrated <a href="http://www.gikfun.com/belong-to-you-modules-c-68/qi-wireless-charger-pcba-circuit-board-coil-micro-usb-port-diy-p-734.html">Gikfun Qi Wireless Charger EK1854C</a> (available <a href="https://www.amazon.ca/dp/B073W7P5T8">from Amazon</a>).</p> <p>This cradle attaches to a vehicle-specific mounting base. I have designed bases for two vehicles:</p> <ul> <li><a href="https://www.prusaprinters.org/prints/45232-cell-phone-mount-for-2006-infiniti-g35">2006 Infiniti G35</a></li> <li><a href="https://www.prusaprinters.org/prints/45242-cell-phone-mount-for-2014-ram-1500">2014 RAM 1500</a></li> </ul> <h3>Print instructions</h3><p>The side and bottom hooks should be printed on their sides, to get their strong axis oriented the way we need.</p> <p>Print four side hooks, and two bottom hooks.</p> <p>The threaded socket should be printed with 0.1mm resolution, and full supports, to get clean threads. The support material is not difficult to remove from the external threads.</p> <p>The back plate is printed with 15% gyroid infill. The socket is 25% gyroid, for strength.</p> <p>Print the thin front cover plate face-down, to get the best surface texture.</p> <h3>Assembly</h3> <p>The cradle will be assembled with ABS glue. It's something of a fiddly process.</p> <ol> <li>Trim off any brims</li> <li>Clean support material out the threads of the socket</li> <li>Wet-sand the edges of the side and bottom hooks<ul> <li>Make sure they fit in the recesses made for them</li> </ul> </li> <li>Wet-sand the mating surfaces of the back and front plates<ul> <li>They will be glued together later, so we want to minimize bumps and ridges</li> <li>Don't get confused about which side of the front plate is which</li> </ul> </li> <li>Dry-fit the side and bottom hooks<ul> <li>Dry-fit the hooks in their recesses, in such a way to give a loose fit for the phone.</li> <li>Dry-fit the front plate</li> <li>Position the phone, centered on the cradle.</li> <li>Adjust the positions of the hooks so that the phone can slide in and out easily, </li> <li>Without moving the hooks, remove the phone and front plate.</li> <li>Without moving the hooks, use a sharp knife to score a line across each hook, and onto the surrounding back plate. This marks the desired position for gluing.</li> </ul> </li> <li>Install the hooks. Working one-at-a-time:<ul> <li>Remove the hook from its recess</li> <li>Apply a small amount of ABS glue in the recess</li> <li>Install the hooks, aligning the score marks</li> <li>If any glue squeezes out to the top, wipe it level</li> <li>Keeping pressure on the hook, wait a couple minutes for the glue to set.</li> </ul> </li> <li>If necessary, re-sand the top mating top surface around the hooks, to remove any roughness from glue seepage.</li> <li>Mask off the area on the back plate where the front-plate's camera cutout is (I wish I had done this... learn from my error.) Leave a tail hanging out the edge so the tape can be removed quickly.</li> <li>Install the charging coil and circuit-board.</li> <li>Working quickly now, install the front plate.<ul> <li>Apply ABS glue to the entire mating surface of the back plate.</li> <li>Peel off the masking tape from the camera cutout area.</li> <li>Bend the front plate and install it under the hooks.</li> <li>Press the front plate and back plate together, working around everywhere.</li> <li>Keep pressing for a few minutes while the glue sets up.</li> </ul> </li> <li>Install the socket<ul> <li>Apply ABS glue to the inside edge of the socket hole, and a small distance around the hole</li> <li>Apply ABS glue around the mating parts of the socket</li> <li>Install the socket, and hold it in place a few minutes while the glue sets</li> </ul> </li> <li>Allow 24 hours for the ABS glue to fully cure</li> </ol> <p>When the ball-and-socket is first put together and the clamp nut tightened, the threads may be very tight. Work the clamp nut on and off a little bit at a time, and the threads will loosen up.</p>
With this file you will be able to print Samsung Galaxy S10 car mount with your 3D printer. Click on the button and save the file on your computer to work, edit or customize your design. You can also find more 3D designs for printers on Samsung Galaxy S10 car mount.
