Sapphire Plus Logos
thingiverse
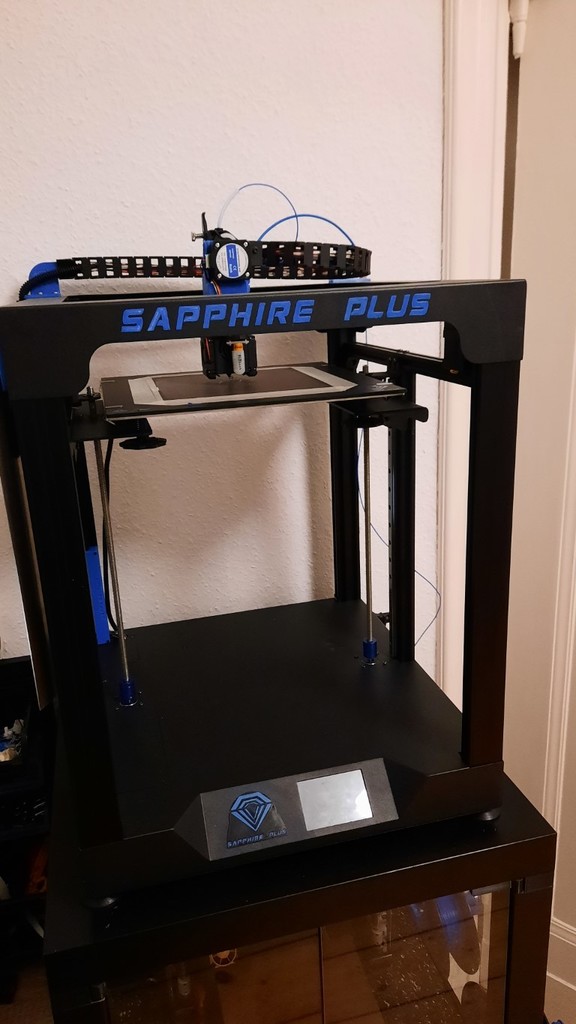
I found the logos off the printer do not fit the rest of the parts I created for the printer so I decided to design, print and glue them in place. Maybe someone has the same issue. Logo Square: The square logo next to the display is too small to glue every single peace so I designed a frame around it and made the font a bit bigger. To get two colors with a regular 3D Printer you must print the logo first in one color and with 0.12 resolution. Afterwards you print the frame in another color on top with at least the first layer at 0.2 or better 0.3 (depends on your bed). I needed 3 attempts to get a satisfying result. Logo Long: Depending on the size of your bed you can print the logo either as it is (Logo_Long_Original.stl) or use the Logo_Long_Print_All.stl. I also attached each character separate if anyone needs. Print the logo with 0.12 resolution. It will be a very thin character which should fit exactly on the existing one on the top cover of the printer. Note that the "P" in the word "Plus" is another than in the word "Sapphire" (nice right), you must put it in the right place. Would be great if you could give me feedback in the comments, a like and post a make if you did this.
With this file you will be able to print Sapphire Plus Logos with your 3D printer. Click on the button and save the file on your computer to work, edit or customize your design. You can also find more 3D designs for printers on Sapphire Plus Logos.