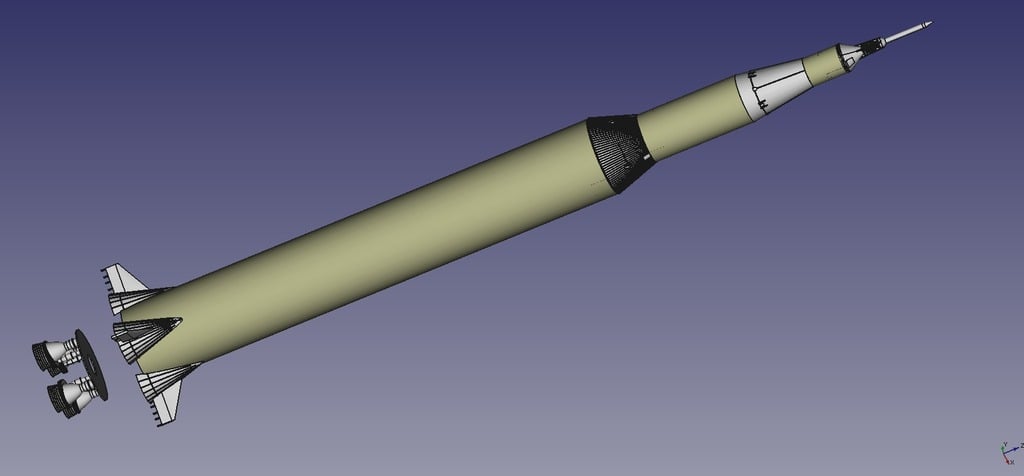
Saturn V Model rocket BT 80
thingiverse
This appears to be a step-by-step guide on building a scale model of the Saturn V rocket using Estes rockets kits and various other materials such as cardboard, cardstock, glue, paint, and decals. The instructions cover a wide range of tasks, from cutting and gluing parts together to painting and applying decals. Here are some potential improvements or additions that could be made to the guide: 1. Add more detailed illustrations: While the text provides clear instructions, it would be helpful to include diagrams or photographs to illustrate each step. 2. Provide more information on materials: The guide assumes a certain level of familiarity with model rocketry and materials science. Consider adding more information on the types of glue, paint, and other materials needed for each task. 3. Include safety precautions: Model rocketry can be hazardous if not done properly. Consider adding warnings about potential risks, such as electrical shock or fire hazards, and providing guidance on how to mitigate these risks. 4. Offer troubleshooting tips: As with any complex project, things may not always go according to plan. Consider adding some troubleshooting tips for common issues that might arise during construction. 5. Provide more information on flight testing: Once the model is complete, it's time to fly it! Consider adding guidance on how to prepare for a successful launch, including choosing a safe location and following proper launch procedures. Overall, this guide provides a good foundation for building a scale model of the Saturn V rocket. With some additional details and improvements, it could be even more helpful and enjoyable for model rocketry enthusiasts.
With this file you will be able to print Saturn V Model rocket BT 80 with your 3D printer. Click on the button and save the file on your computer to work, edit or customize your design. You can also find more 3D designs for printers on Saturn V Model rocket BT 80 .