Schmoo2 & Volcano (E3D J6 Hot End and Volcano Adapter)
thingiverse
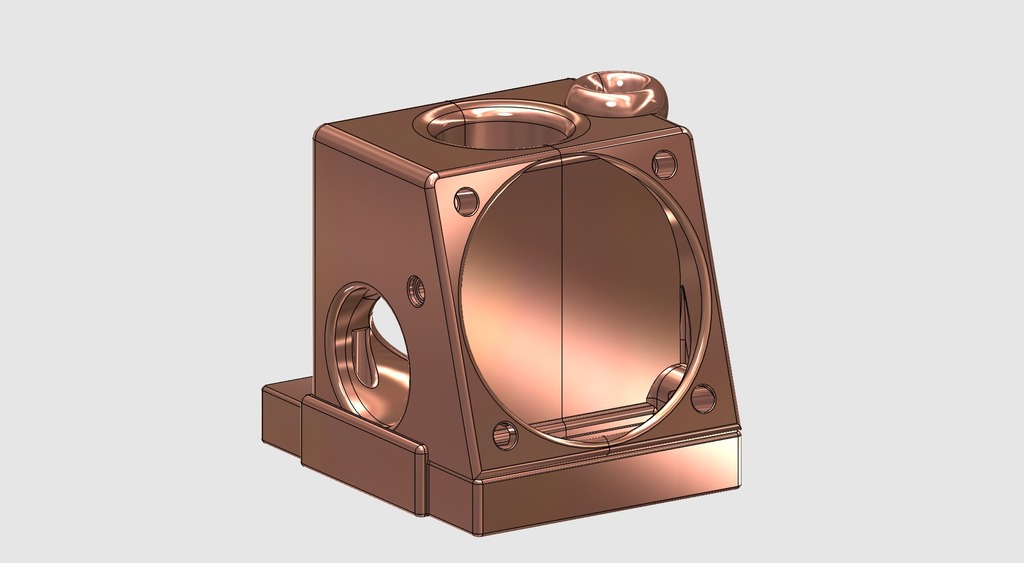
Schmoo2 & Volcano Anycubic Kossel Plus E3D J6 and Volcano Adapters Inspired to do a remix of an awesome E3D Hot end mount for the Anycubic Kossel I thought I'd go on do my own version from scratch - the Schmoo2. I've also included a riser plate to allow the attachment of a Volcano hot end. Both options continue to allow the use of the printer's standard calibration hardware and as a bonus the original mount for a rather weak 40mm blower has been substituted for a 40mm fan... you can also print the Bleh5 40mm to 50mm fan adapter for even more power! Note: I'd really, really, suggest recalibrating your printer when swapping out these parts, and when swapping between standard J6 and Volcano!!! Build: Do read all the instructions before starting and remember to take care... a wobbly and inaccurately fitted hot end will result in appalling print quality. 1) Print the parts you require. I find a 0.2mm Z height is more than good enough but be sure to crank up the infill a bit - this is a load bearing part. Also you really ought to be using a heat-tolerant filament such as ABS. 2) Remove your J5 hot end and the standard mount, leaving the effector plate in place. You will need to replace the 40mm blower with a 40mm fan of your choice, along with adapting the wiring for the new 40mm fan and the new hot end hardware. Note: The duct you are using may no-longer fit as the heating block on the J6 is larger than the J5 3) The left and right halves of the Schmoo2 should fit snugly round the J6 hot end such that there are no gaps between the halves and the J6 is held firmly in place with NO MOVEMENT. Some fettling may be required - either careful sanding of the Schmoo2 if it's too tight, or the addition of a little heat-resistant tape around the neck of the hot end if too loose. Take your time over this, the accuracy of the printer depends on your doing a good job. 4) Once you are completely happy it's time to fix everything together. Options: -If using ABS dip the face of one of the Schmoo2 halves in some acetone (preferably with some ABS dissolved in it) and quickly press the parts together firmly until the ABS has set (a minute or two at most) This will result in a strong and permanent fit with the plastic welded together. -If not using ABS, or you are unsure about the acetone, roughen up the faces a bit and apply a thin layer of super glue to both. Quickly and firmly squeeze the parts together until the glue has set. This will also result in a perfectly good result but may not be quite as strong as the above method. -Don't like the idea of gluing the parts, or you want to be sure? I've included a hole right through the Schmoo2 for a nut and bold to hold the parts together. In combination with the lugs on the parts, and with the fans screwed in place, this should also be a good and strong assembly. 5) Attach your fans, the screws from the OEM hardware should do the job but feel free to improvise. 6) Mount the whole thing to the effector plate and screw in place using the original mounting screws. Again feel free to improvise if you wish. 7) It's at this point you need to attach the heating block + nozzle, and associated hardware. Do ensure everything is good and tight, and the (larger than a J5) block is oriented such that your cooling duct and z-height probe will still fit. It's not a bad idea to add some suitable thermal compound for the heating element and heat probe while you are at it. 9) A bit of final faffing routing the new wiring and you're good to go. 8) Time to reset / recalibrate your printer FROM SCRATCH!!! At this point I'd recommend also doing a hot end PWM calibration and plugging those new numbers in to your firmware settings. (google) Have fun with your new J6 hot end. :-D Volcano: The procedure is much the same. -Do remember to include the riser plate in your build -My may want to invest in some longer effector plate mounting screws, or just glue the Volcano riser to the Schmoo2 -The Volcano hardware will need to be attached last -Take care routing the heating element and temperature probe wiring, there won't be much room. Also be sure to orient the heating block with the notch upwards. ...and don't forget to adjust your slicer settings. The volcano nozzle is likely to be bigger than the one you have been using and half the point of a Volcano is to allow you to crank up your printer's speed a bit. PS If you don't want a (semi)permanent riser for your Volcano this thing: https://www.thingiverse.com/thing:2863468/files ...is an ideal alternate - it's a riser for the Z-probe itself. Excellent! Bleh5: This is a 40-50mm fan adapter for the Schmoo2. The design of the Anycubic Delta doesn't allow much room, hence the unusual design. But a happy bonus is this allowed the addition of a Bowden tube stain-relief. Don't go bananas with the size of your 50mm fan, there isn't a lot of room to play with, I'd suggest a slimline model for safety. -Print out your Bleh5, any (non-wobbly) material with do -Note the piccie above and glue it to your assembled Schmoo2 -Screw your chosen 50mm fan to the other end and your are done ...I would suggest checking the movement of your printer, by hand, once all is put together. There really isn't a lot of room and you don't want to be hitting those effector rods.
With this file you will be able to print Schmoo2 & Volcano (E3D J6 Hot End and Volcano Adapter) with your 3D printer. Click on the button and save the file on your computer to work, edit or customize your design. You can also find more 3D designs for printers on Schmoo2 & Volcano (E3D J6 Hot End and Volcano Adapter).